The Dos and Don’ts of IKEA Furniture Hacks
This post may contain affiliate links, which means I may earn a small commission if you make a purchase using one of those links. As an Amazon Associate, I earn from qualifying purchases. Thank you for supporting Projects & Pearls.
An honest review of laminate furniture makeovers: I see all of these amazing and creative IKEA furniture hacks all over the internet and I love every single one! Everybody makes it look so easy and affordable and as if it is definitely the way to go, especially for beginners. And while I agree with that to an extent, I learned a lot more about hacking IKEA furniture when I tried it out for myself and I think you need to hear this, too!
IKEA furniture hacks CAN BE a game-changer when it comes to creating a stylish, functional home on a budget. Whether you’re looking for a creative furniture makeover, organizing small spaces, or simply wanting to learn how to make IKEA look expensive, knowing the dos and don’ts will help you go into your project well prepared and avoid common pitfalls.
By following these essential tips, you can confidently transform your IKEA small space pieces into beautiful, high-end-looking furniture while ensuring they last. But I’ve got to be honest, you MUST follow these suggestions otherwise you’re wasting your time and money.
The DOS of Hacking Ikea (or any laminate) Furniture
Planning and Measuring Are Essential
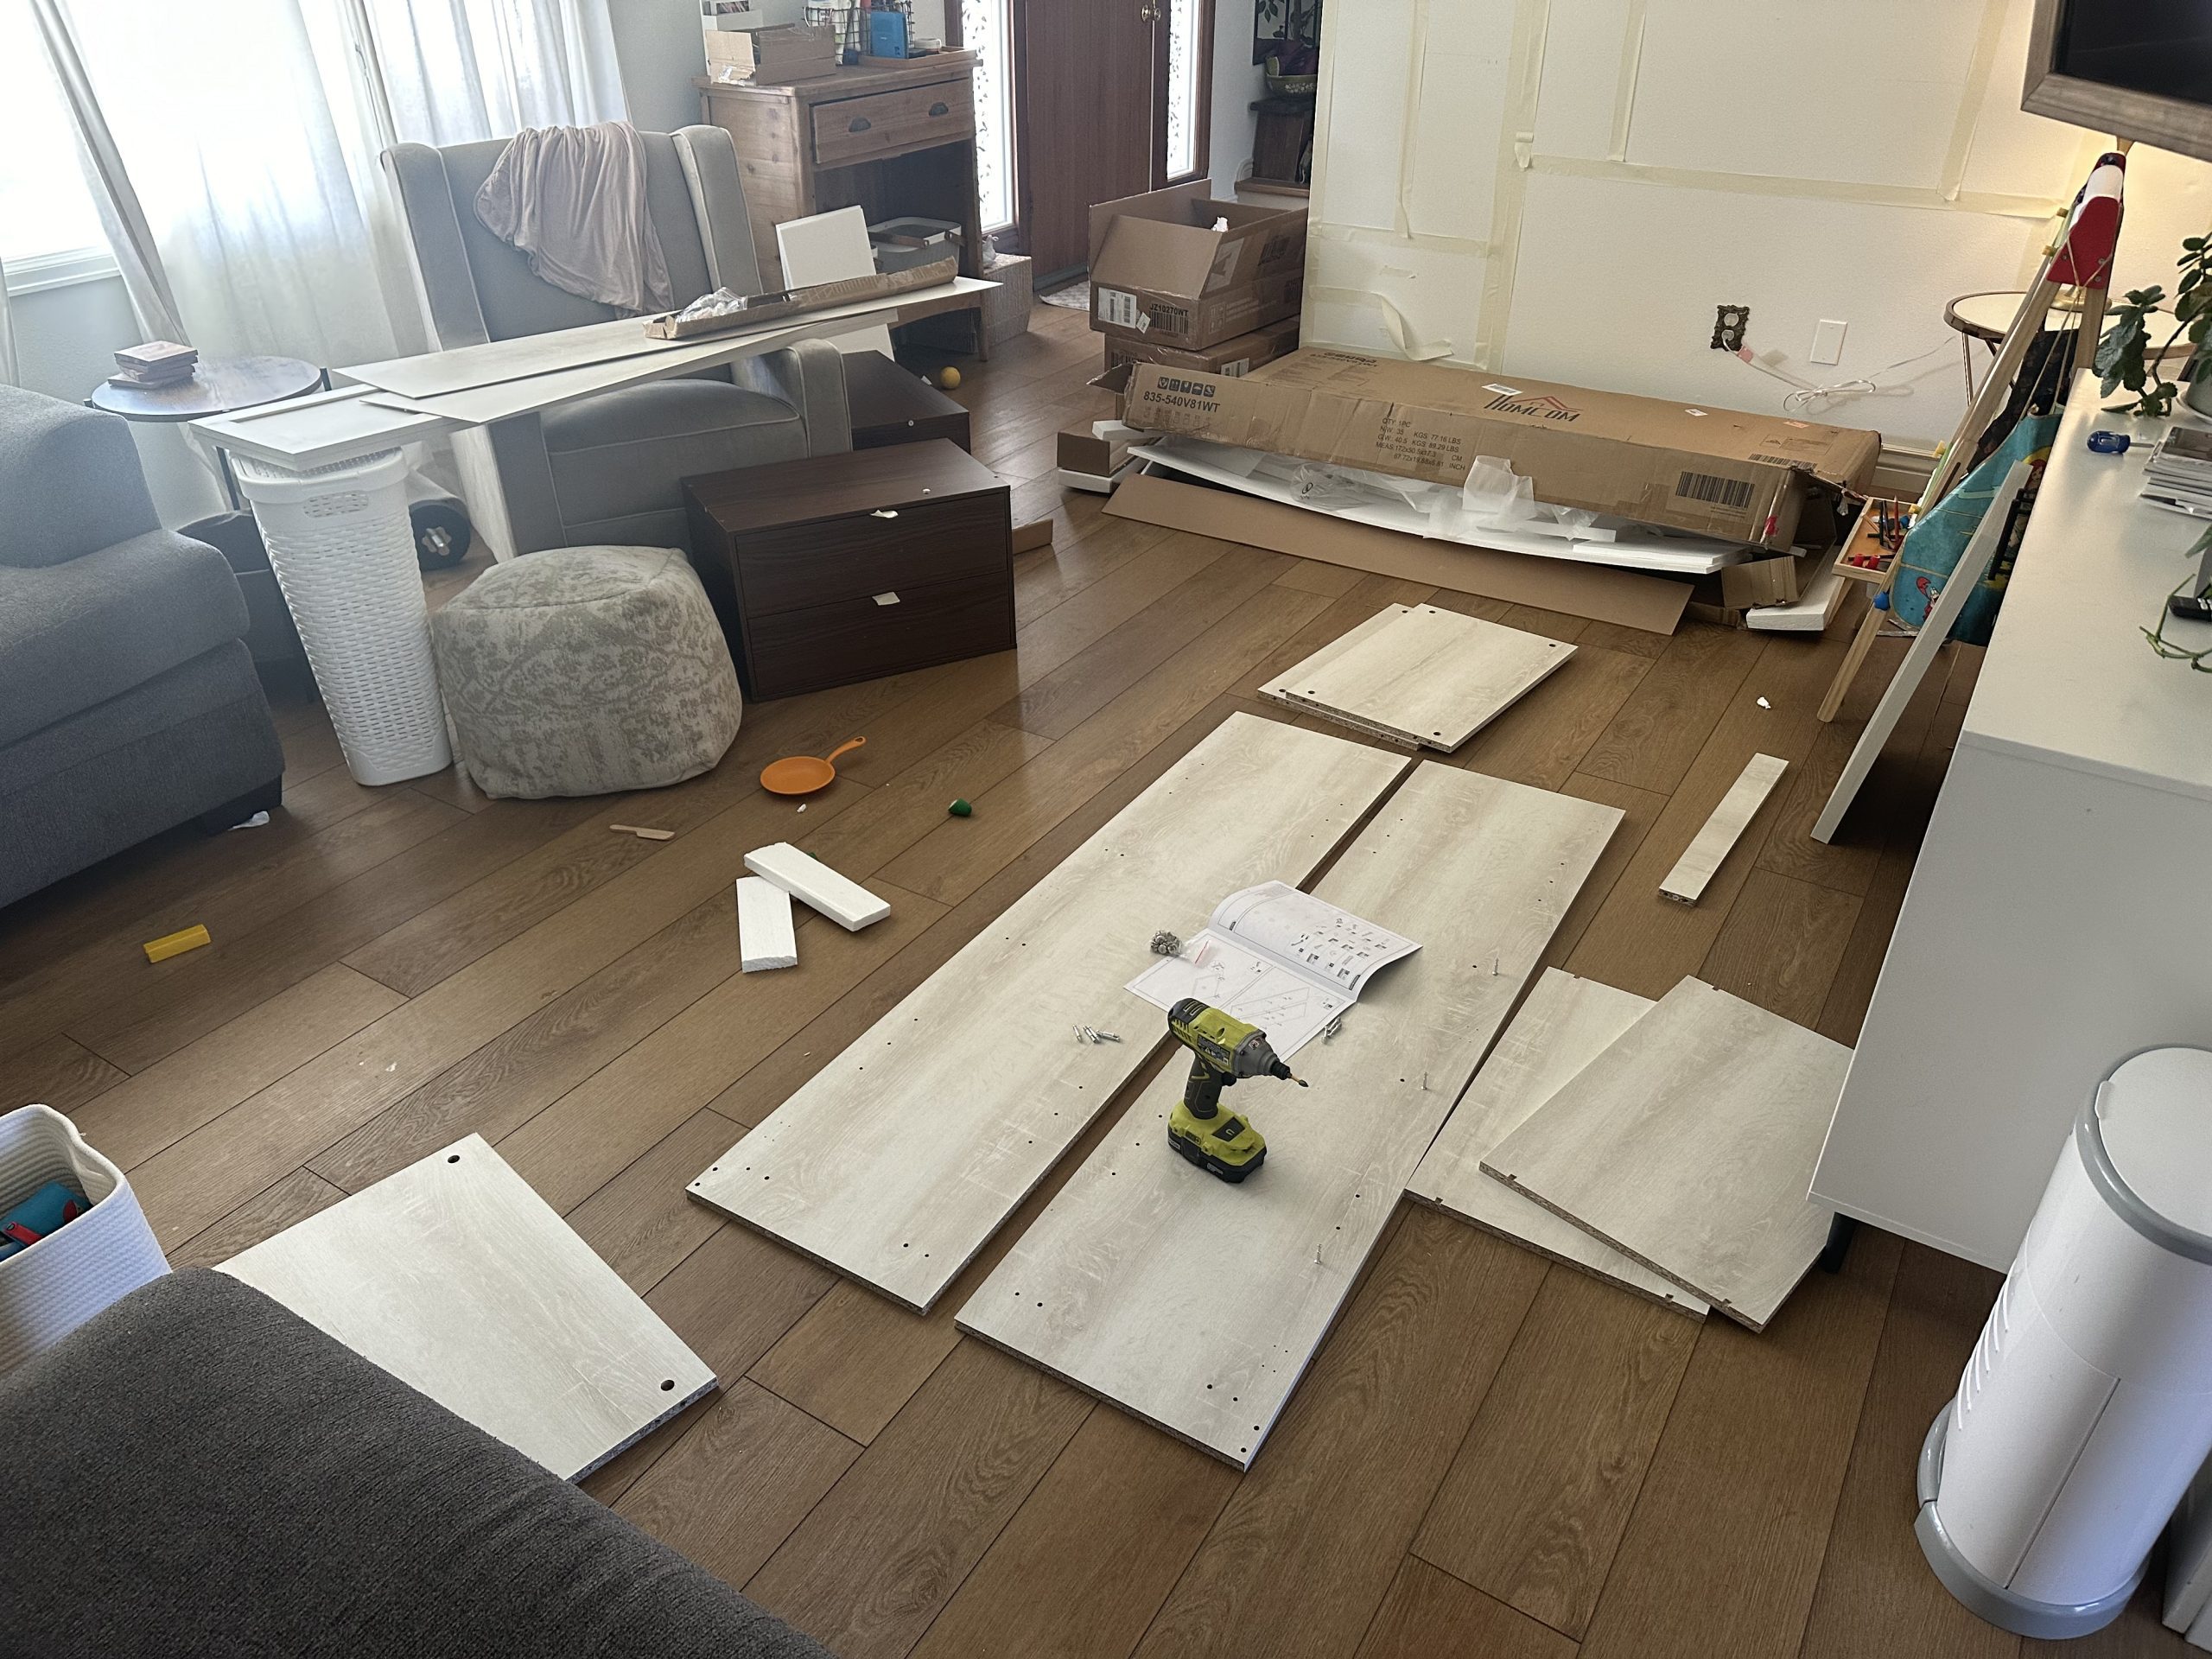
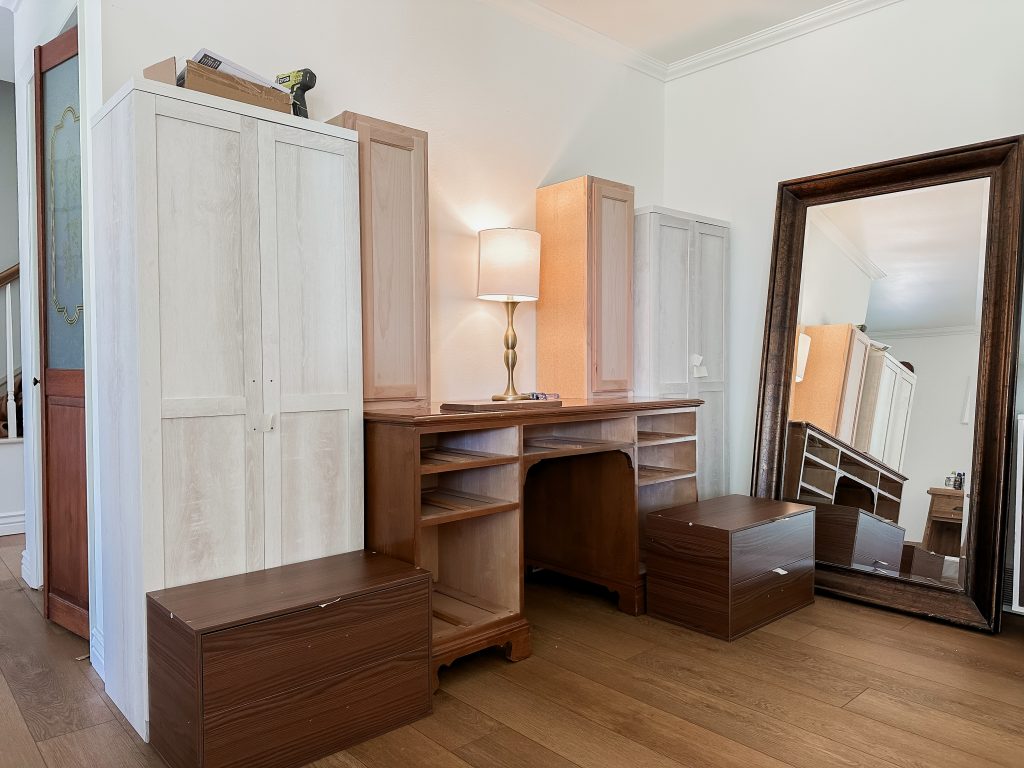
Before you start any IKEA furniture hacks, taking proper measurements and planning ahead will save you time and frustration. Small space living hacks often require strategic thinking, so a well-thought-out plan is key. It’s important to note that, although very popular, IKEA is not the only company that sells laminate furniture – look elsewhere if you’re not seeing what you need at IKEA. For example, I used laminate furniture from Home Depot to build our built-in desk and storage unit in our living room. If it’s laminate furniture, it doesn’t matter where it comes from, these suggestions apply!
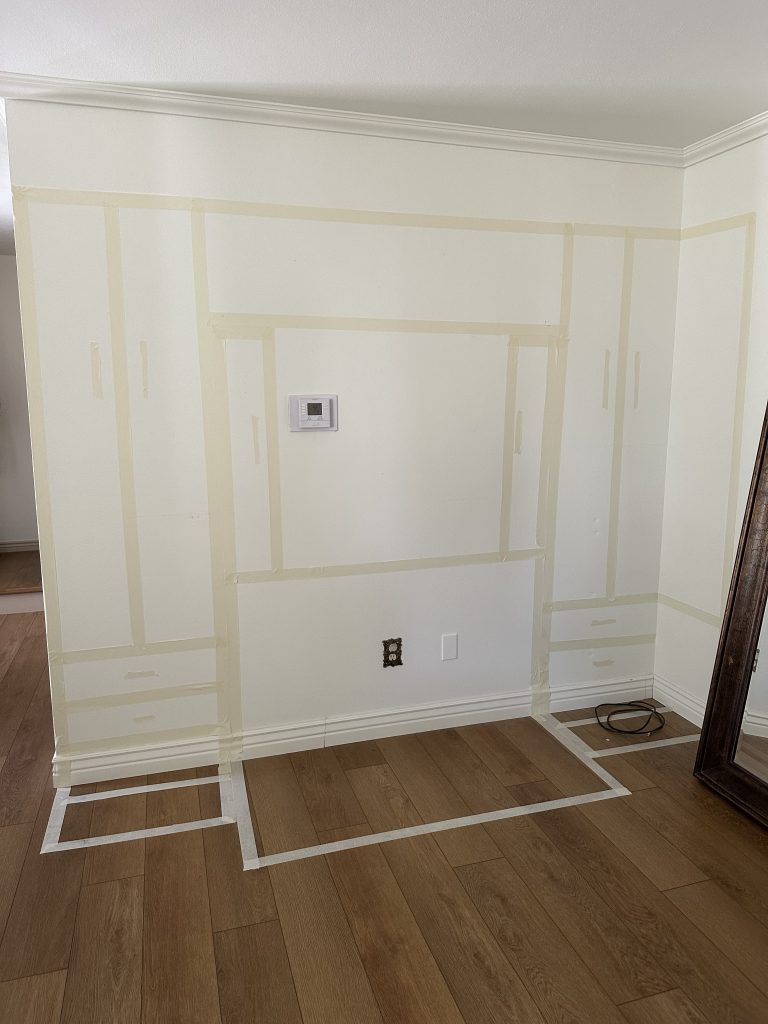
- Measure twice, cut once – There’s nothing worse than realizing your newly hacked bookshelf doesn’t fit in your space. Make sure you are double checking all of the measurements before you even purchase the item(s)!
- Sketch out your design – A simple drawing can help you visualize how everything will come together.
- Check weight limits – Some IKEA pieces aren’t designed to hold heavy loads. This doesn’t mean you shouldn’t use it necessarily but you may need to factor in additional supports to make it safe and function the way you need!
- Think outside the box – Repurpose items for different functions (e.g., turning a bookshelf into a bench).
- Combine multiple IKEA pieces – Stack or attach units together for a built-in effect and to to get everything you need out of your build.
Assembling and Adding High-End Customizations
When you are assembling your furniture, make sure you follow the directions exactly, screw every screw tightly and ensure it is sturdy! If you are going to be making any modifications to the furniture you’ll need to start out with a very strong base.
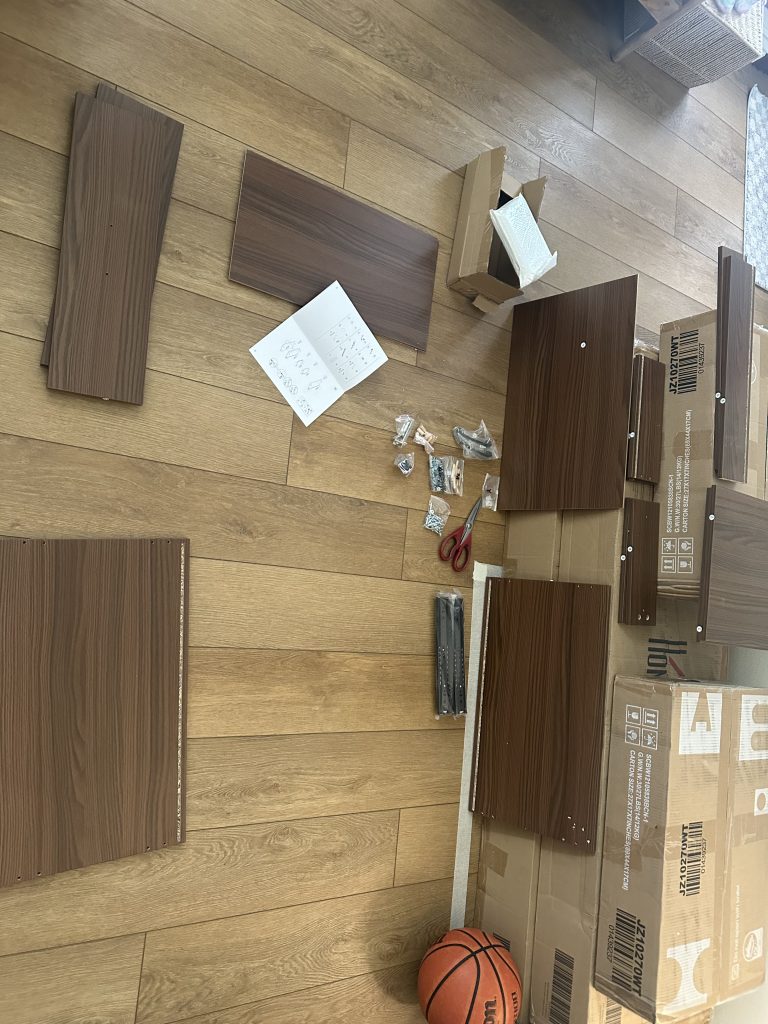
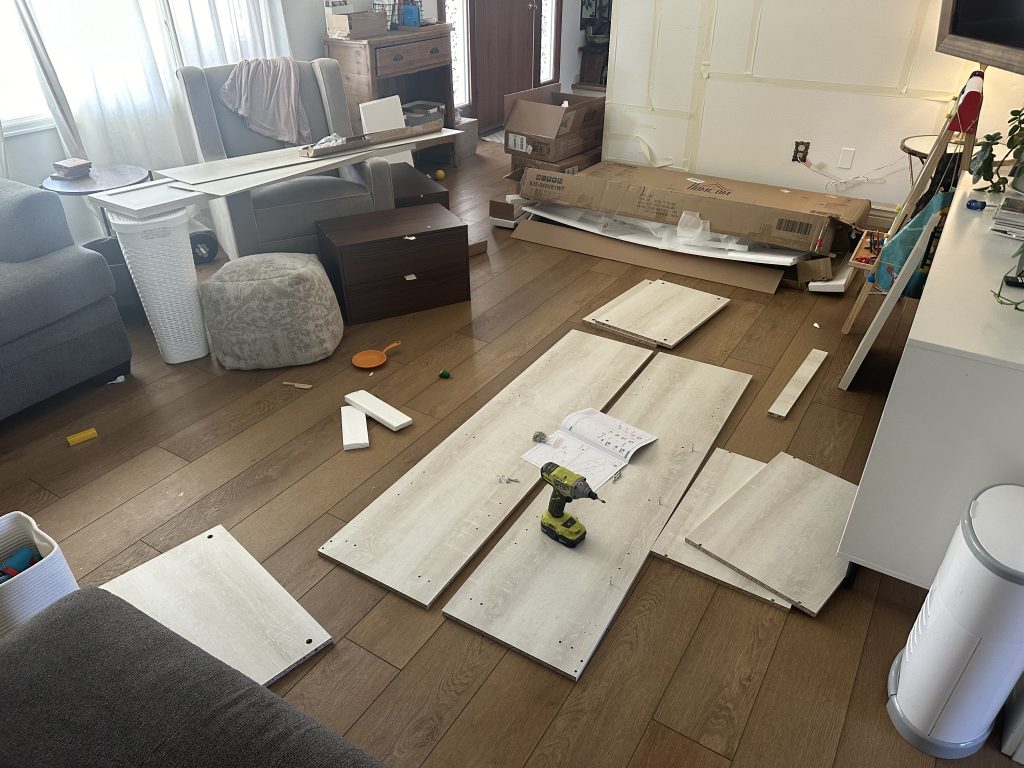
One of the best ways to make IKEA look expensive is through customizations. Simple upgrades can give a budget-friendly piece a designer feel. This part is fun and there are a lot of creative ideas out there on how you can upgrade your furniture.
Some examples are:
- Add trim or molding – Add wooden trim to bookcases, dressers, or cabinets to create a custom, built-in look.
- Mix IKEA with high-end materials – Pairing with real wood, marble, or metal elevates the look.
- Customize doors and drawers – Paint, cane webbing, or overlays can transform the look.
- Use peel-and-stick wallpaper – An easy way to add patterns or texture without commitment.
- Install decorative legs – Adding sleek, custom legs to a basic IKEA cabinet or table instantly upgrades its look.
Reinforcement and Stability
Some IKEA pieces may need additional support to ensure long-term durability. When modifying furniture, reinforcement is key.
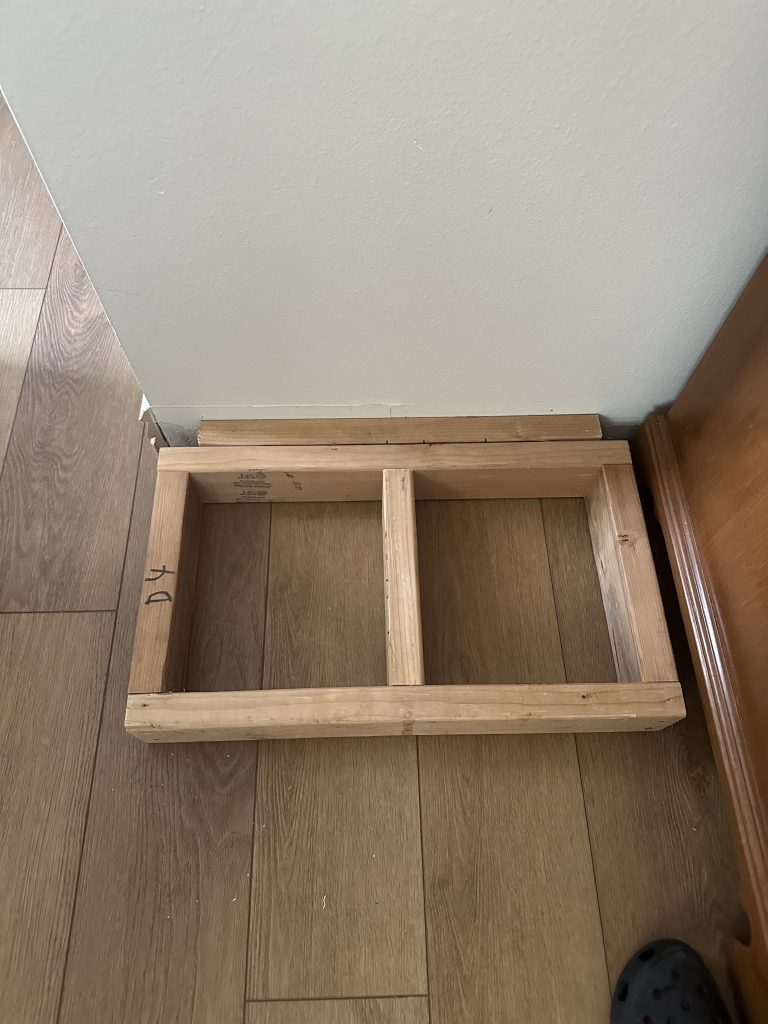
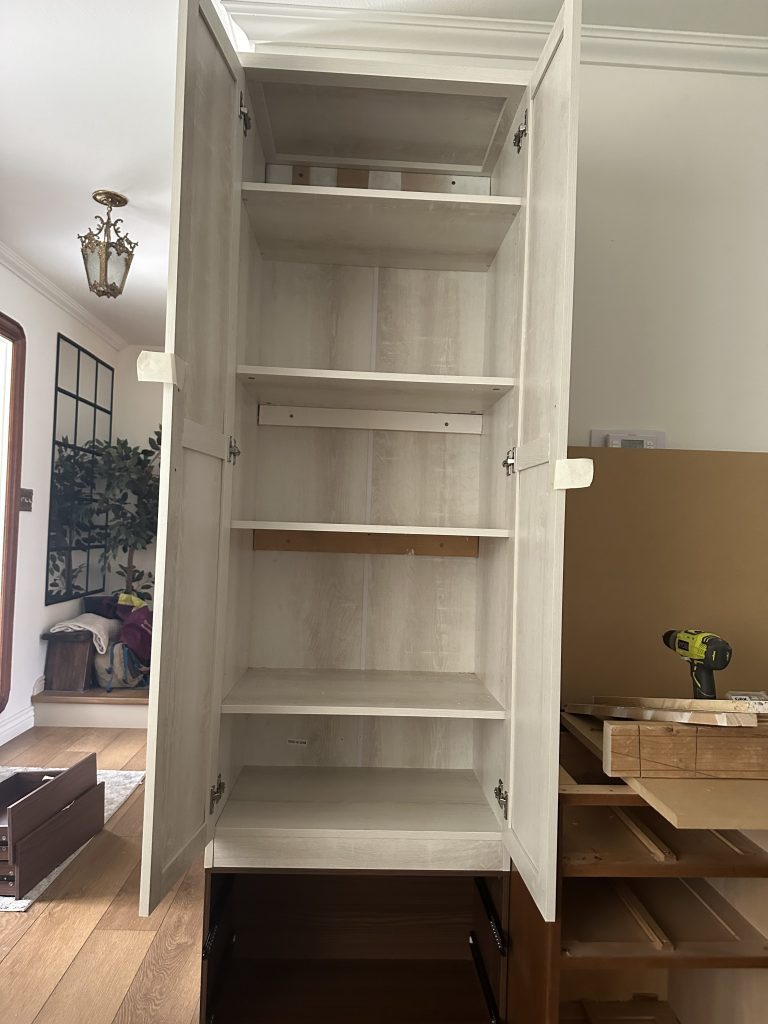
- Use brackets and screws – If you’re combining multiple units or adding heavy elements, extra support is essential.
- Pre-drill holes – Laminate furniture is often built with particle board which is not strong at all. Pre-drilling your holes is a must otherwise you will split the particle board and ruin your furniture.
- Anchor tall furniture to the wall – Especially important in homes with children to prevent tipping.
- Avoid weak adhesives – Strong glue or brackets work best for ensuring stability in IKEA hacks ideas.
Painting and Finishing Techniques
In my personal opinion, this section details the MOST important steps in any laminate furniture hacking project. Whatever you do, make sure you understand this section! Painting laminate furniture can be tricky!! It’s a slick surface and paint will not want to naturally adhere to it. It will come off sooo easily and look like shit instantly.
IKEA furniture hacks are allll about your finish work. If you take your time and pay great attention to detail with your finish work, you will have a beautiful end product. Skip these steps and I promise you will be sorry! I sense my “mom voice” coming out here, haha!
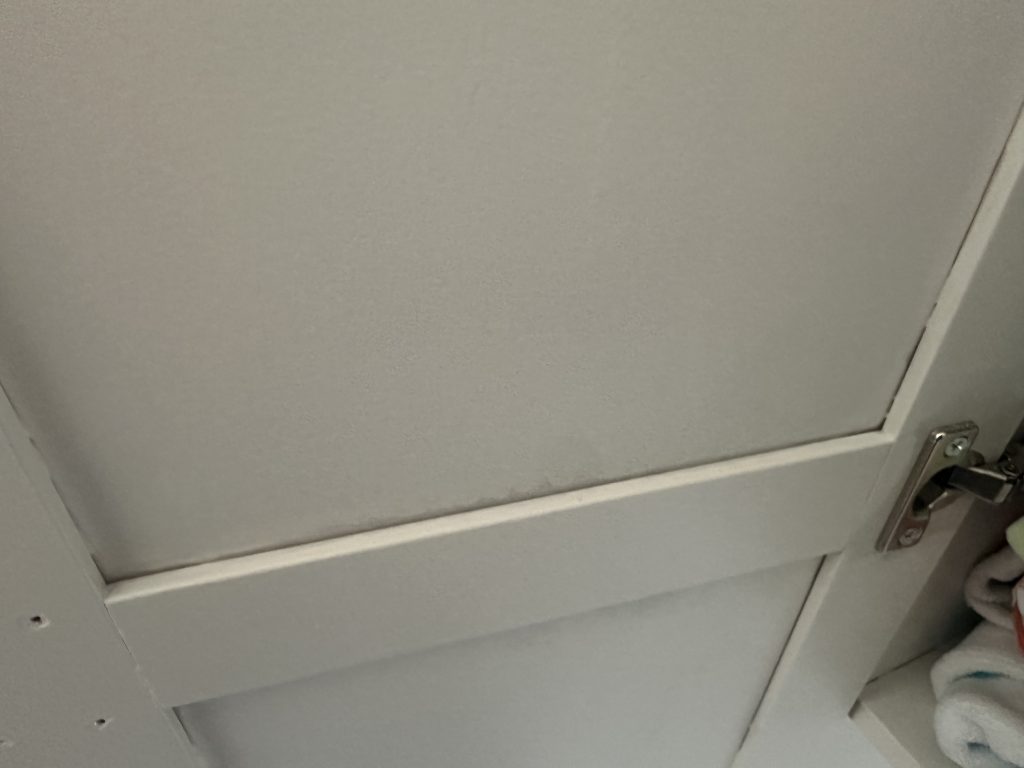
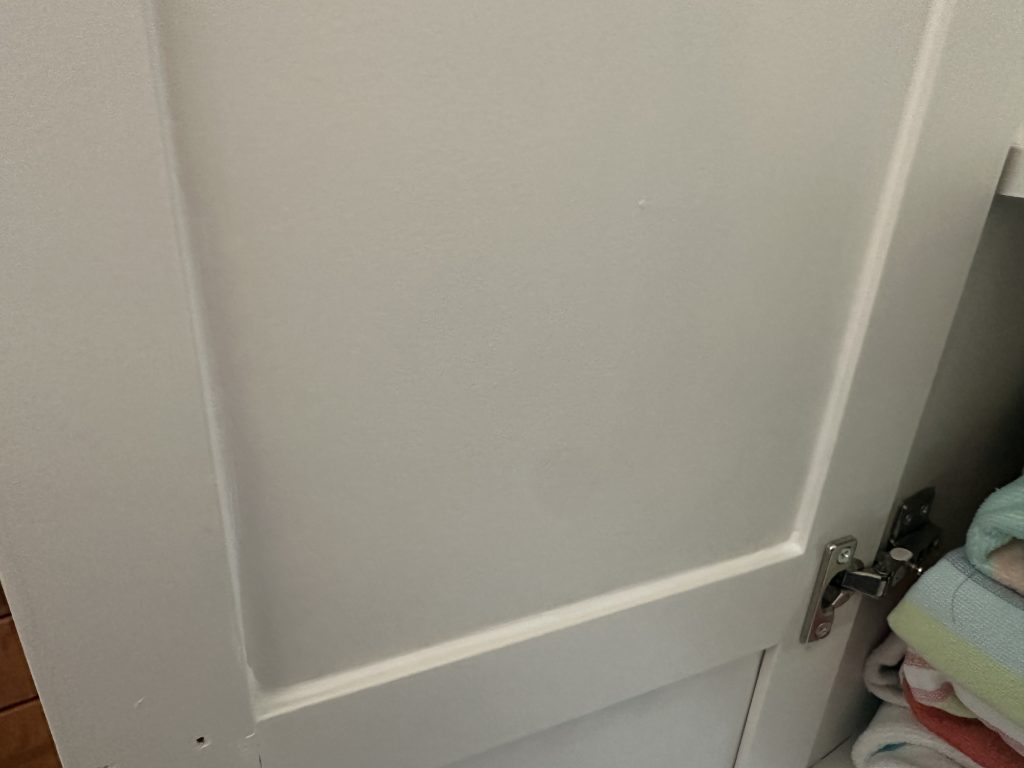
Fill holes/caulk seams
This is the stuff I’m talking about when I say “finish work.” Fill every hole with wood filler or Bondo. Bondo is particularly good for laminate furniture because it cures VERY hard and you can sand it down to be a seamless transition. So, if you are going to be changing the hardware size, bondo works great for filling those holes!
Caulk EVERY seam. If you can see even the slightest little gap in a seam, DO NOT trust the paint to fill the gap – it won’t! it will only enhance it and make it look worse. I know caulking is a pain in the butt and it’s so tempting to blow past this step but just do it! Your final project will look SO much better!
Sanding
I’m going to make this controversial…
Everything you read tells you to sand the laminate furniture before you paint. However, I opted to skip that step and here’s why:
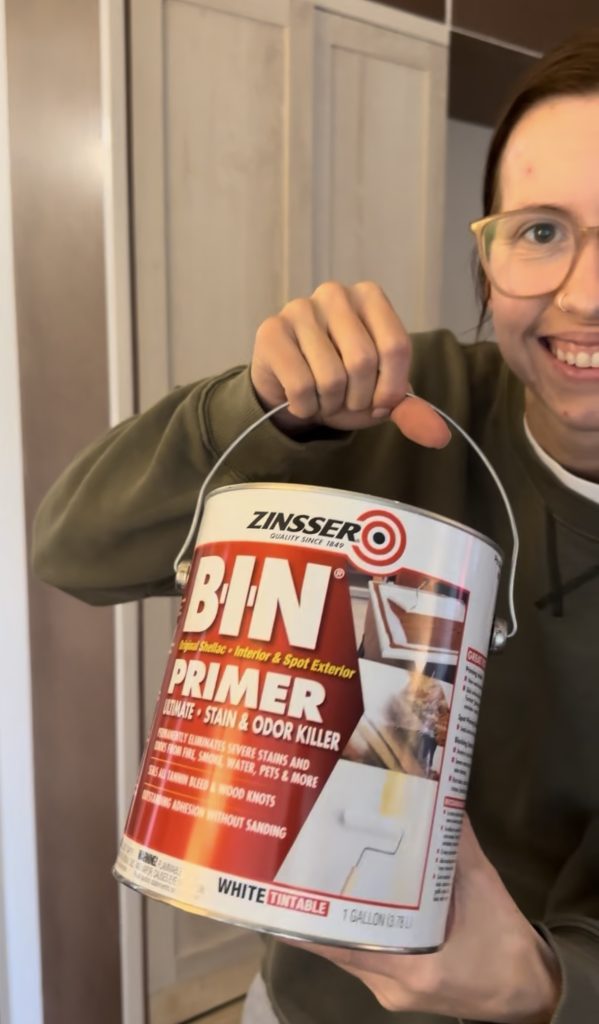
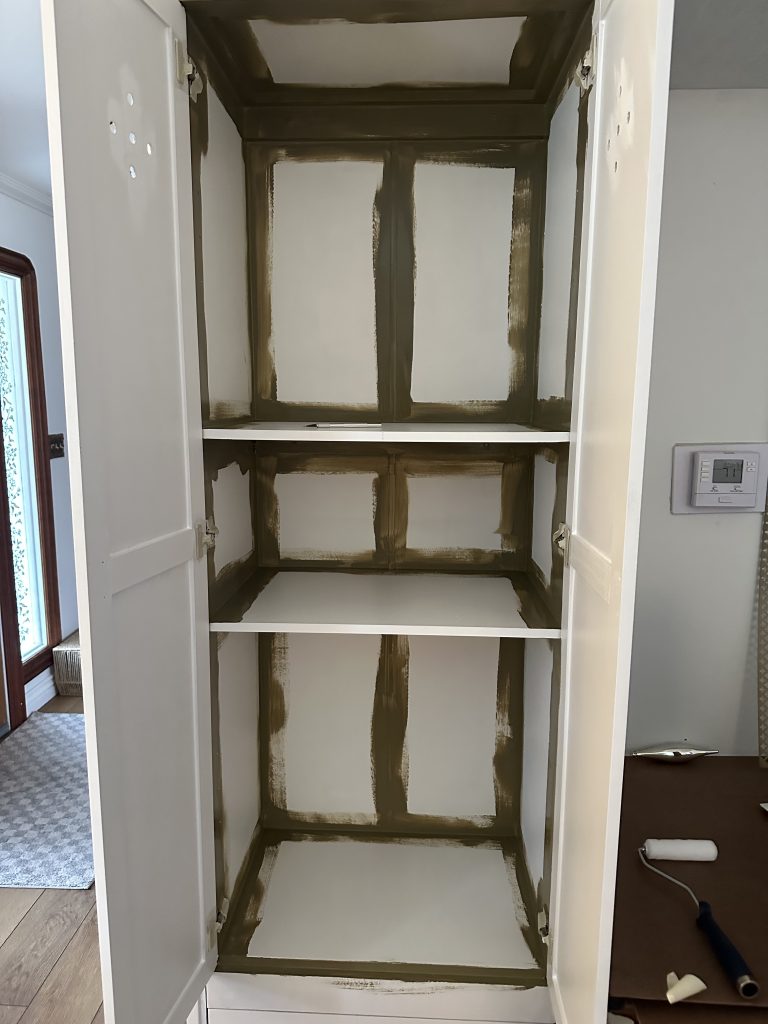
I started to sand the furniture by hand and even with a very fine grit sandpaper you could still see the marks. And no matter how good your paint is, it will never fully cover up those marks, it will just build upon them with each layer. So, instead, I opted to use a very stong, shellac based primer before painting to give the paint something to stick to.
If you were to use a palm sander to do your sanding, you would be less likely to run into that issue and therefore it would probably be a good thing to do!
So, whether you sand or not, use the Zinsser BIN Shallac Based Primer. And do 2-3 coats allowing it to fully dry between each coat!
Choose the Right Paint
Chalk paint, enamel, or spray paint work best for furniture, as regular wall paint just won’t hold up. I love using Sherwin William’s Urethane Trim Enamel paint. It is not cheap but it is well worth the price for this type of project! I would also suggest doing 2-3 coats of paint as well!
After you paint, if you are making a high-use piece of furniture and you are still worried that your paint may scratch or chip, consider putting clear contact paper on shelves where baskets or items may be sliding over top of the paint often.
Applying the Paint
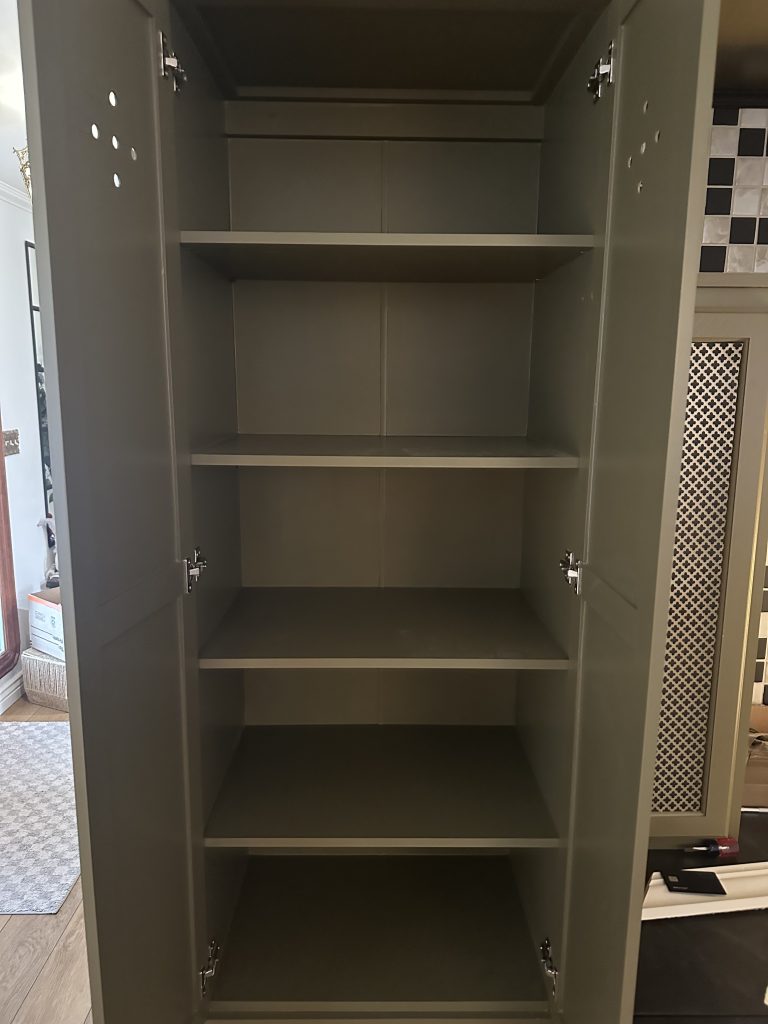
How you apply the paint is going to make a difference in finish and durability. Using a paint sprayer (I LOVE and recommend this one) is going to give you the best, smoothest and strongest finish. That’s not always feasible however, so the next best thing is using a 1/4in nap roller and self leveling paint to get as smooth of a finish as possible.
The DON’TS of Ikea Furniture Hacks
Aside from doing the opposite of everything we just discussed, here are few more things you would avoid doing when hacking laminate furniture.
- Don’t paint without priming first – The paint will chip or peel off easily.
- Don’t rush the drying process – Give each coat of primer, paint and/or sealant enough time to cure.
- Don’t use weak adhesives – Always choose strong glue or brackets for added durability.
- Don’t use regular wall paint – Furniture needs more durable paint like chalk, enamel, or spray paint.
- Don’t forget to pre-drill holes – Prevents splitting when adding screws or nails.
Final Thoughts
IKEA furniture hacks are a fun and versatile way to create a custom storage solution to fit your needs! If done correctly, they can look flawless and last for a very long time. Whether you’re tackling a laminate furniture makeover, painting IKEA furniture, or looking for the best DIY IKEA transformations, following these dos and don’ts will set you up for success. With a little creativity and patience, even the most basic IKEA pieces can be transformed into something truly special.
FAQ
Do I think they are easy?
Yes and no… they aren’t complicated but in order to be done correctly, they require a lot of steps and a lot of patience. A beginner could definitely tackle an IKEA furniture hack, just maybe start with something small to get a feel for it.
Are they fast?
No. This is not a project you can rush and get good results.
Are they cheap?
Also, no. The furniture itself is usually pretty reasonably priced and even better if you find it used! However, in order to get a finished product that looks good and holds up well, you will have to purchase a lot of additional supplies that are not cheap, so it adds up quickly!
Is it better to hack furniture vs building your own from scratch?
I think this depends on a lot of factors! Your skill level being the biggest one. If you’re new to DIY, making built-in cabinets from scratch may be more than you can tackle therefore, hacking furniture is a good alternative!
As far as budget goes, I think hacking vs building from scratch is actually going to be very similarly priced, if done correctly.
So, should I even try it?
YES!! I do think there is a time and place where hacking IKEA furniture makes sense, AND it’s a lot of fun! Personally, I think they are best used for smaller, less complex projects that won’t have high-usage such as enhancing nightstands or side tables, creating storage benches, etc. My intent is not to scare you away from hacking furniture, but rather to equip you with the correct knowledge you need in order to make an informed decision before diving in!