The Ultimate Guide to Painting Laminate Furniture: Tips for a Flawless Finish
This post may contain affiliate links, which means I may earn a small commission if you make a purchase using one of those links. As an Amazon Associate, I earn from qualifying purchases. Thank you for supporting Projects & Pearls.
Painting laminate furniture can completely turn outdated or cheap furniture into a high-end, custom-looking piece. But let’s be real—painting laminate furniture is tricky! Unlike solid wood, laminate has a slick, non-porous surface that paint doesn’t naturally adhere to. If you don’t prep properly, the paint will chip and scratch right off, ruining your hard work.
In this guide, I’m going to walk you through exactly how to paint laminate, ensuring a smooth, durable, and professional-looking finish. Whether you’re tackling a laminate furniture makeover or refinishing laminate furniture for a whole new look, these steps will help you achieve the end result you’re going for!
Step 1: Prepping Your Laminate Furniture Makeover
The prep work is THE MOST IMPORTANT part of painting laminate furniture! Before you start slapping on paint, proper preparation is key to a long-lasting finish. Skipping these steps will leave you with a paint job that chips easily and looks like shit, so don’t rush!
1. Fill Holes and Caulk Seams
This step is what separates a DIY project from a professional-looking IKEA furniture painting transformation. If you’re changing out the hardware and changing the size, fill the existing holes with Bondo. Bondo is particularly great for refinishing laminate furniture because it cures very hard and sands down seamlessly. Use wood filler for other, smaller holes.
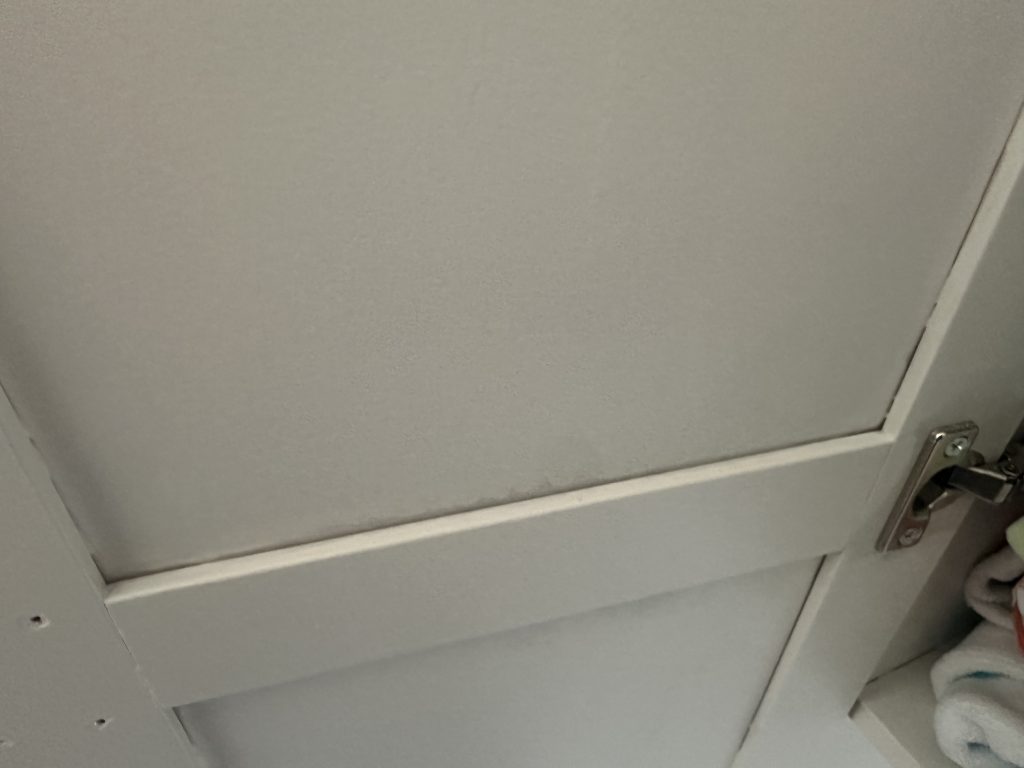
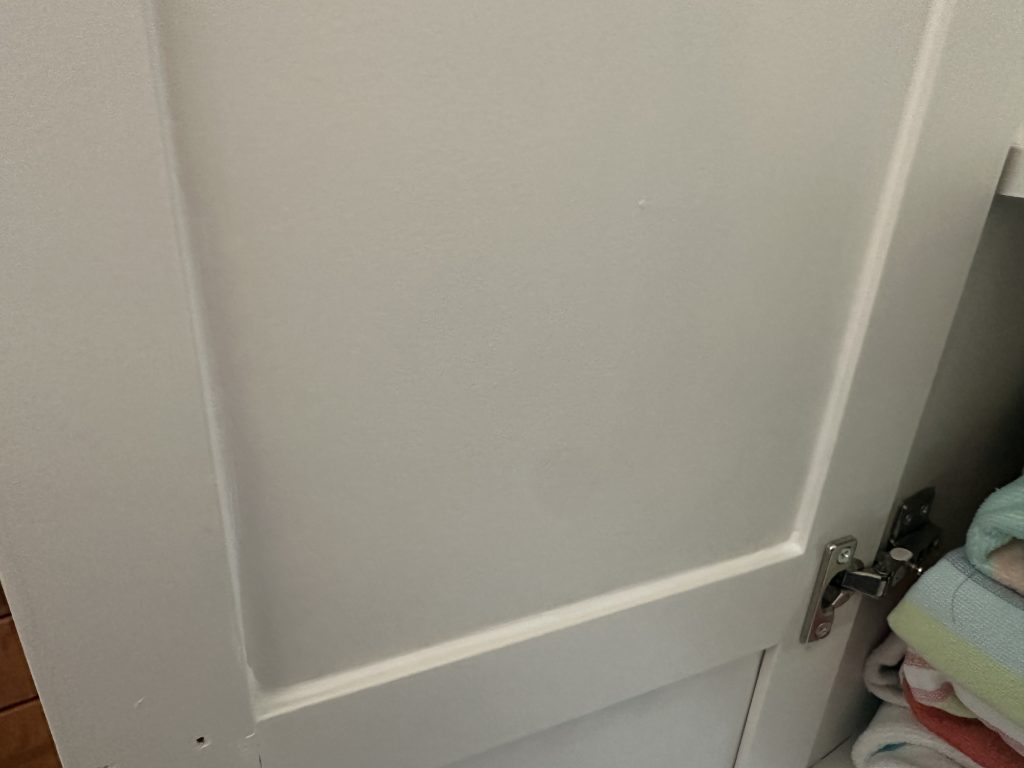
For a polished look, caulk every seam. Even the tiniest gaps will be more visible after painting, so take the time to fill them in now. This is such a pain in the butt, I know, but it is very worth it!
2. Clean the Surface
Laminate furniture makeovers can be ruined by dirt and grime, which prevent paint from sticking properly. Use a degreasing cleaner like TSP (trisodium phosphate) or Krud Kutter to remove any residue before moving on. And then, make sure you thoroughly clean off the degreaser!
3. Sanding: To Sand or Not to Sand?
Most guides on how to paint laminate will tell you to sand the surface lightly before priming. And I do think this is wise, however, I found that sanding by hand often leaves visible marks that don’t fully disappear under paint. So, if you don’t have a palm sander or random orbital sander you can still be successful at this but you must use a strong, shellac-based primer without sanding.
If you do choose to sand, use a palm sander or random orbital sander with fine-grit sandpaper to prevent visible scratches. Whether you sand or not, priming is an absolute must!
Step 2: Prime for Maximum Adhesion
The secret to painting IKEA furniture (or any laminate piece) is using the right primer. Regular primers won’t cut it on a slick surface like laminate, so you need something with serious adhesion power.
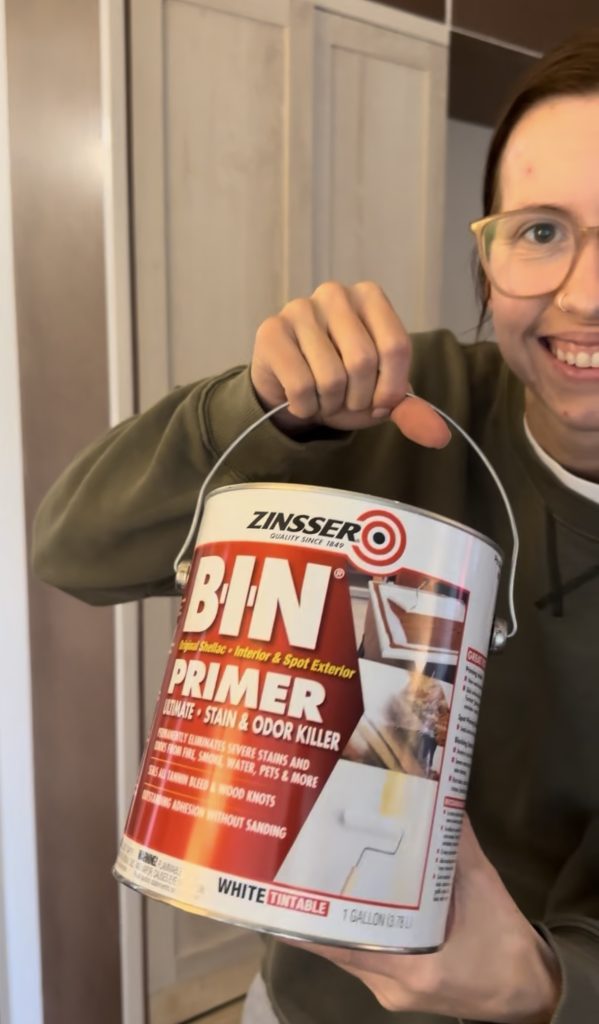
Best Primer for Refinishing Laminate Furniture:
I highly recommend Zinsser BIN Shellac-Based Primer. This stuff is a game changer for refinishing laminate furniture because it sticks incredibly well and creates a solid base for your paint.
How to Apply Primer:
- Apply 2-3 thin coats, allowing each layer to fully dry before adding the next.
- Use a high-quality brush, foam roller, or paint sprayer for the smoothest application.
Step 3: Choosing the Right Paint
Not all paint is created equal when it comes to laminate furniture makeovers. The best options for a durable, professional finish are:
- Enamel Paint – My favorite is Sherwin-Williams Urethane Trim Enamel paint. It’s self-leveling and super durable, making it perfect for high-use furniture.
- Chalk Paint – A good choice for a matte, vintage look. Be sure to seal it with a topcoat.
- Spray Paint – If you want a flawless, factory-like finish, spray paint can work wonders, but it requires careful prep.
No matter which paint you choose, apply 2-3 thin coats and let them fully dry between layers.
Step 4: Cover or Remove Hardware
In order avoid getting paint on your door or drawer hinges, you must either cover them up or remove them while painting. Removing them is the best way to ensure they do not get paint on them however, you’ll want to be careful with how many times you remove and re-install the hardware. Each time you do that you will be weakening the connection so try not to do it too many times!
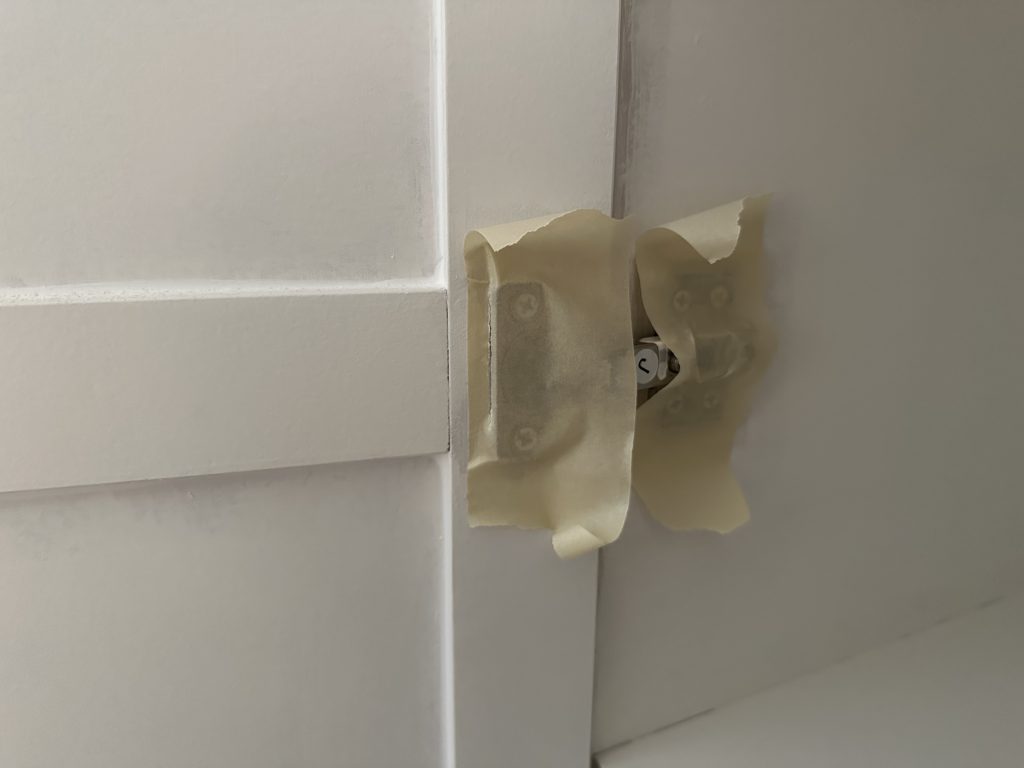
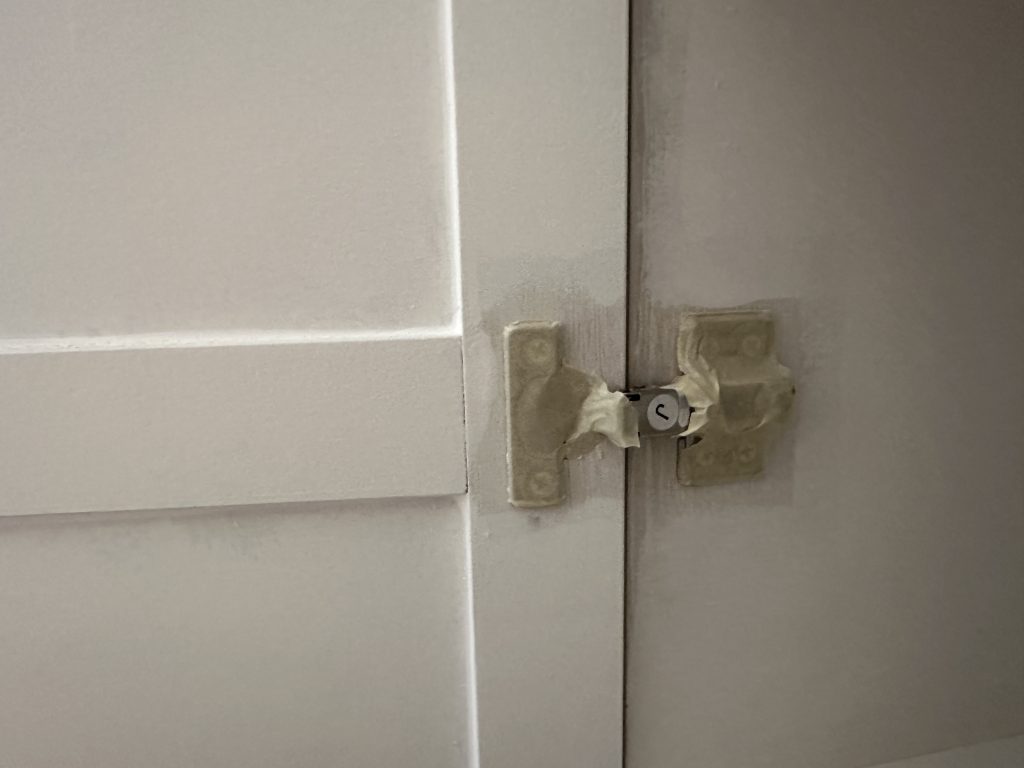
Covering Hardware With Tape:
- Use masking tape to cover the hinges. Place a large piece over the hinge and then use a sharp razor to cut around the hinge.
Step 5: Applying the Paint
The way you apply your paint will make a huge difference in the final outcome. Here’s how to get that pro-level finish:
Best Application Methods:
- Paint Sprayer – This is the best option for a smooth, factory-like finish. My favorite paint sprayer is this one!
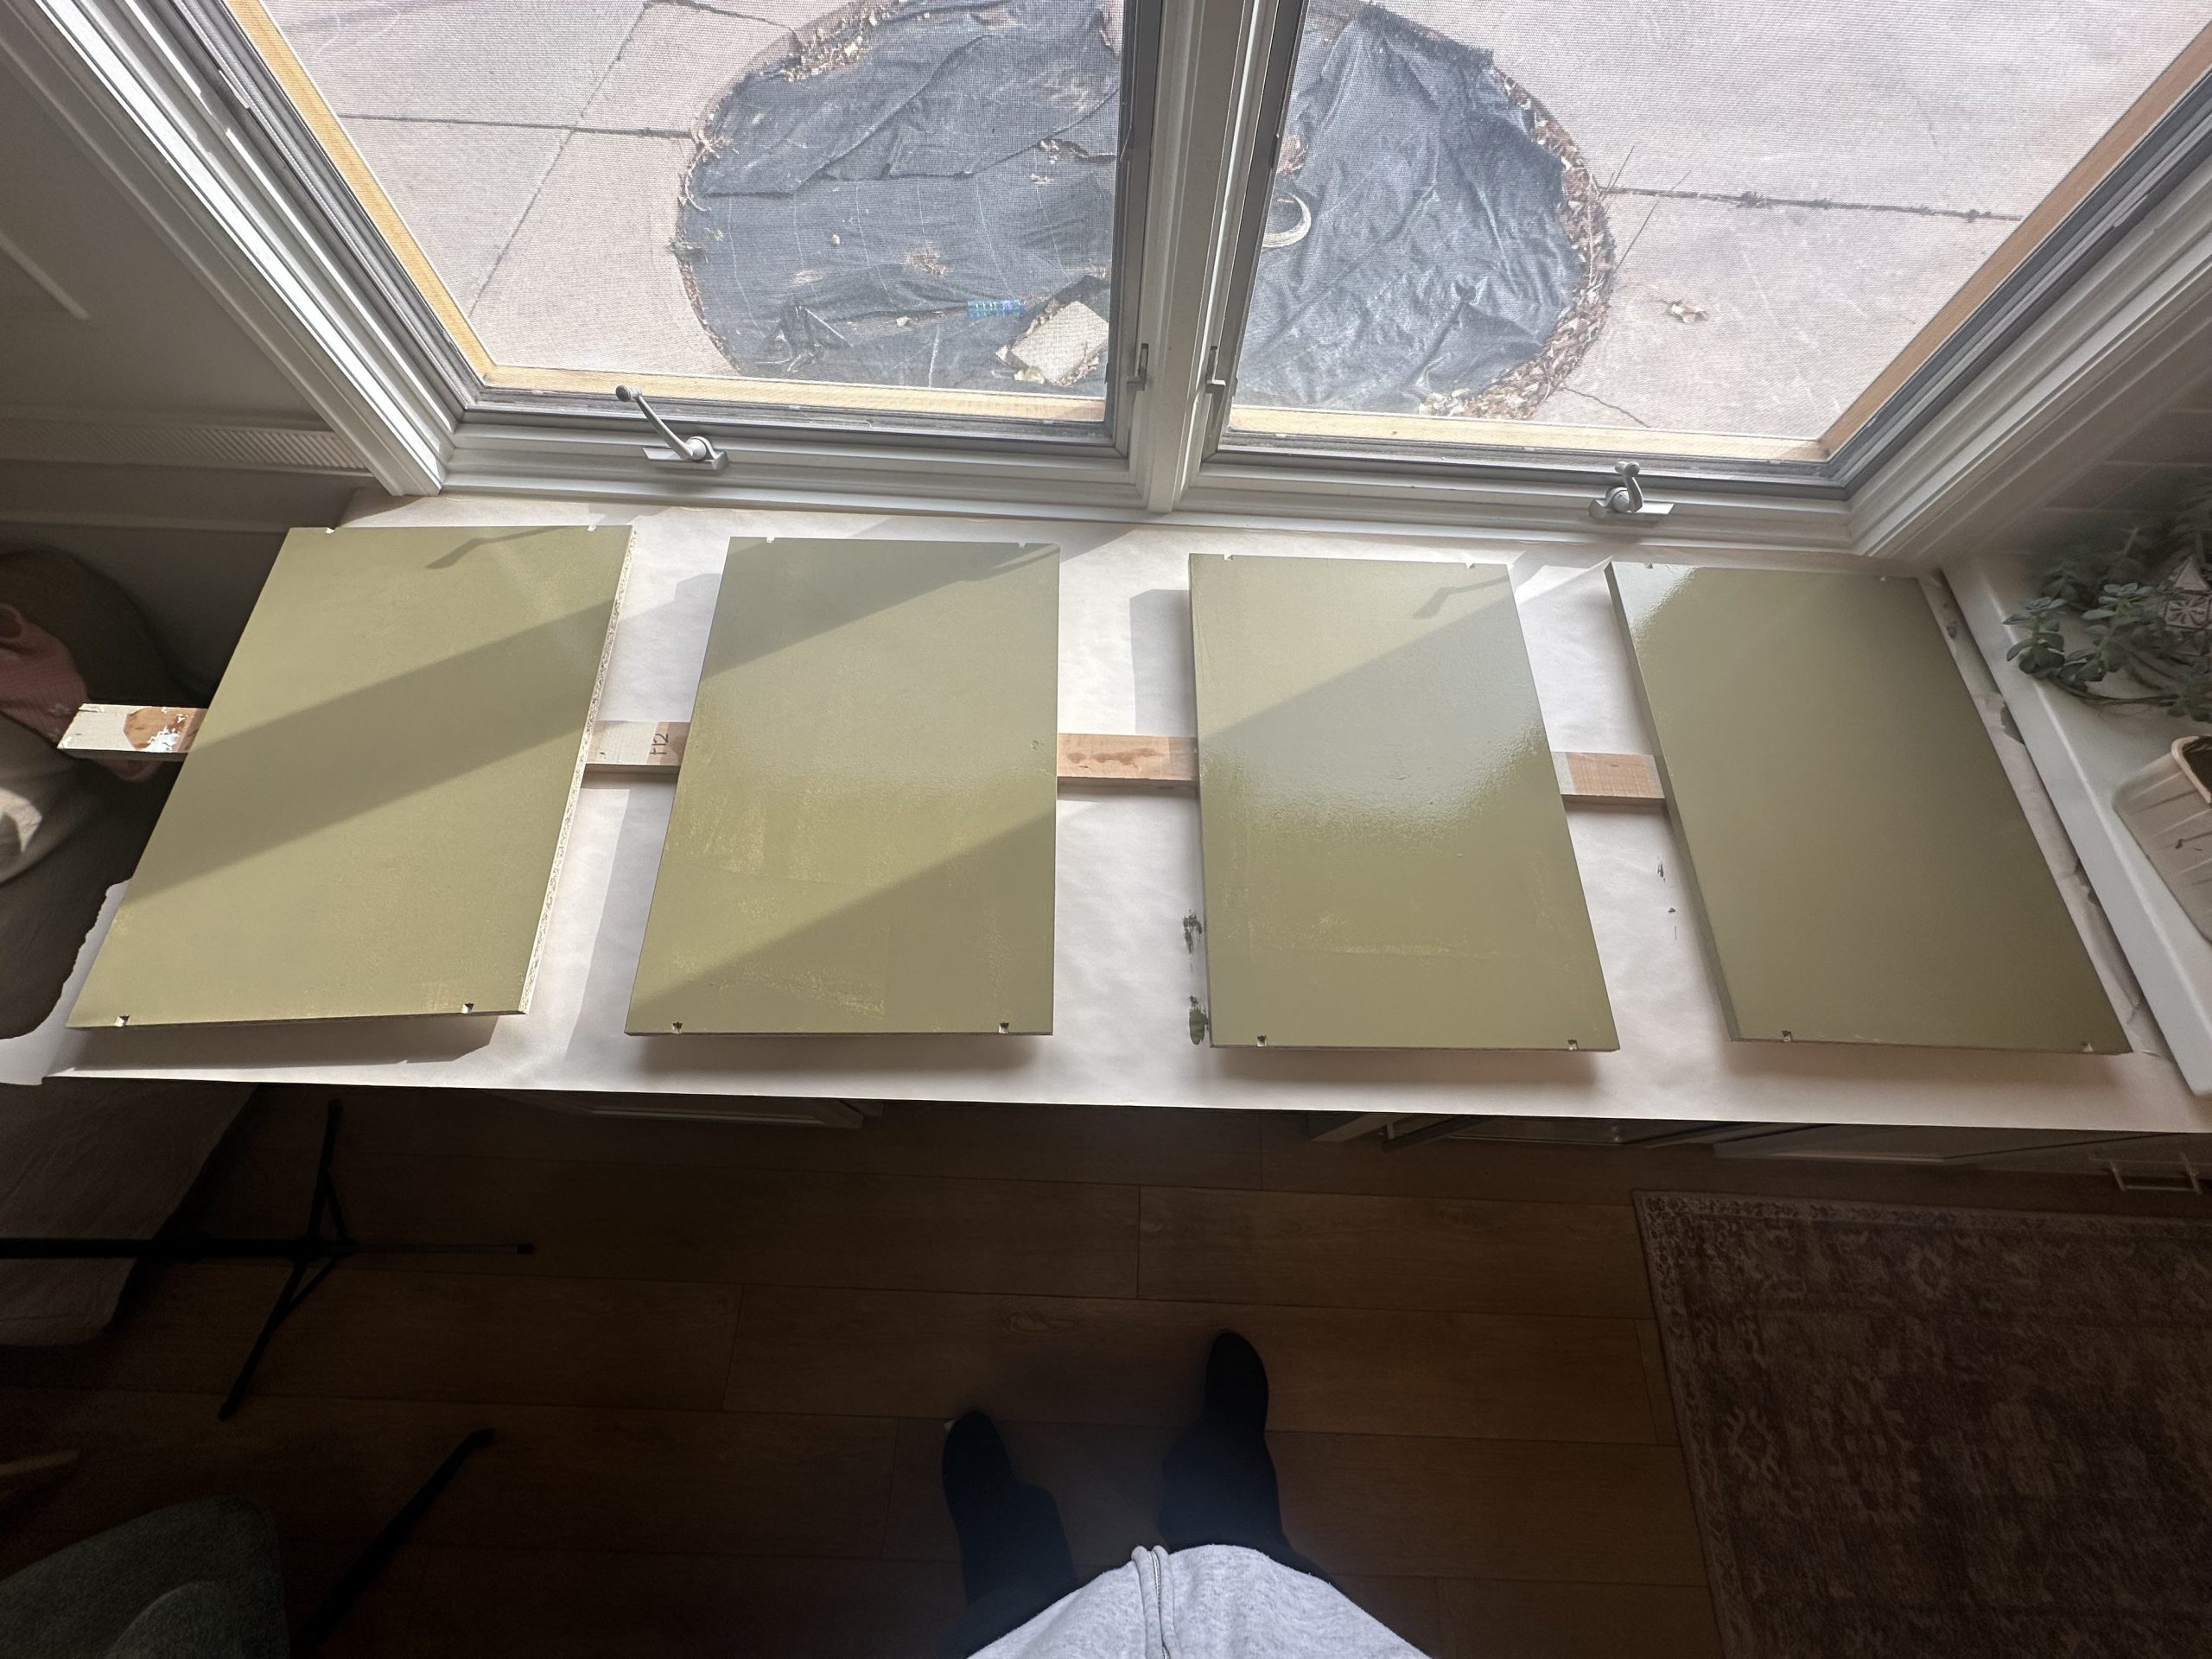
- Foam Roller & Brush – If using a roller, choose either a foam roller or a 1/4-inch nap roller for a smooth application. Personally, I opt for these 1/4in nap rollers from Home Depot over the foam roller. I find that the foam rollers tend to leave a dimpled, textured finish. These particular rollers paired with the urethane enamel self leveling paint leave a great, nearly smooth finish!
- Self-Leveling Paint – If brushing or rolling, use self-leveling paint to minimize brush strokes.
Same goes as the primer, make sure you apply at least 2-3 coats of paint as well!
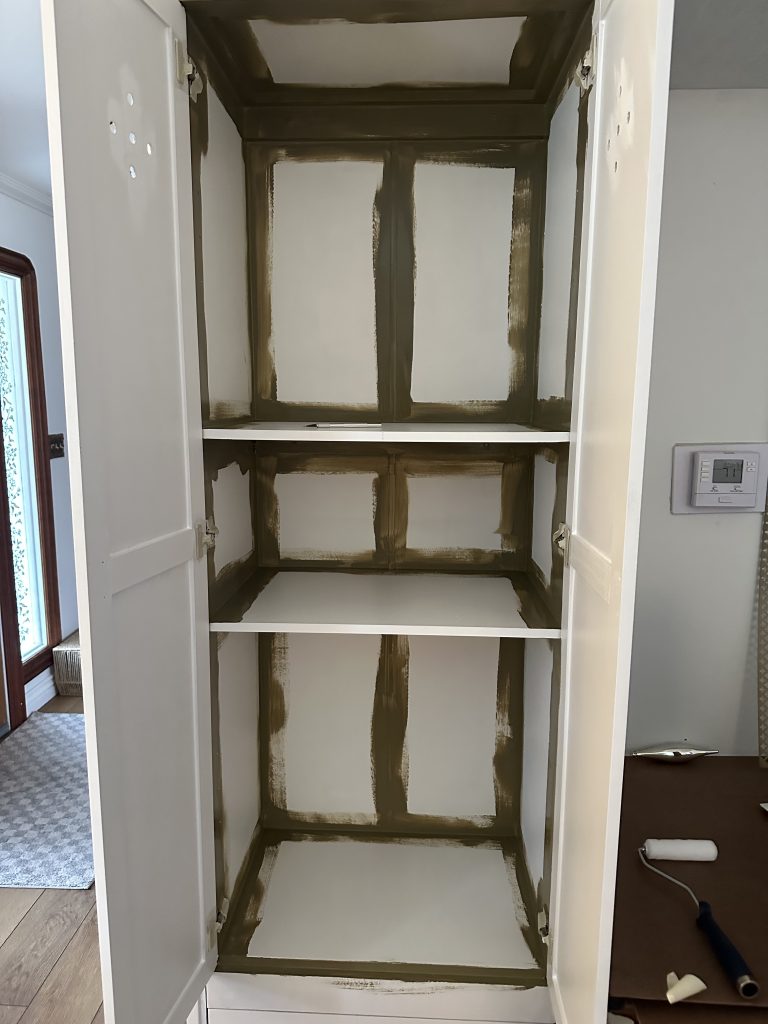
Order of Operations When Painting:
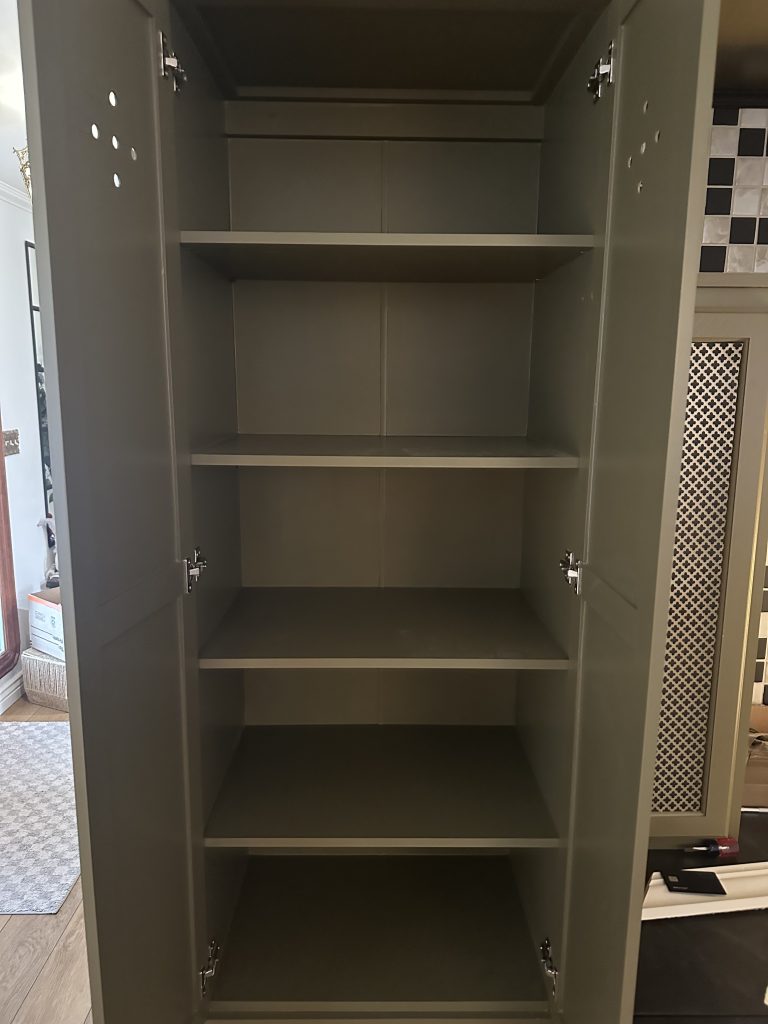
The order in which you paint sections of your laminate furniture piece may matter! I always start by painting the corners first and then work outward towards the flat surfaces with my roller.
If you have removable shelves, I suggest taking them out to paint them separately instead of leaving them in. If you leave them in, then the side of the wall where the piece sits will not get painted and when you adjust the shelving in the future, you will see that!
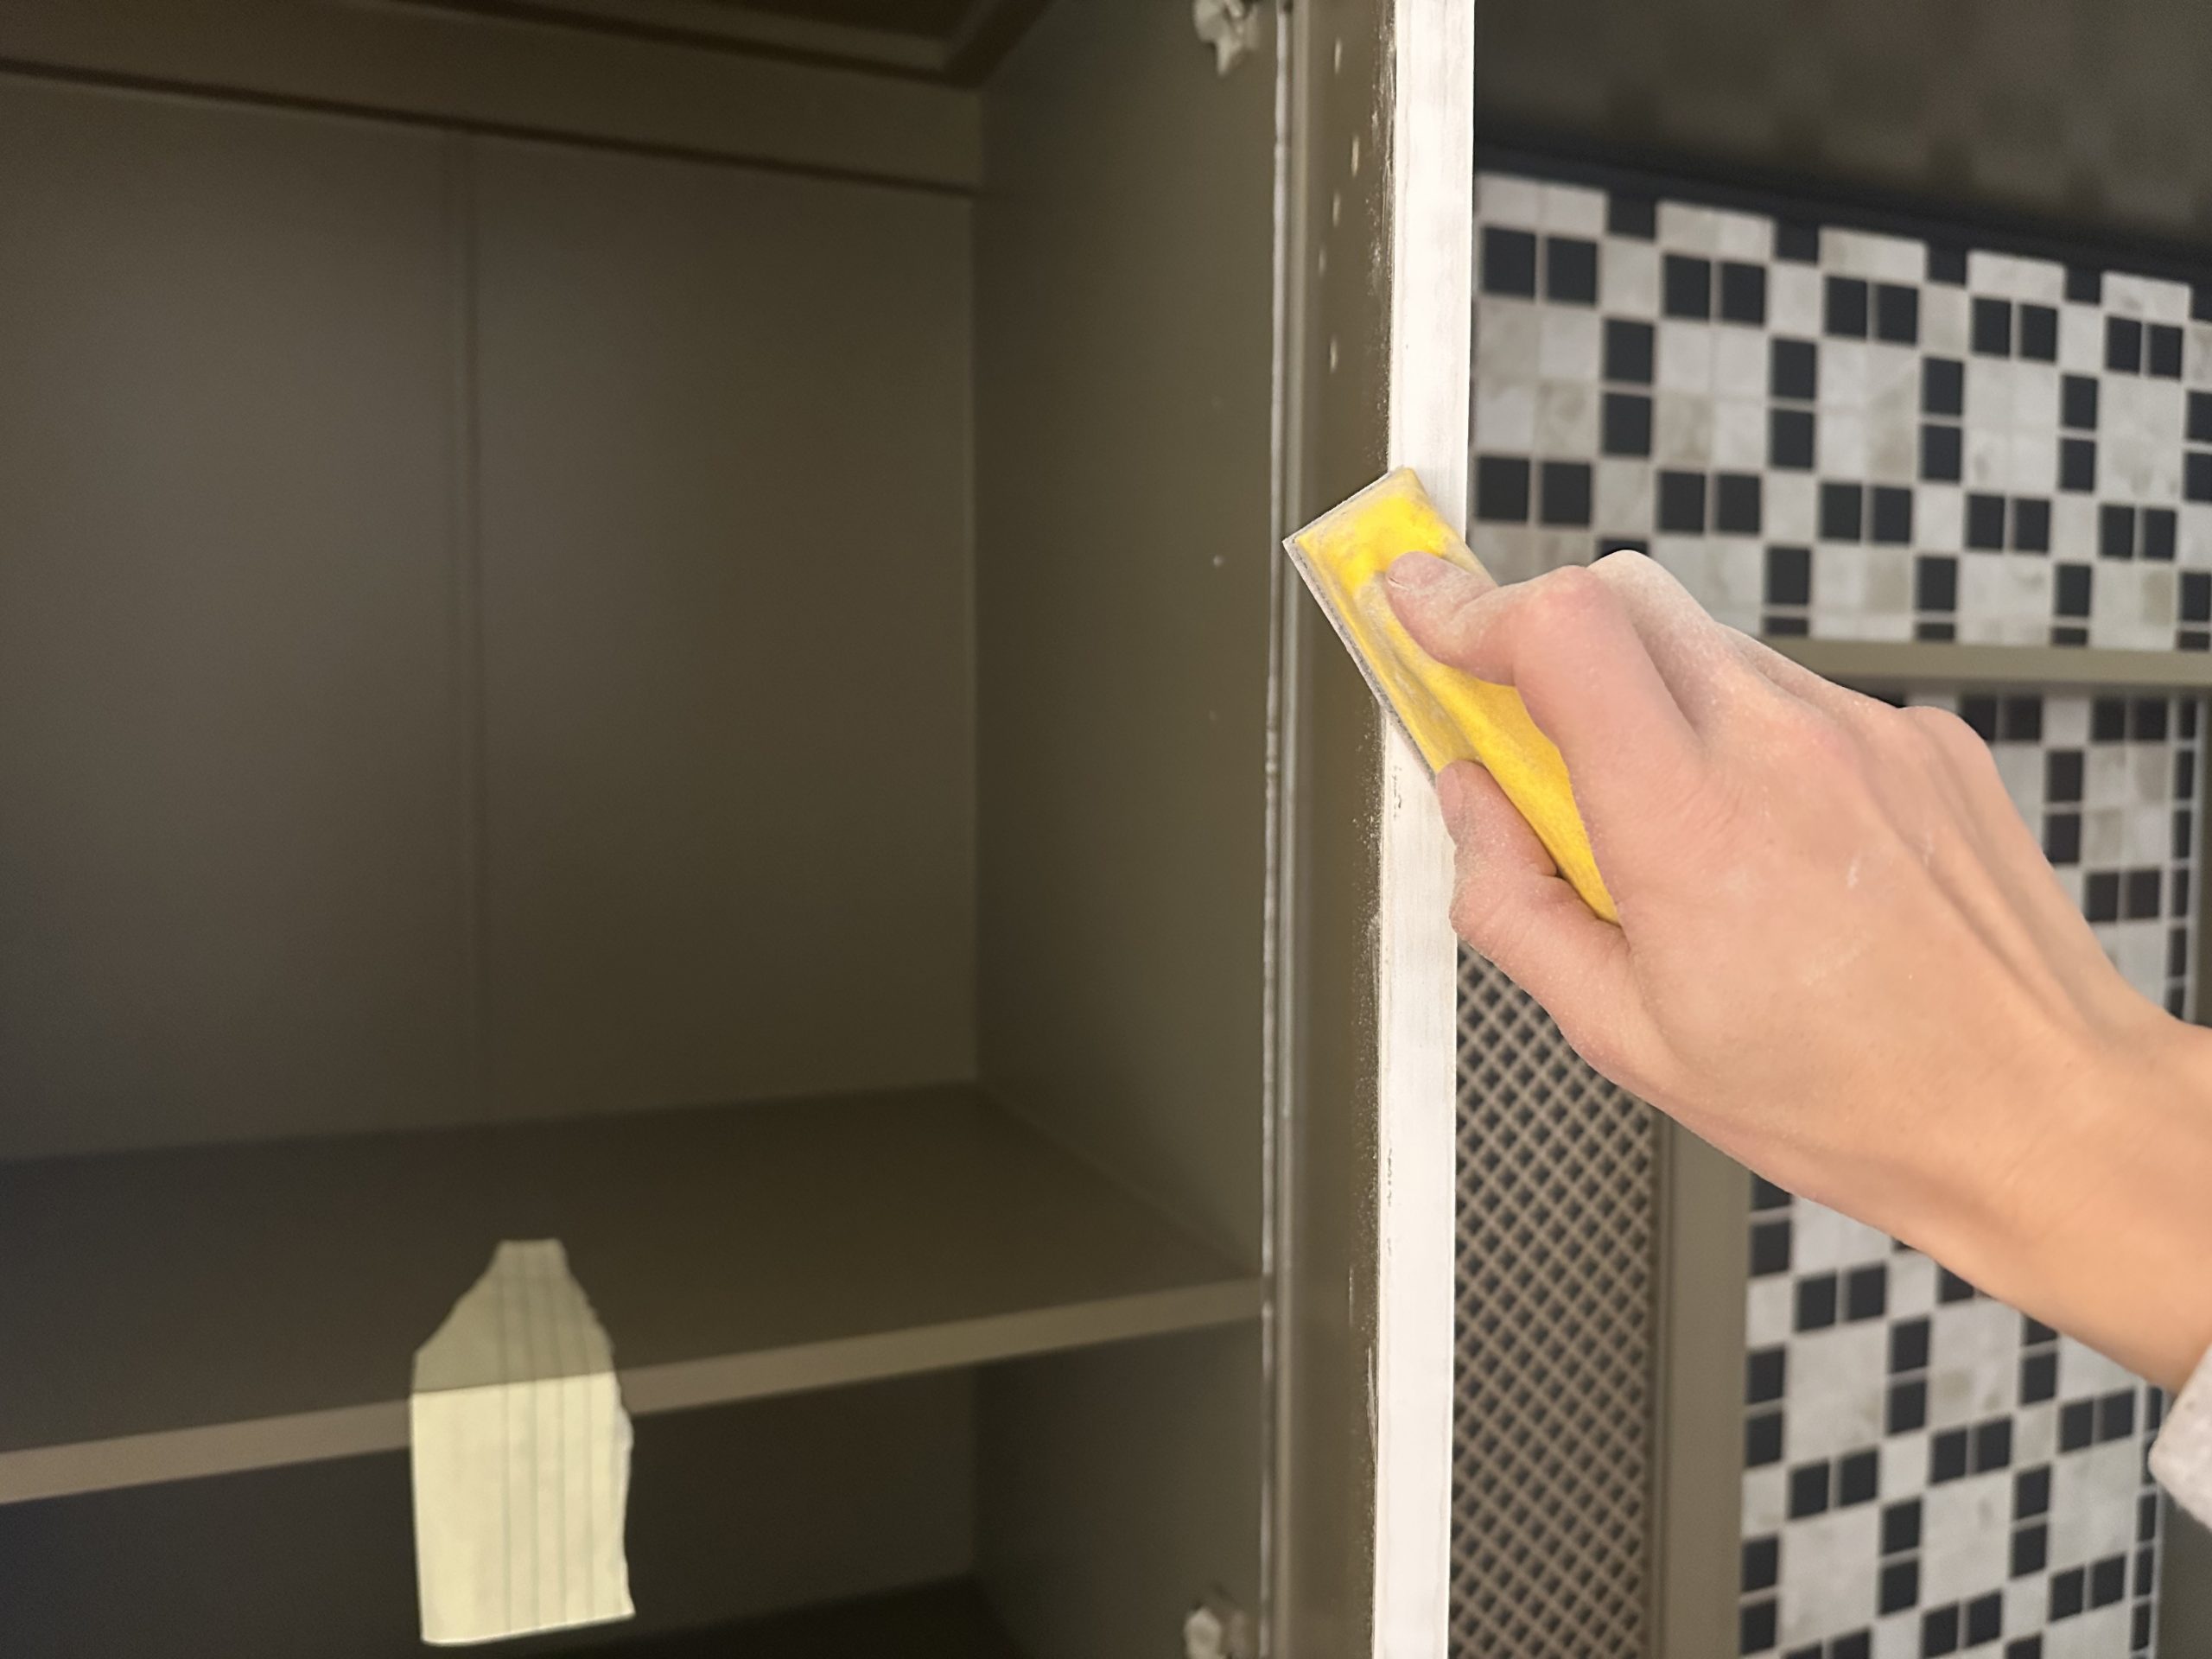
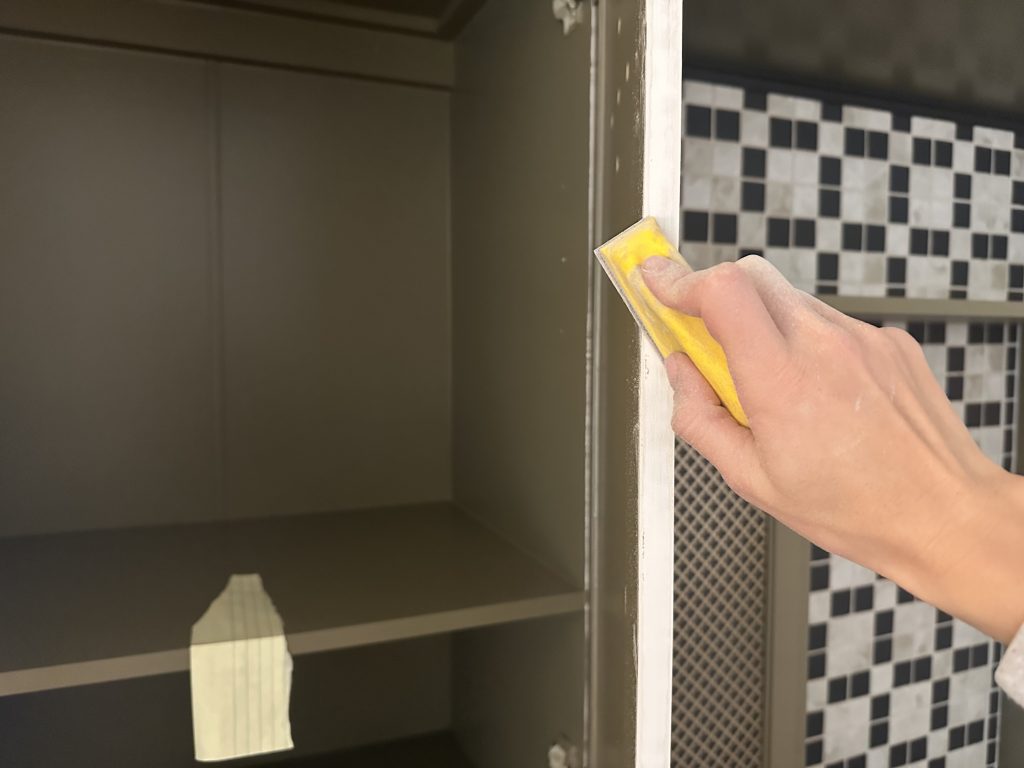
If you are leaving your doors on to paint then I suggest waiting to paint the two surfaces that will touch when they close until the very end. your roller will cause paint to build up on those surfaces so you will need to sand them down using a sander like this one and then paint them at the very end!
Step 6: Protecting Your Painted Laminate Furniture
If your piece will get a lot of use, take extra steps to protect your hard work!
- Use Clear Contact Paper – If you’re painting IKEA furniture with open shelves or drawers, adding clear contact paper to surfaces that will see frequent use can help prevent scratches.
- Avoid Heavy Use Right Away – Allow your paint laminate furniture to cure for at least a week before heavy use to ensure maximum durability.
- Touch-Up as Needed – Keep leftover paint for touch-ups in case of chips or scuffs down the road.
Final Thoughts
Painting IKEA furniture (or any laminate piece) is totally possible with the right prep and materials. Whether you’re looking for a cheap furniture makeover or an easy furniture makeover that refreshes an old piece, following these steps will ensure a durable, professional-looking result.
By taking the time to prep, prime, and use high-quality materials, you’ll end up with a stunning piece that looks like it came straight from a high-end furniture store. So grab your paintbrush and get started on your next laminate furniture makeover!