
Painting Picture Frames: DIY Bobbin Frame

This post may contain affiliate links, which means I may earn a small commission if you make a purchase using one of those links. As an Amazon Associate, I earn from qualifying purchases. Thank you for supporting Projects & Pearls.
Painting picture frames is just one of the many cool ways you can upcycle an old frame. As an avid thrifter, my pile of old pictured frames is always growing. Yes, that same pile my husband thinks is the “to donate” pile but is actually the “came from somebody else’s donate pile and is now my I know I will use this someday” pile. It’s always feels like a win when I do in fact use something out of that pile. I wanted to create a mini gallery wall in my daughter’s big girl room so I pulled out four picture frames and got to work.
If you’re like 99% of people and don’t care to read the opening part of a blog post, jump to what you really came here for! My feelings are only a little hurt.
Picture frames are one of those items in a home a urge you to think twice about before putting in your actual “to donate” pile (I realize most people have a real donations pile and do actually take it to the thrift store because I gotta buy my pile from somewhere – thank you, by the way!) There are SO many different ways to change the look of a picture frame. I’ll spare you of many ideas swirling around in my head right now but someday you might find yourself reading a different post about that.
I’ve been playing with colors and patterns and textures in my daughter’s big girl room so for this gallery wall I wanted to incorporate all of the above. This particular post focuses on just the bobbin frame which uses half circle wooden craft beads.
So, here’s how I did it. And make sure you read all the way to the bottom to see how I would do it differently, LOL.
Materials used:
- Picture frame – this one actually came from the dollar store once upon a time but any picture frame will do!
- 1/2 inch half wooden beads
- Hot glue
- Hot glue gun
- Acrylic paint – mustard
- Paint brush
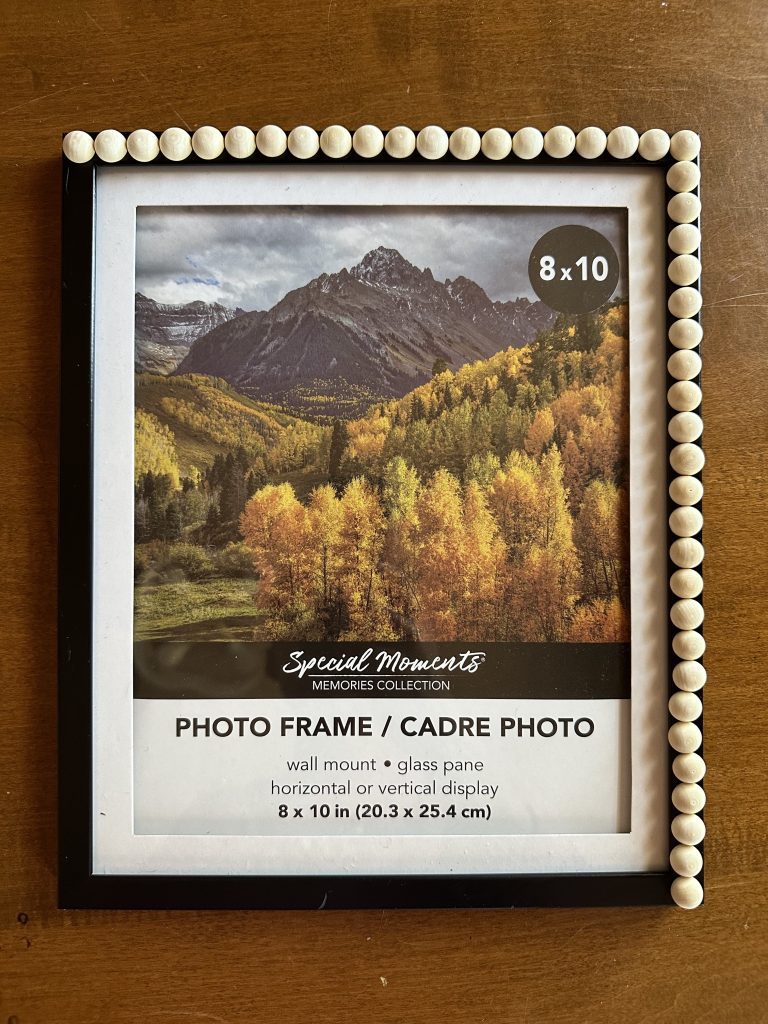
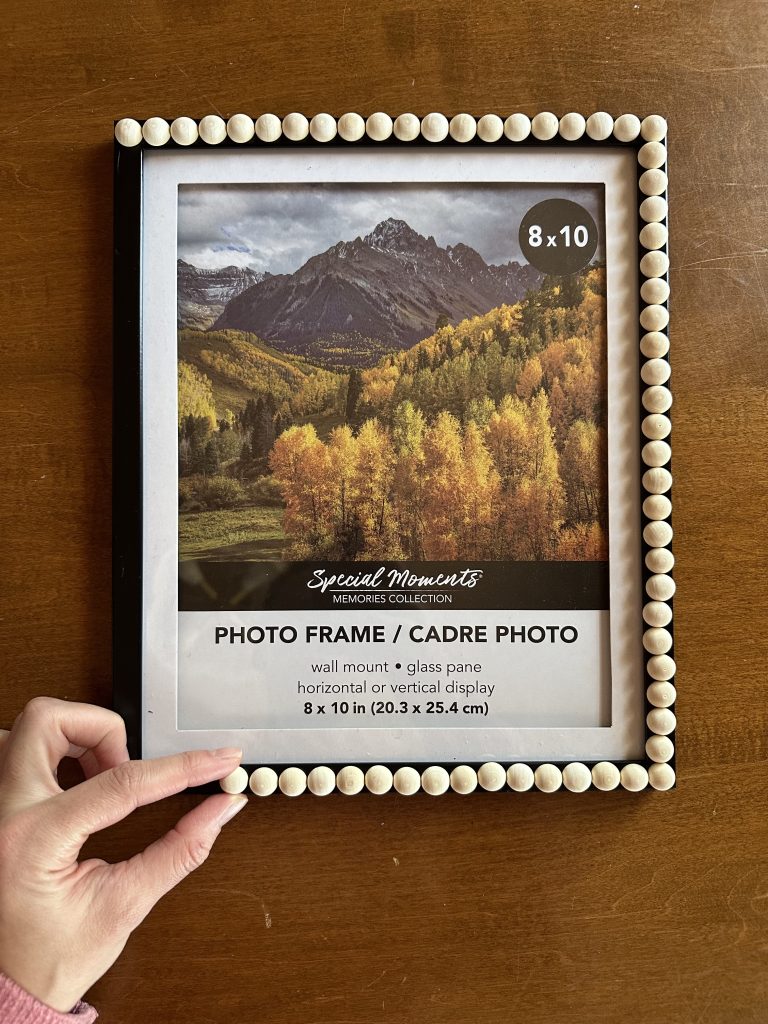
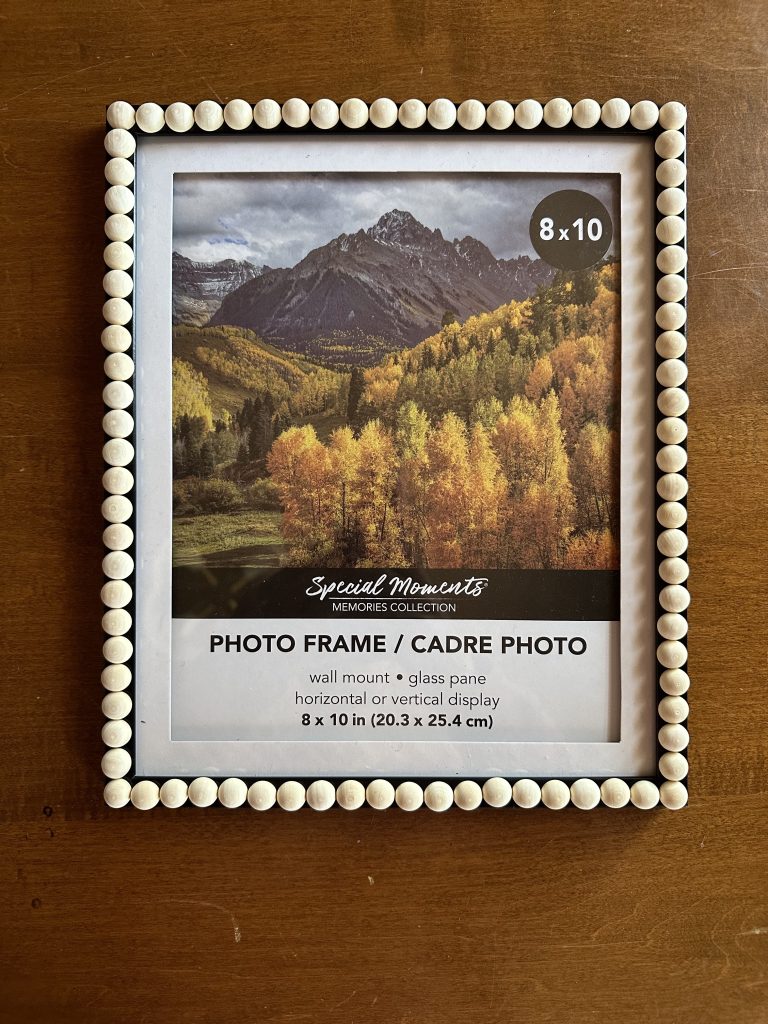
Get The Spacing How You Want It
I see too many people doing this project on the internet but their final product looks like they never took the time to measure out the wooden beads and their corners are all wonky. I feel that this is a crucial step in making your DIY look less like a DIY – which is usually the goal, right? So, before I started gluing everything down, I played around with the spacing of the wooden beads until they fit evenly around the entire frame.
Glue Down The Wooden Beads
Once I was happy with the spacing, I left the wooden beads on the frame and started gluing them down. Just one small dab of hot glue underneath each one.

Painting Photo Frame
I chose to stick with one color for the gallery wall but change the shade of it for each frame. This one was going to be the solid color with no change to shade – mustard. After one coat:
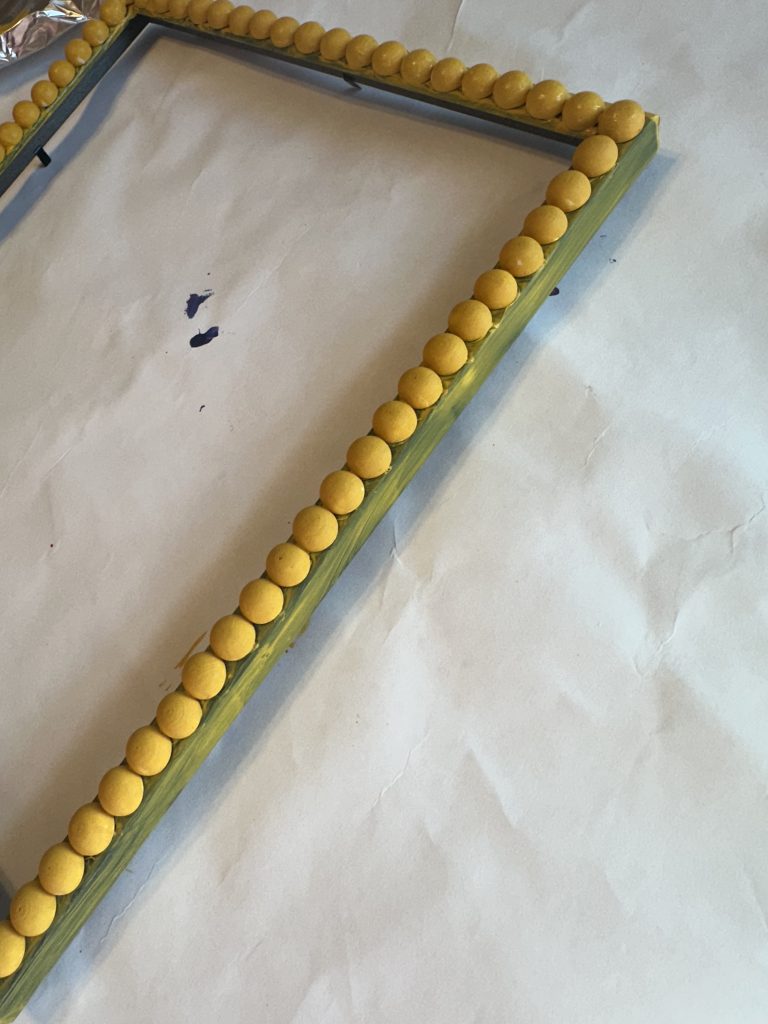
Yikes. As you can see, this was going to need several more coats. And this is where I started thinking about how this could be done much better, faster and easier than the route I chose (see below). Second coat:

Third coat: getting better..

Fourth coat: yeeeeesh who has time for this?
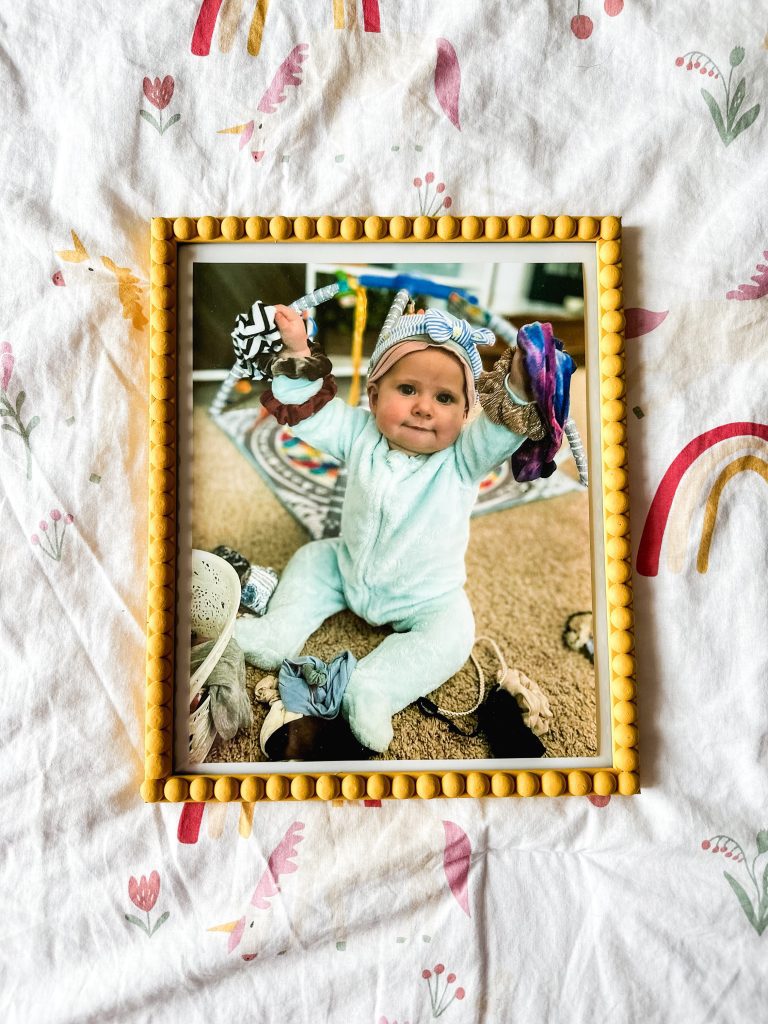

I finally got it all covered after FOUR coats. It turned out great and is a cute addition to the gallery wall but I gotta be honest, this is not it guys. Painting picture frames can be much easier!
If I were to do it again (which I will…someday, haha!) here’s what I would do:
I have a couple thoughts…
- Paint the beads and the frame separately before you attach the beads to the frame. That would save you a lot of time.
- Use spray paint! Anything with a lot of detail or little nooks and crannies, spray paint is going to be your friend. I didn’t have spray paint in this color and didn’t want to buy any so I knew what I was getting into.
- For a dark frame like this one, painting it white first would have saved me from doing so many coats.
In conclusion, painting picture frames can be much easier if you use spray paint and spray the frame and the beads separately before attaching them, you will save yourself much time and have a sleek finished product! As you can see, it can most definitely be done with a brush and paint and if you already have the supplies and feel like you need a lesson in patience then go for it! You’ll reach the same end goal.

Click here to see how the full gallery wall turned out!
Have questions, comments or want to share your ideas? Please comment on this post below!


