
Painting a Photo Frame with Stripes

This post may contain affiliate links, which means I may earn a small commission if you make a purchase using one of those links. As an Amazon Associate, I earn from qualifying purchases. Thank you for supporting Projects & Pearls.
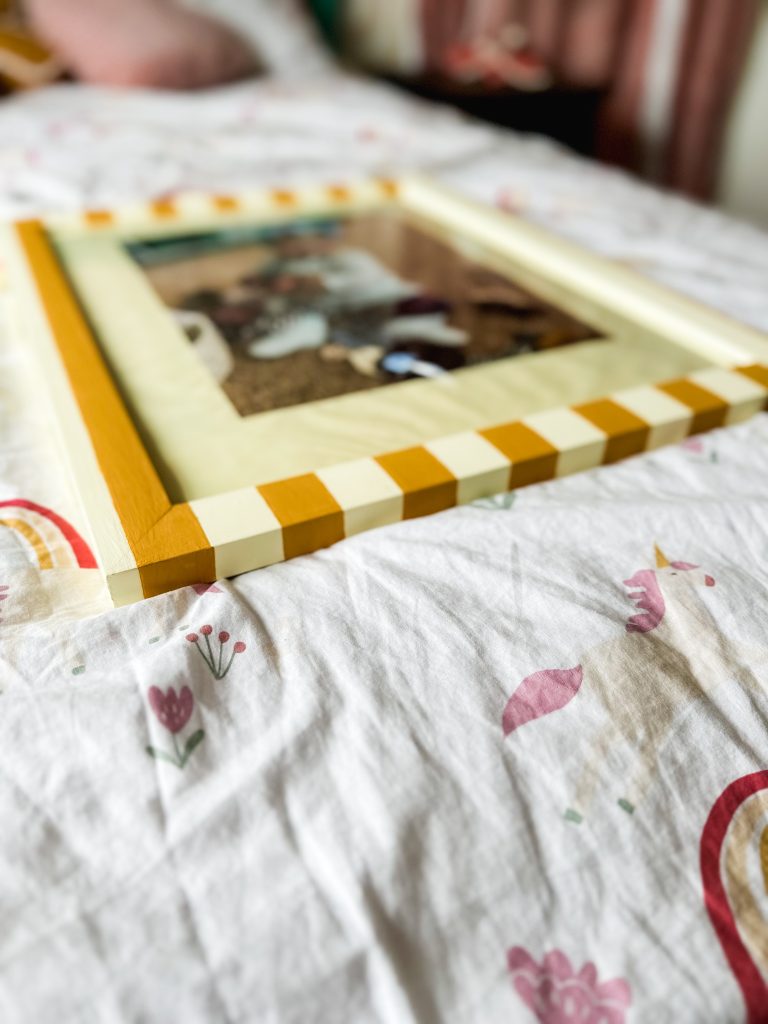
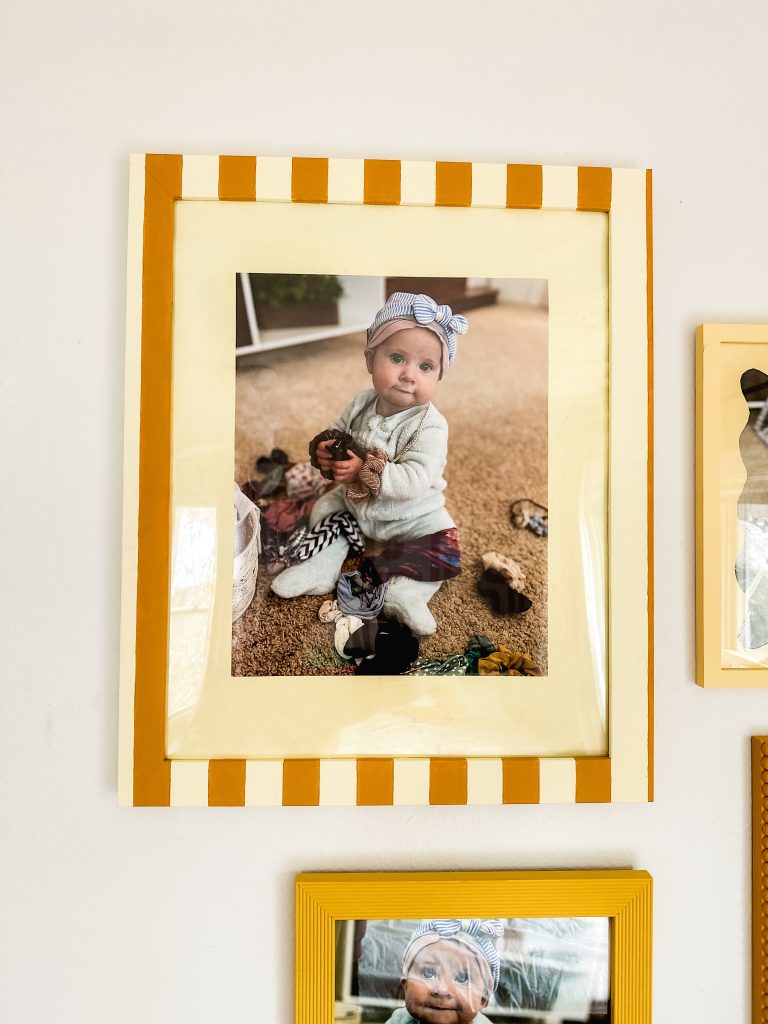
Painting a photo frame is an easy way to add a pop of color to any room! I’ve been painting old picture frames to put together a gallery wall in my daughter’s new big girl room. For this particular frame I wanted to paint a pattern. Because the walls already have a busy pattern on them I figured simple stripes would do the trick!
Materials Used:
Steps To Painting a Photo Frame
After an embarrassing long struggle with trying to get the plastic piece off I have up and decided to just tape it off instead.
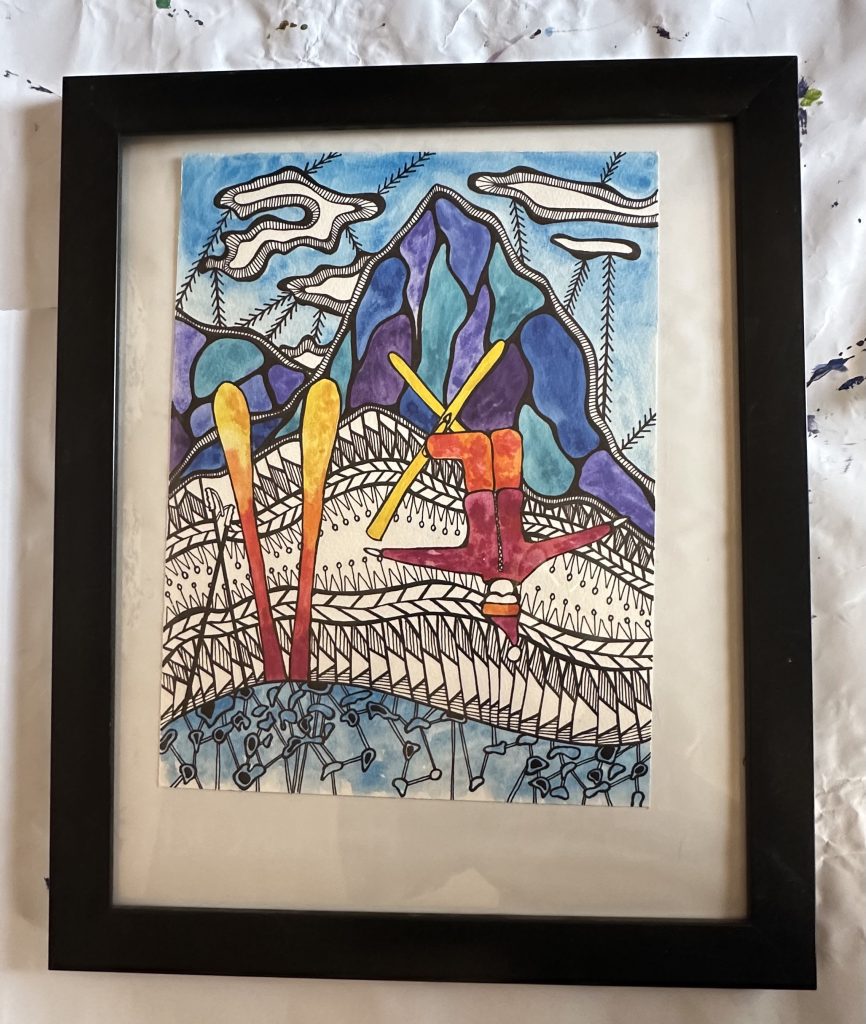

Taking what I learned with the bobbin frame into consideration, I did things a little differently for the striped frame. Since this frame was black to start as well, I painted it white first that way I wouldn’t have to do so many coats of yellow.

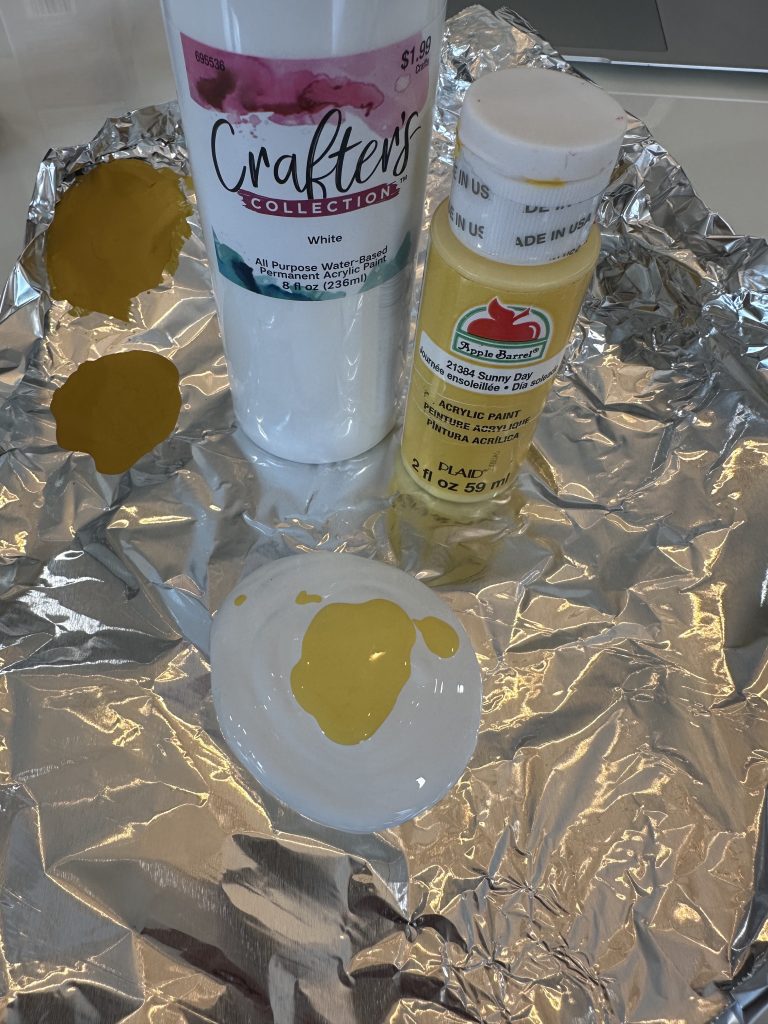
I mixed 3 parts white and 1 part yellow to make a very light yellow/beige base. And painted the entire frame with that color.
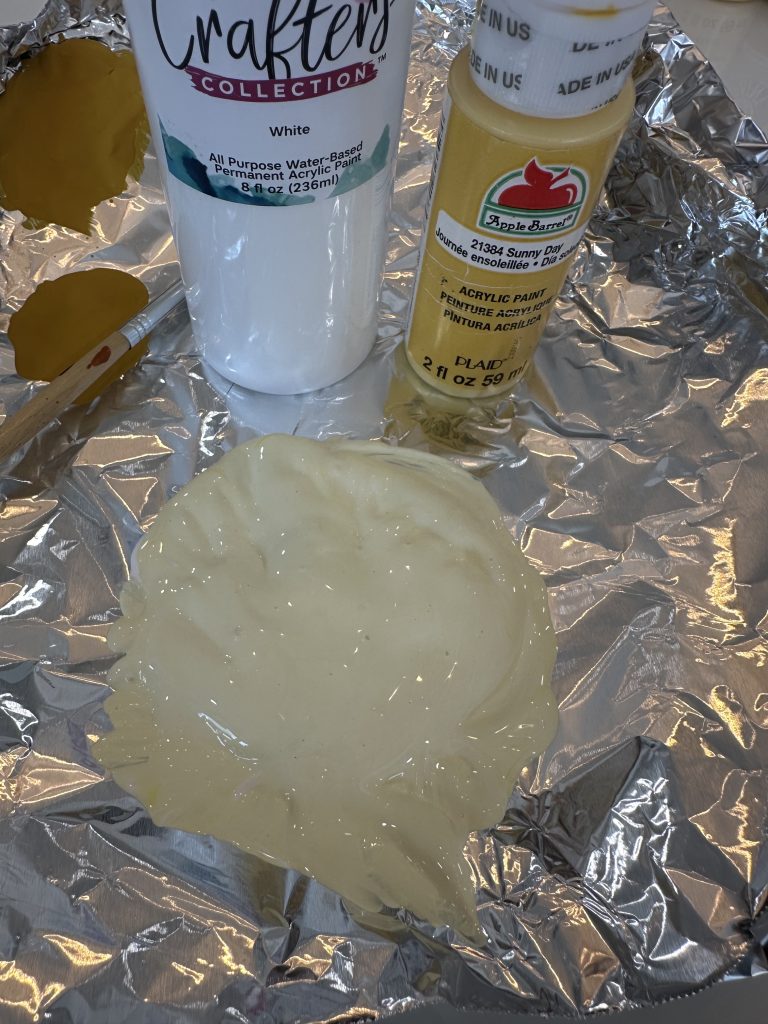
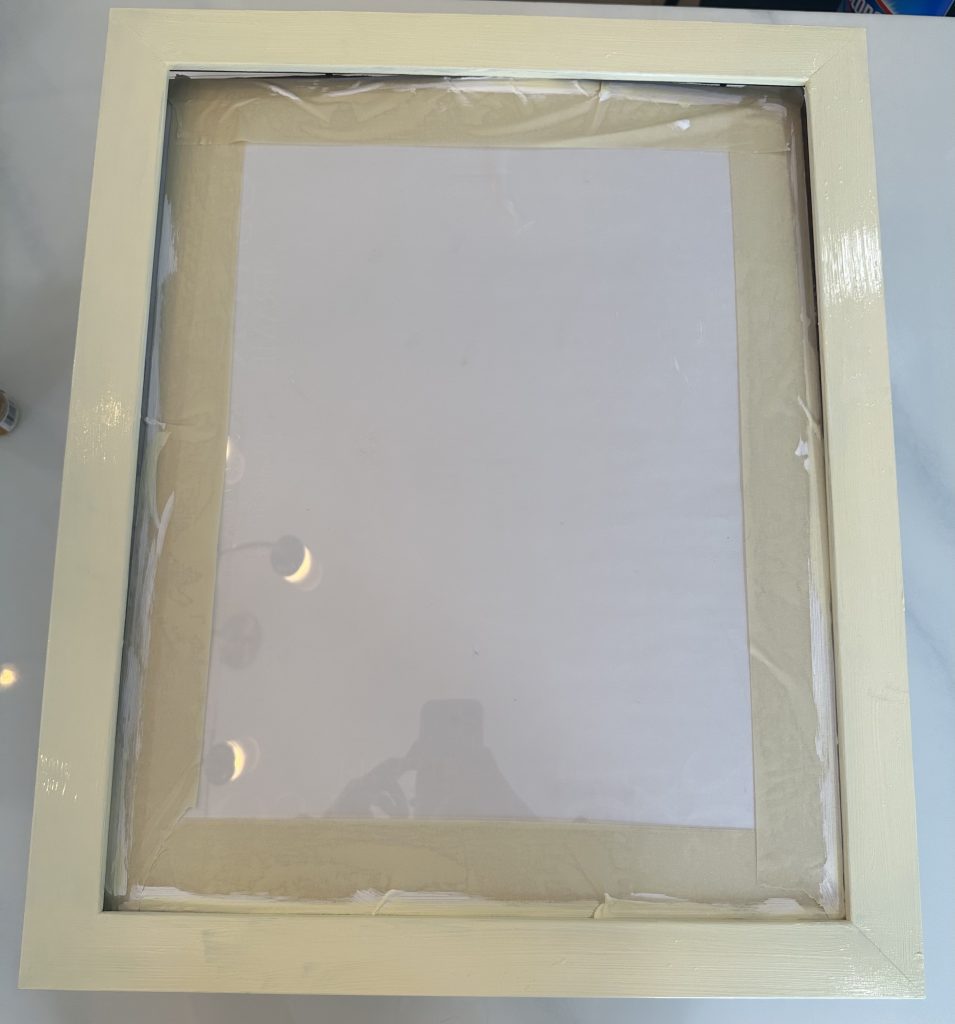
One more coat to make sure it was even.

Then I measured out 1 1/4 inch stripes starting ¼ inch in from the left side and lightly drew my lines with pencil.
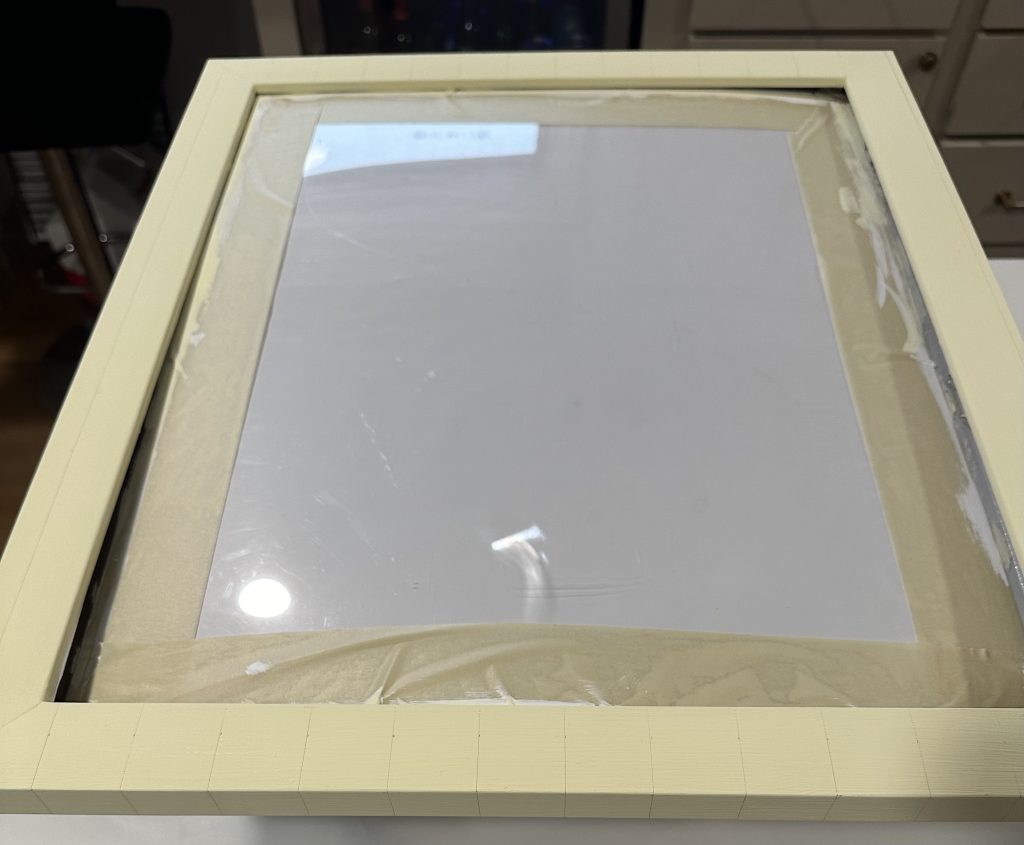
I opted to just paint the stripes on without any tape because I like to create more work for myself but you could use painters tape if you’re worried about staying inside the lines.
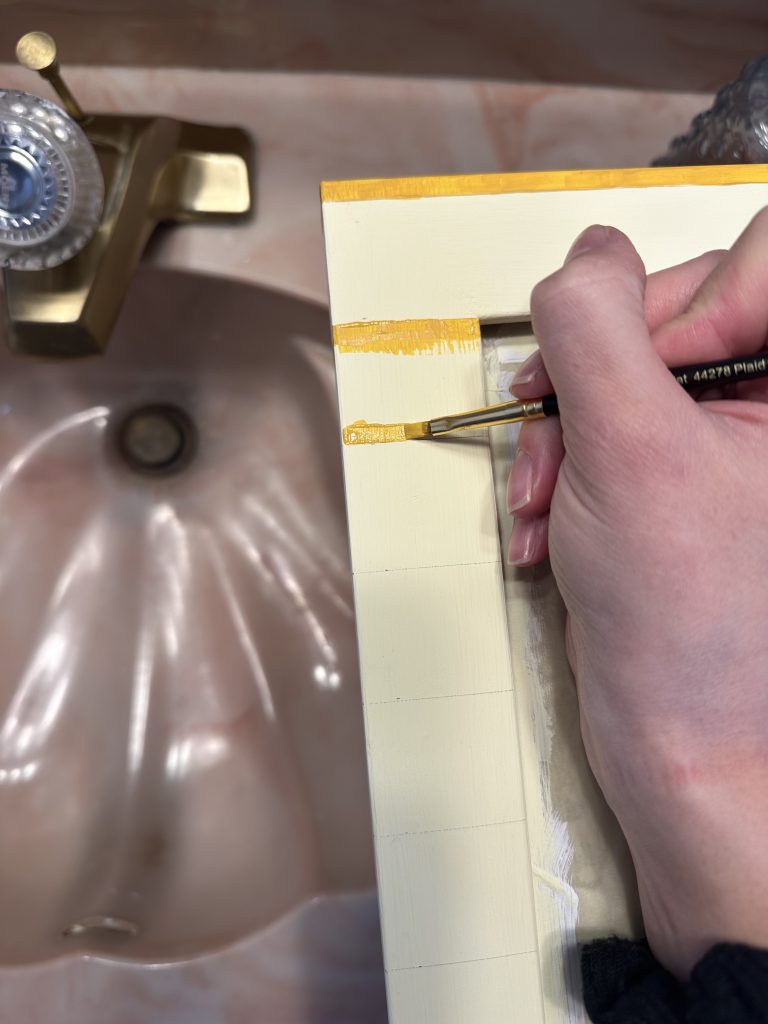
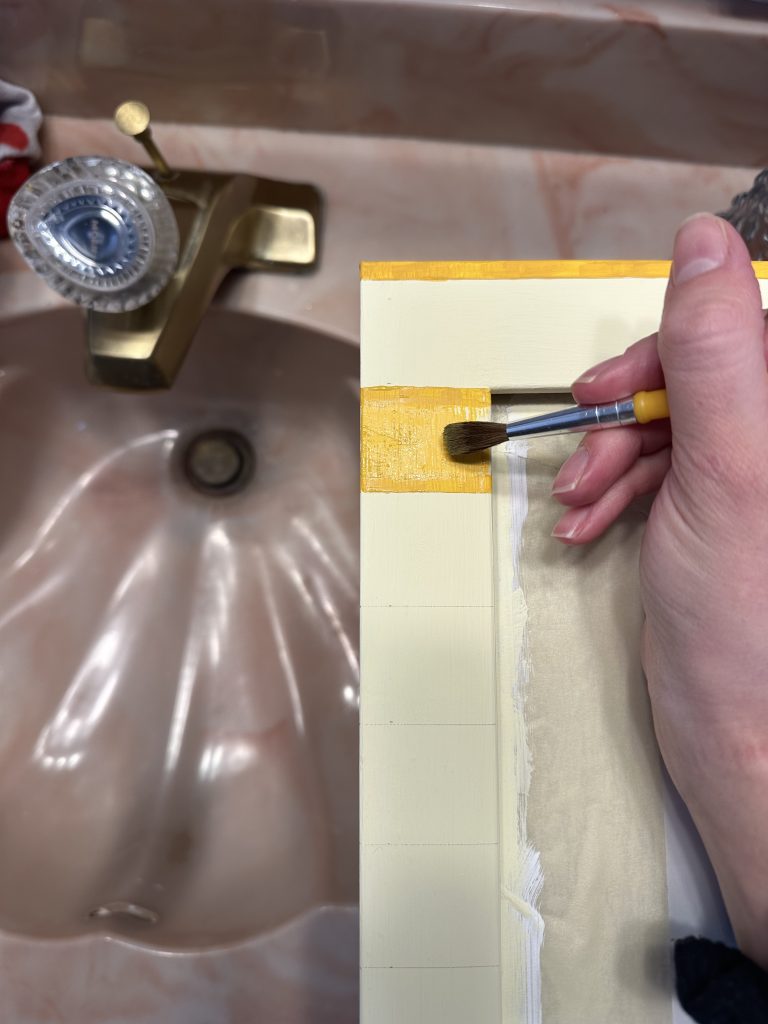
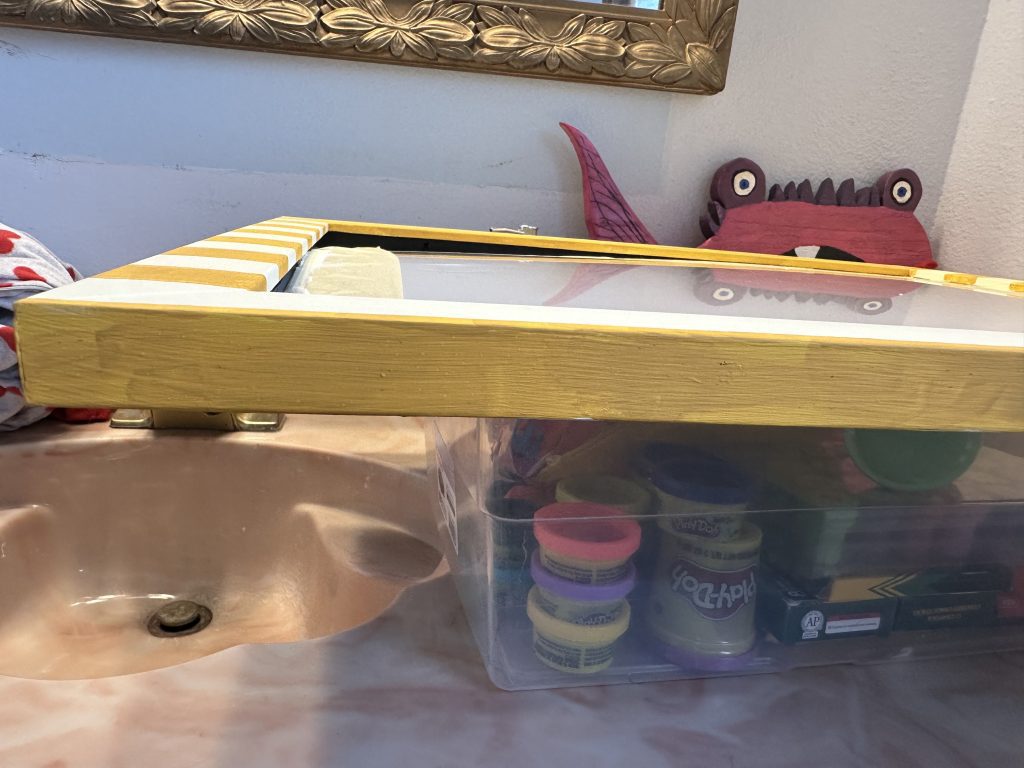
Check out that sink (yes, I am doing this in the bathroom while one baby takes a nap at my feet and the other takes a bath) – a future project I can’t wait to get my hands on!
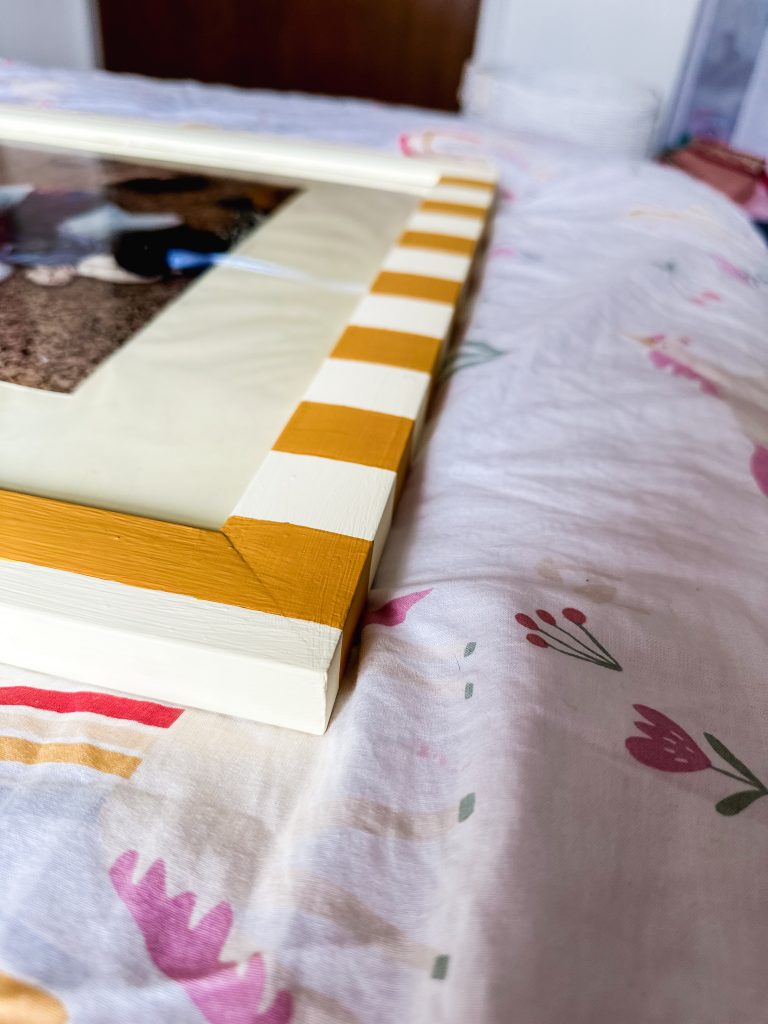
Don’t forget to wrap your paint around the sides as well!
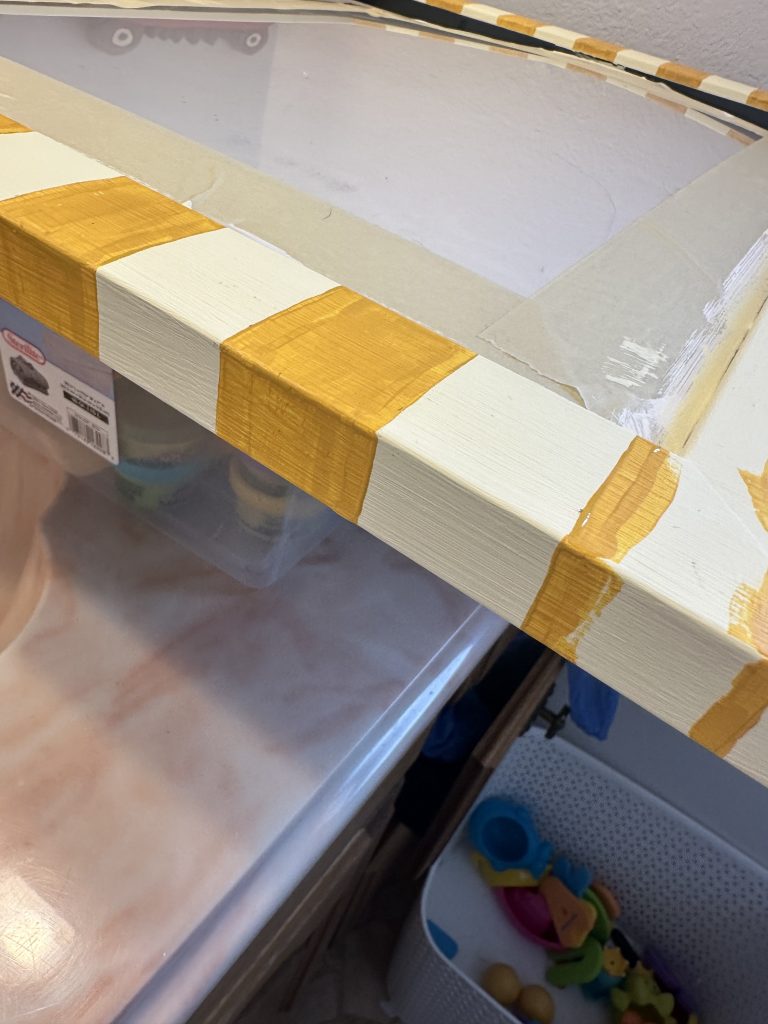
It took a few coats to get an even distribution of color.
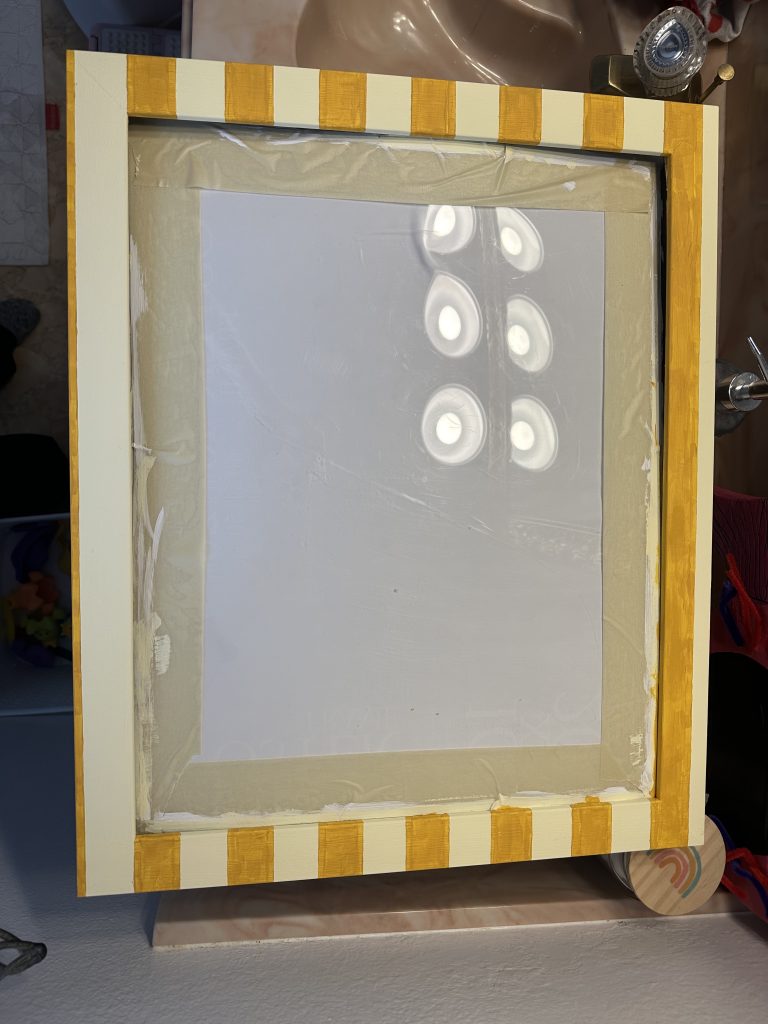
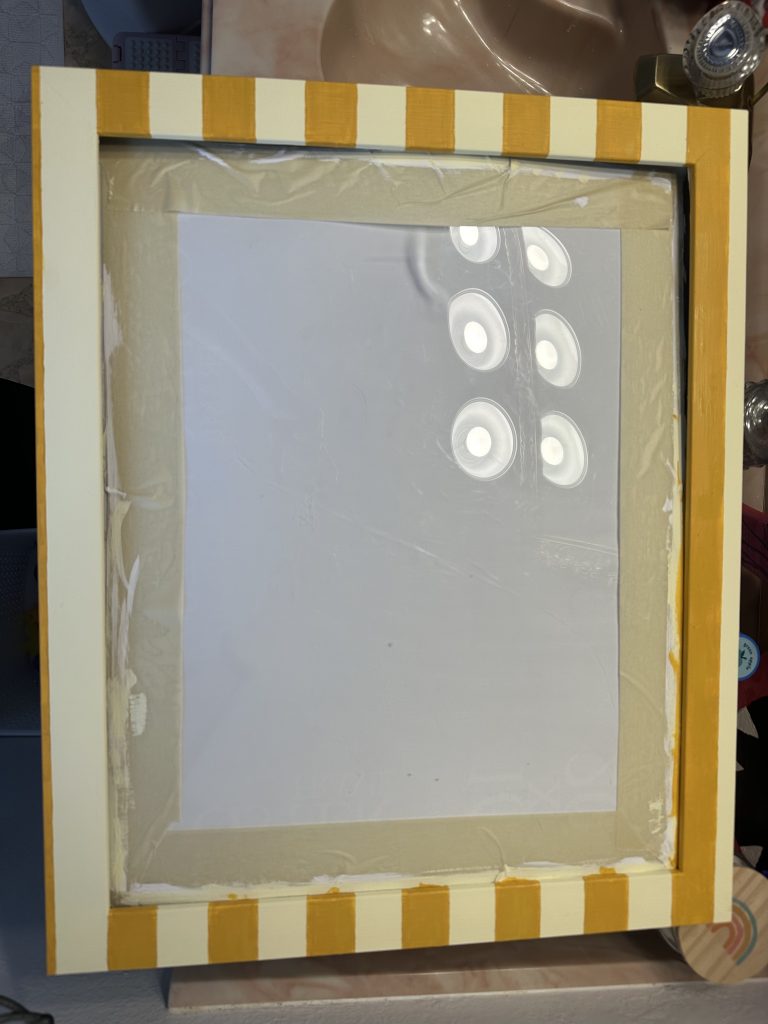
I think it turned out so cute! Painting a photo frame does not have to be complicated. This painted photo frame is the perfect patterned addition to this adorable little gallery wall.
With each project I do, I’ve found that putting together a mood board helps me stick to a theme and avoid second-guessing my design choices halfway through. However, mood boards are surprisingly tricky to make and be happy with. I finally nailed down a system that helps me quickly create a mood board perfectly every time and I want to share it with you, too! You can download my free mood board template below to help you visualize your design plans for your next DIY project!

Have questions, comments or want to share your ideas? Please comment on this post below!


