DIY Flower Frog with Air-Dry Clay
This post may contain affiliate links, which means I may earn a small commission if you make a purchase using one of those links. As an Amazon Associate, I earn from qualifying purchases. Thank you for supporting Projects & Pearls.
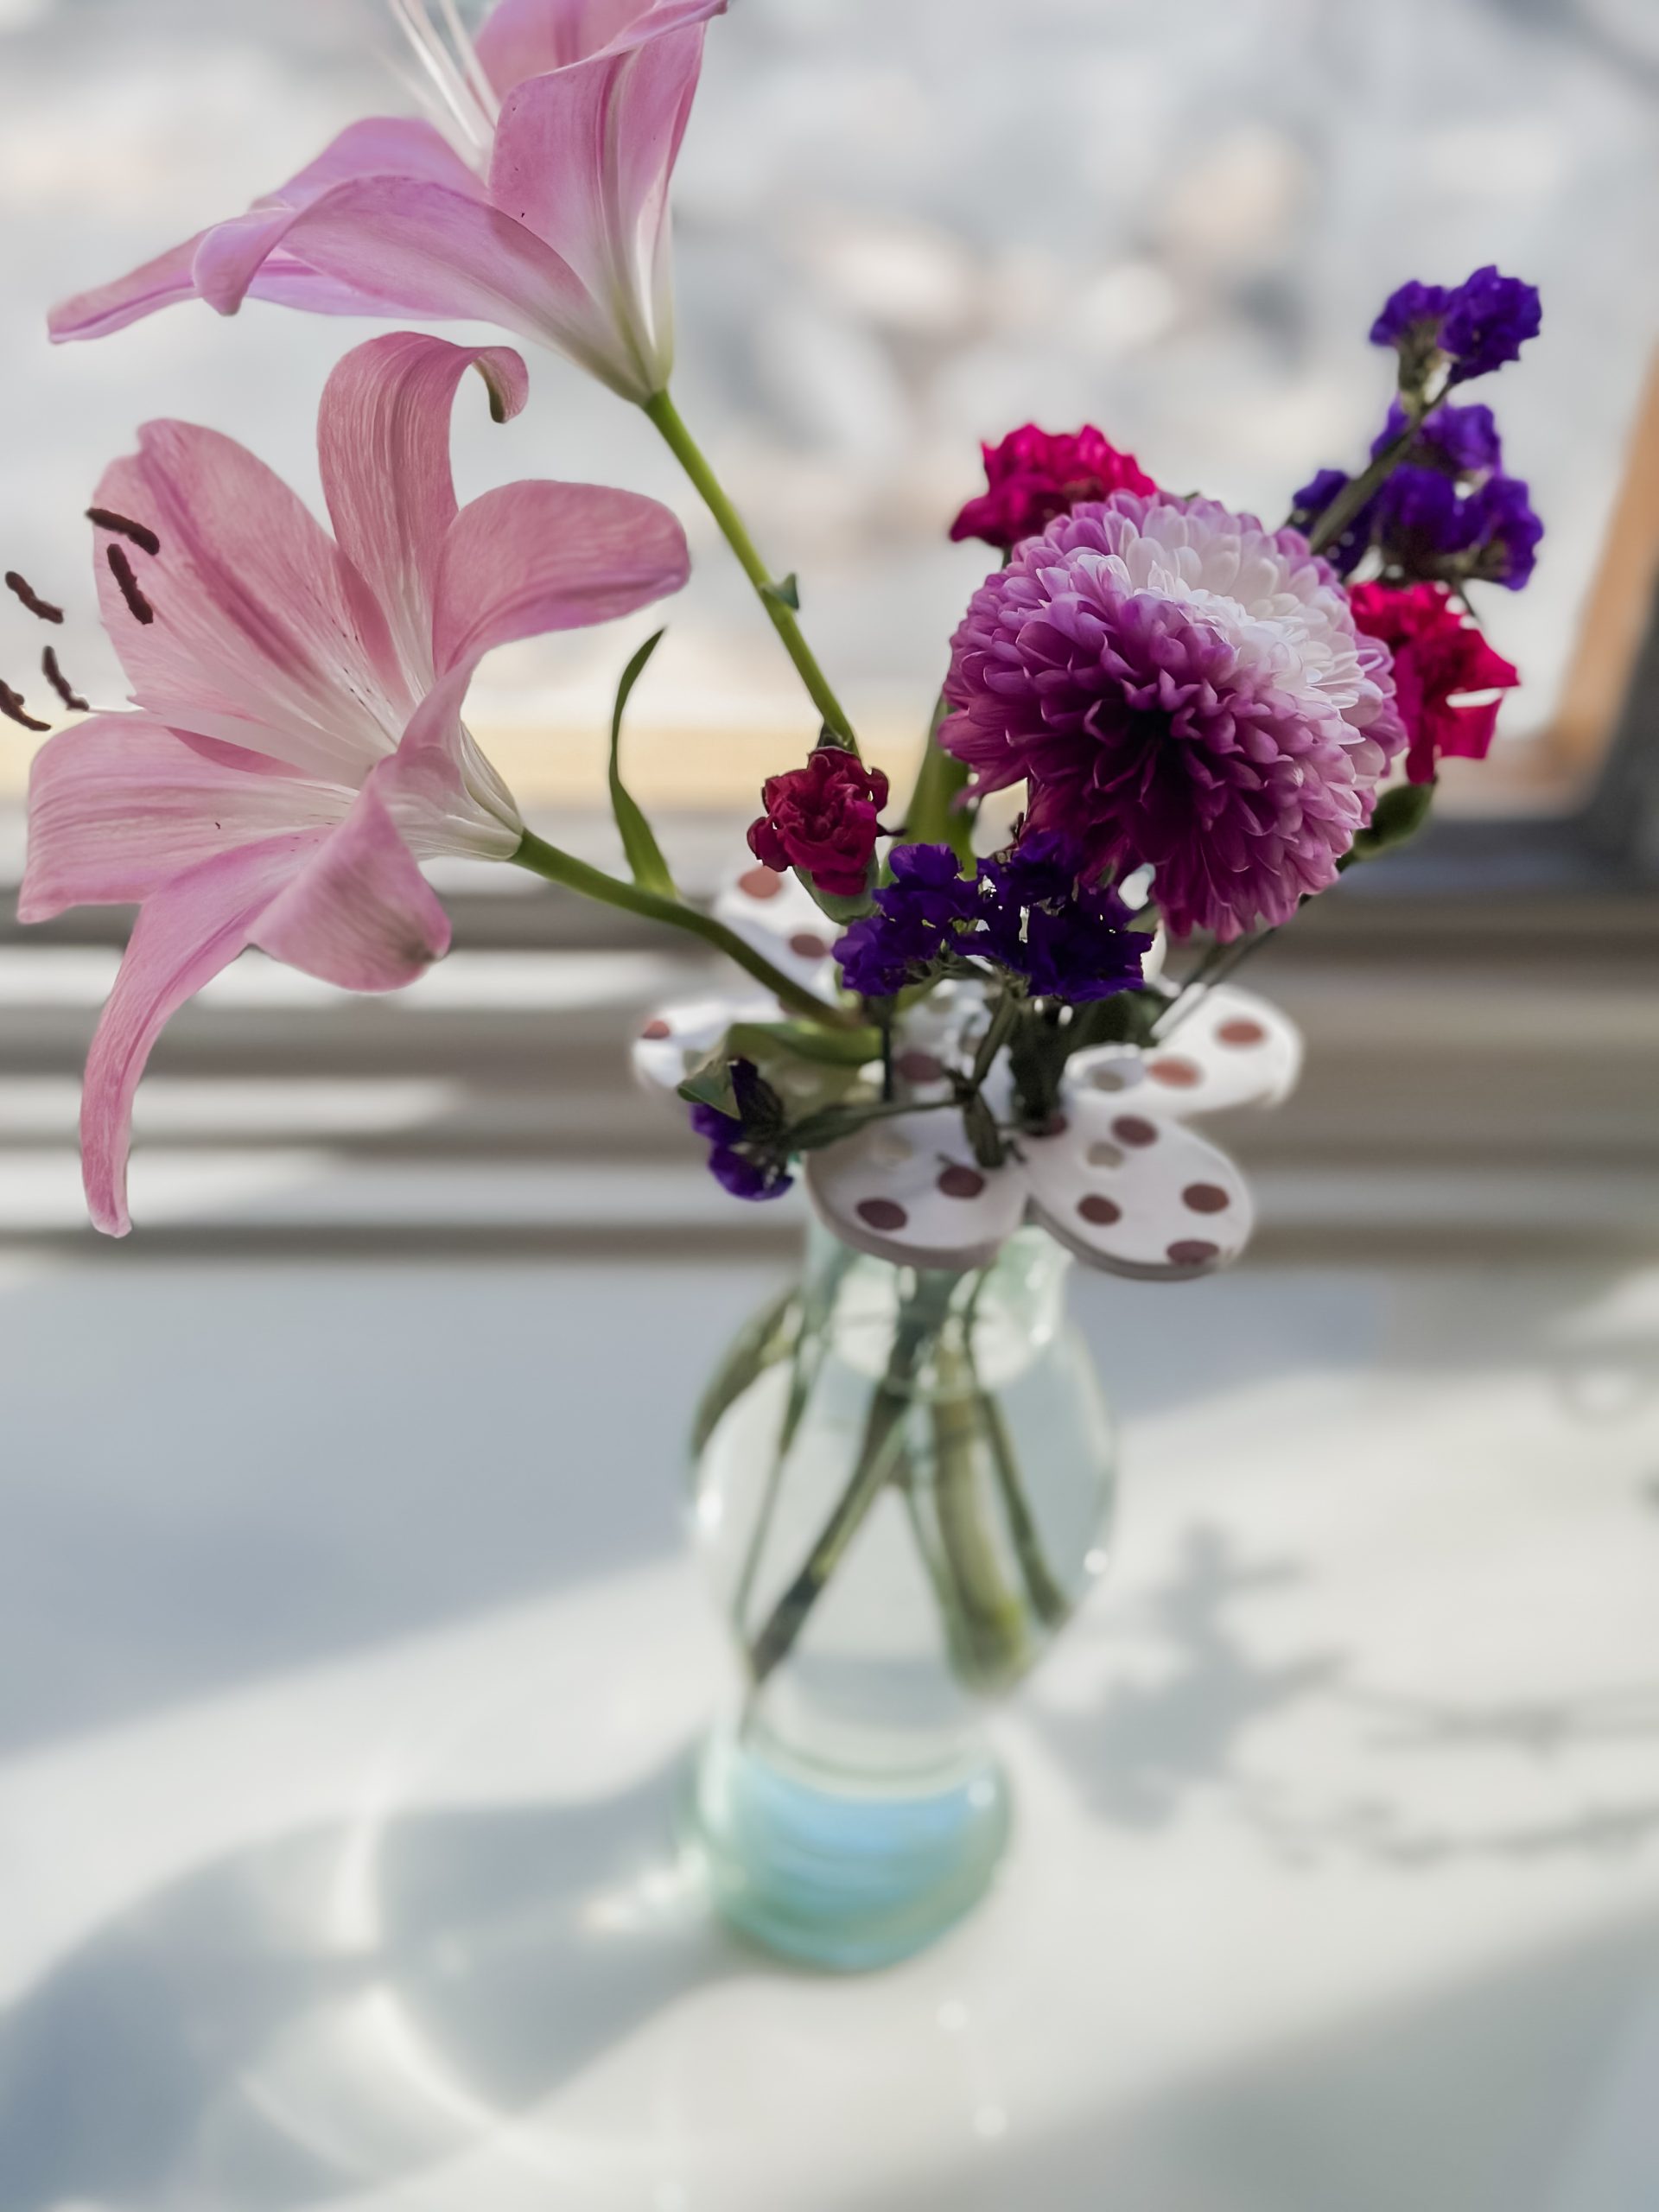
If you’ve ever tried to arrange flowers in a vase and ended up with a lopsided mess that looks more like a last-minute grocery store bouquet than a Pinterest-worthy centerpiece, you need a flower frog in your life. These little floral helpers keep your stems standing tall and beautifully spaced, but the fancy vintage ones? Expensive.
So, we’re making our own—out of air-dry clay, because it’s cheap, easy, and requires no kiln (do people actually own those?). This is one of those air dry clay projects that looks high-end but costs next to nothing. And the best part? You can make a whole batch in one go—perfect for gifting, selling, or keeping them all for yourself.
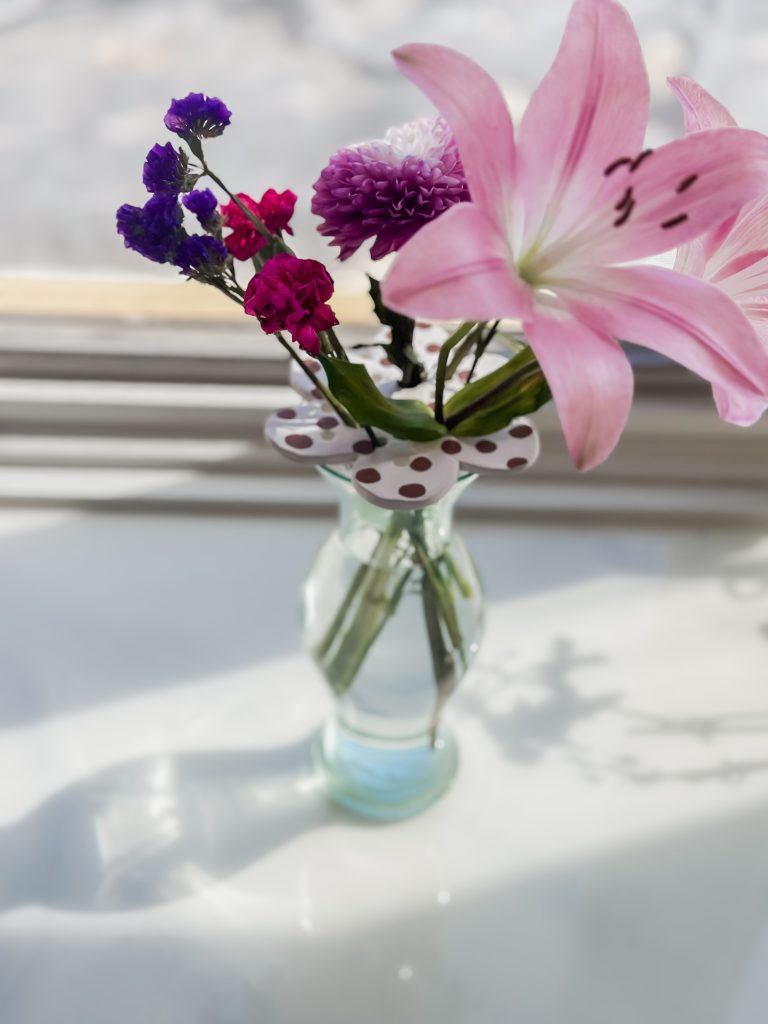
Speaking of gifts, these make the perfect handmade gift for Mother’s Day, a teacher appreciation gift, or for anyone who loves to garden. Pair one with a thrifted vase and a bouquet of fresh-cut flowers, and you’ve got a heartfelt, budget-friendly present that looks way fancier than it actually is.
Want more easy, DIY-friendly gifts that don’t cost a fortune? Check out my DIY Gift Vault, packed with beginner-friendly, budget-conscious projects you can make and gift year-round. Because, sometimes the best gifts are the ones made with a little love (and a lot of air-dry clay).
Step 1: Prep Your Workspace for an Easy Clay Craft
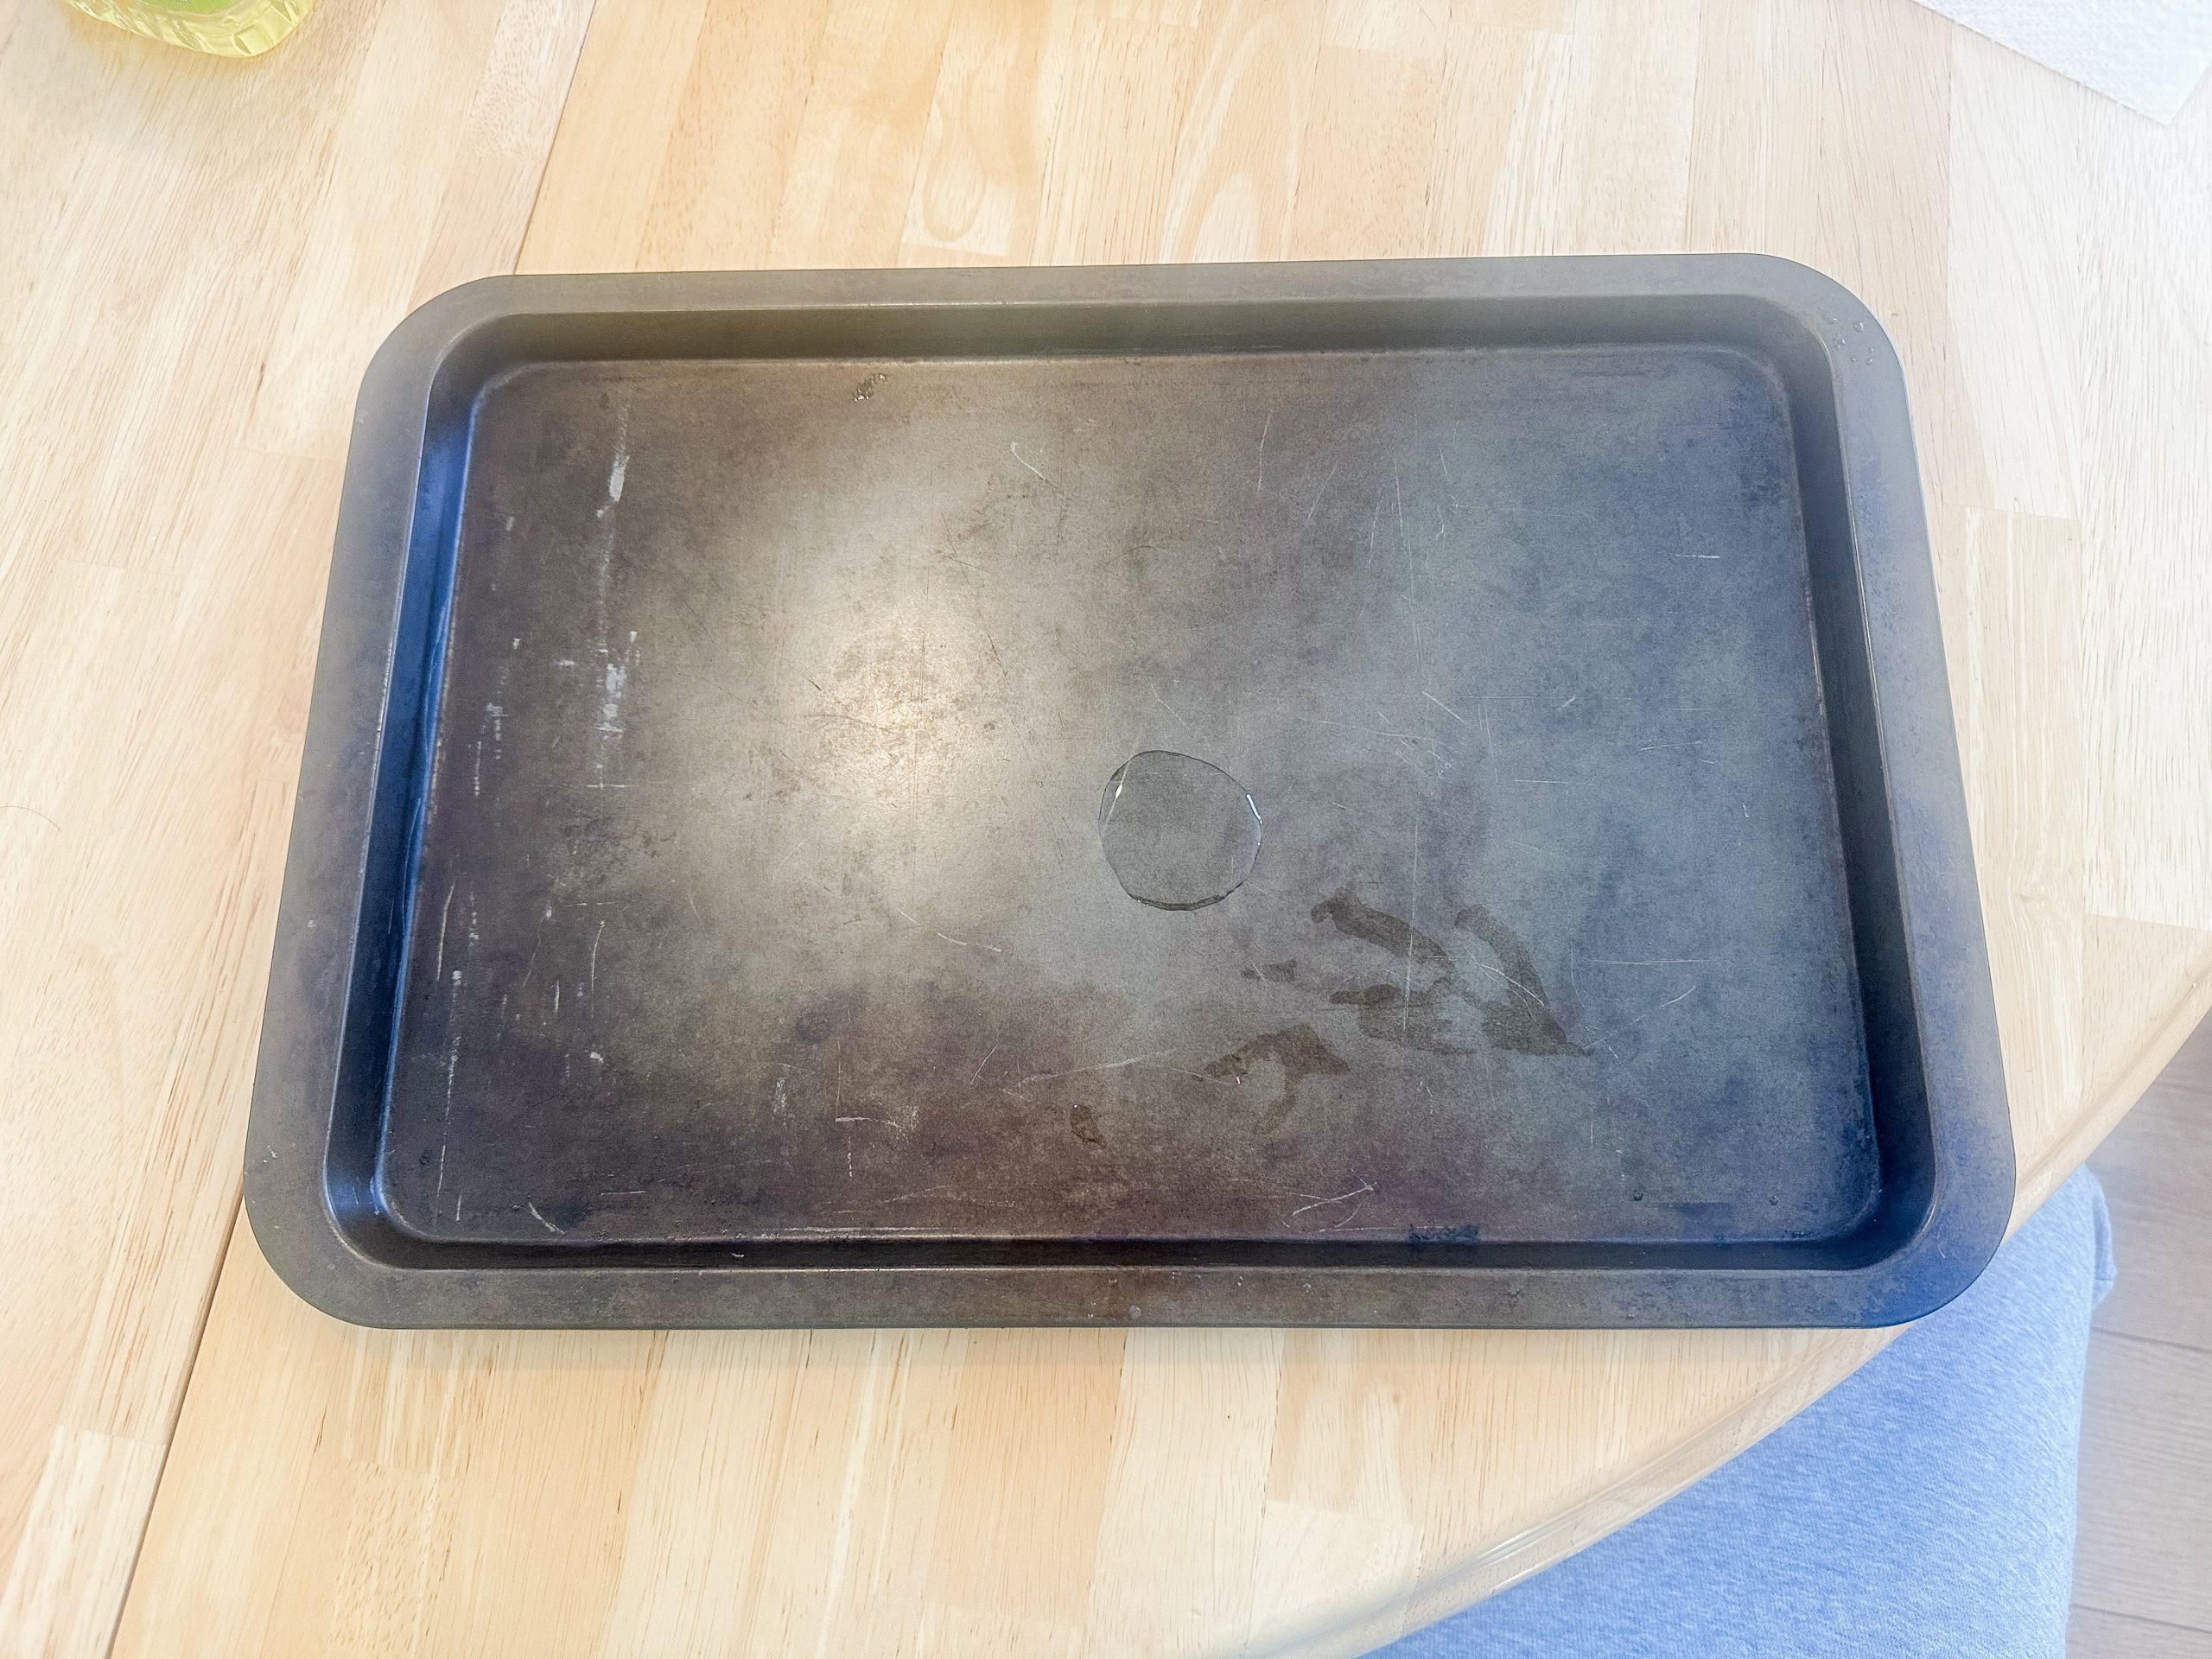
Before diving in, prep your work surface. I swear by using a lightly oiled pan because it prevents sticking, and you can move it around easily when it’s time to dry. If you don’t have a pan handy, any non-stick surface like parchment paper will do.
Step 2: Roll Out Your Clay for Your DIY Clay Flower Frogs
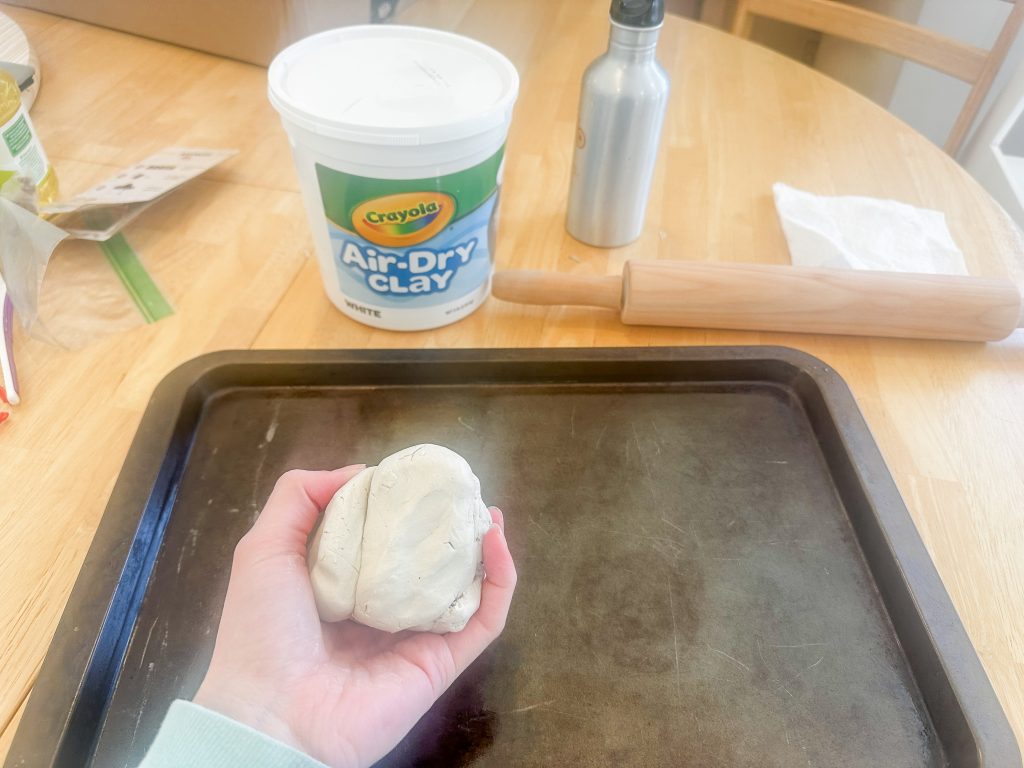
Grab a softball-sized chunk of air-dry clay and roll it into a ball. Plop it onto your oiled surface and roll it out with a rolling pin to about ¼ inch thick. This thickness is the sweet spot—it’s sturdy enough to hold flowers but won’t take forever to dry.
The shape is totally up to you. I’m a sucker for a scalloped edge, so I used a round object to press in a faint pattern before cutting. If you’re in a hurry, just use a cookie cutter, a cup, or go rogue with freehanding.
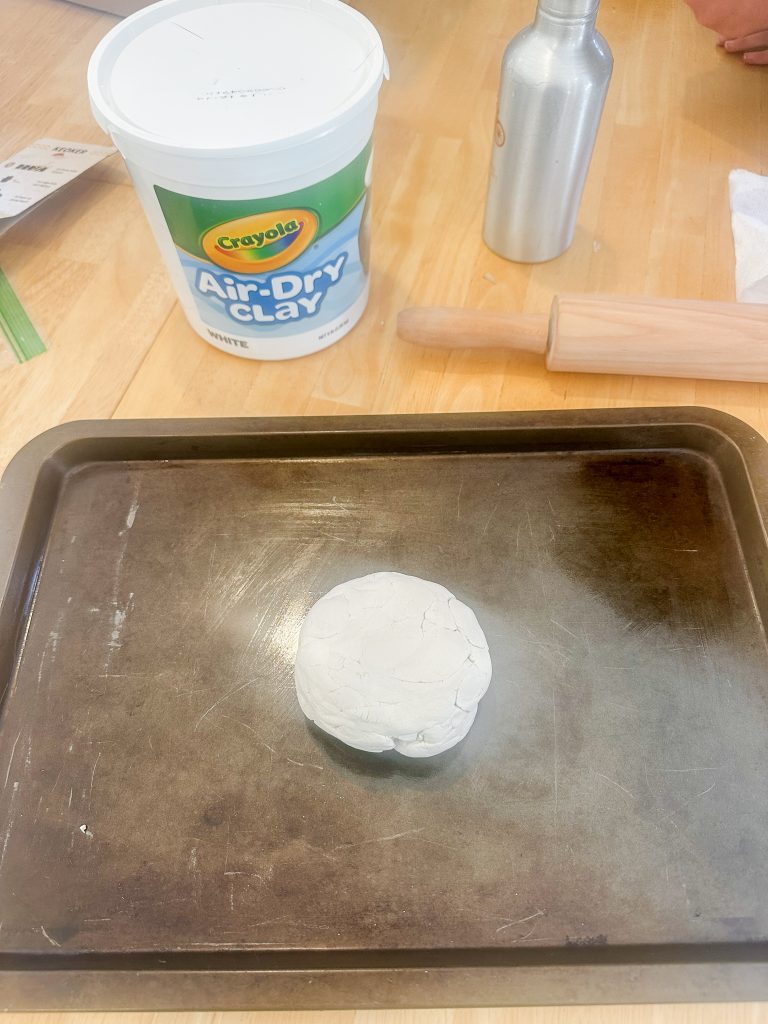
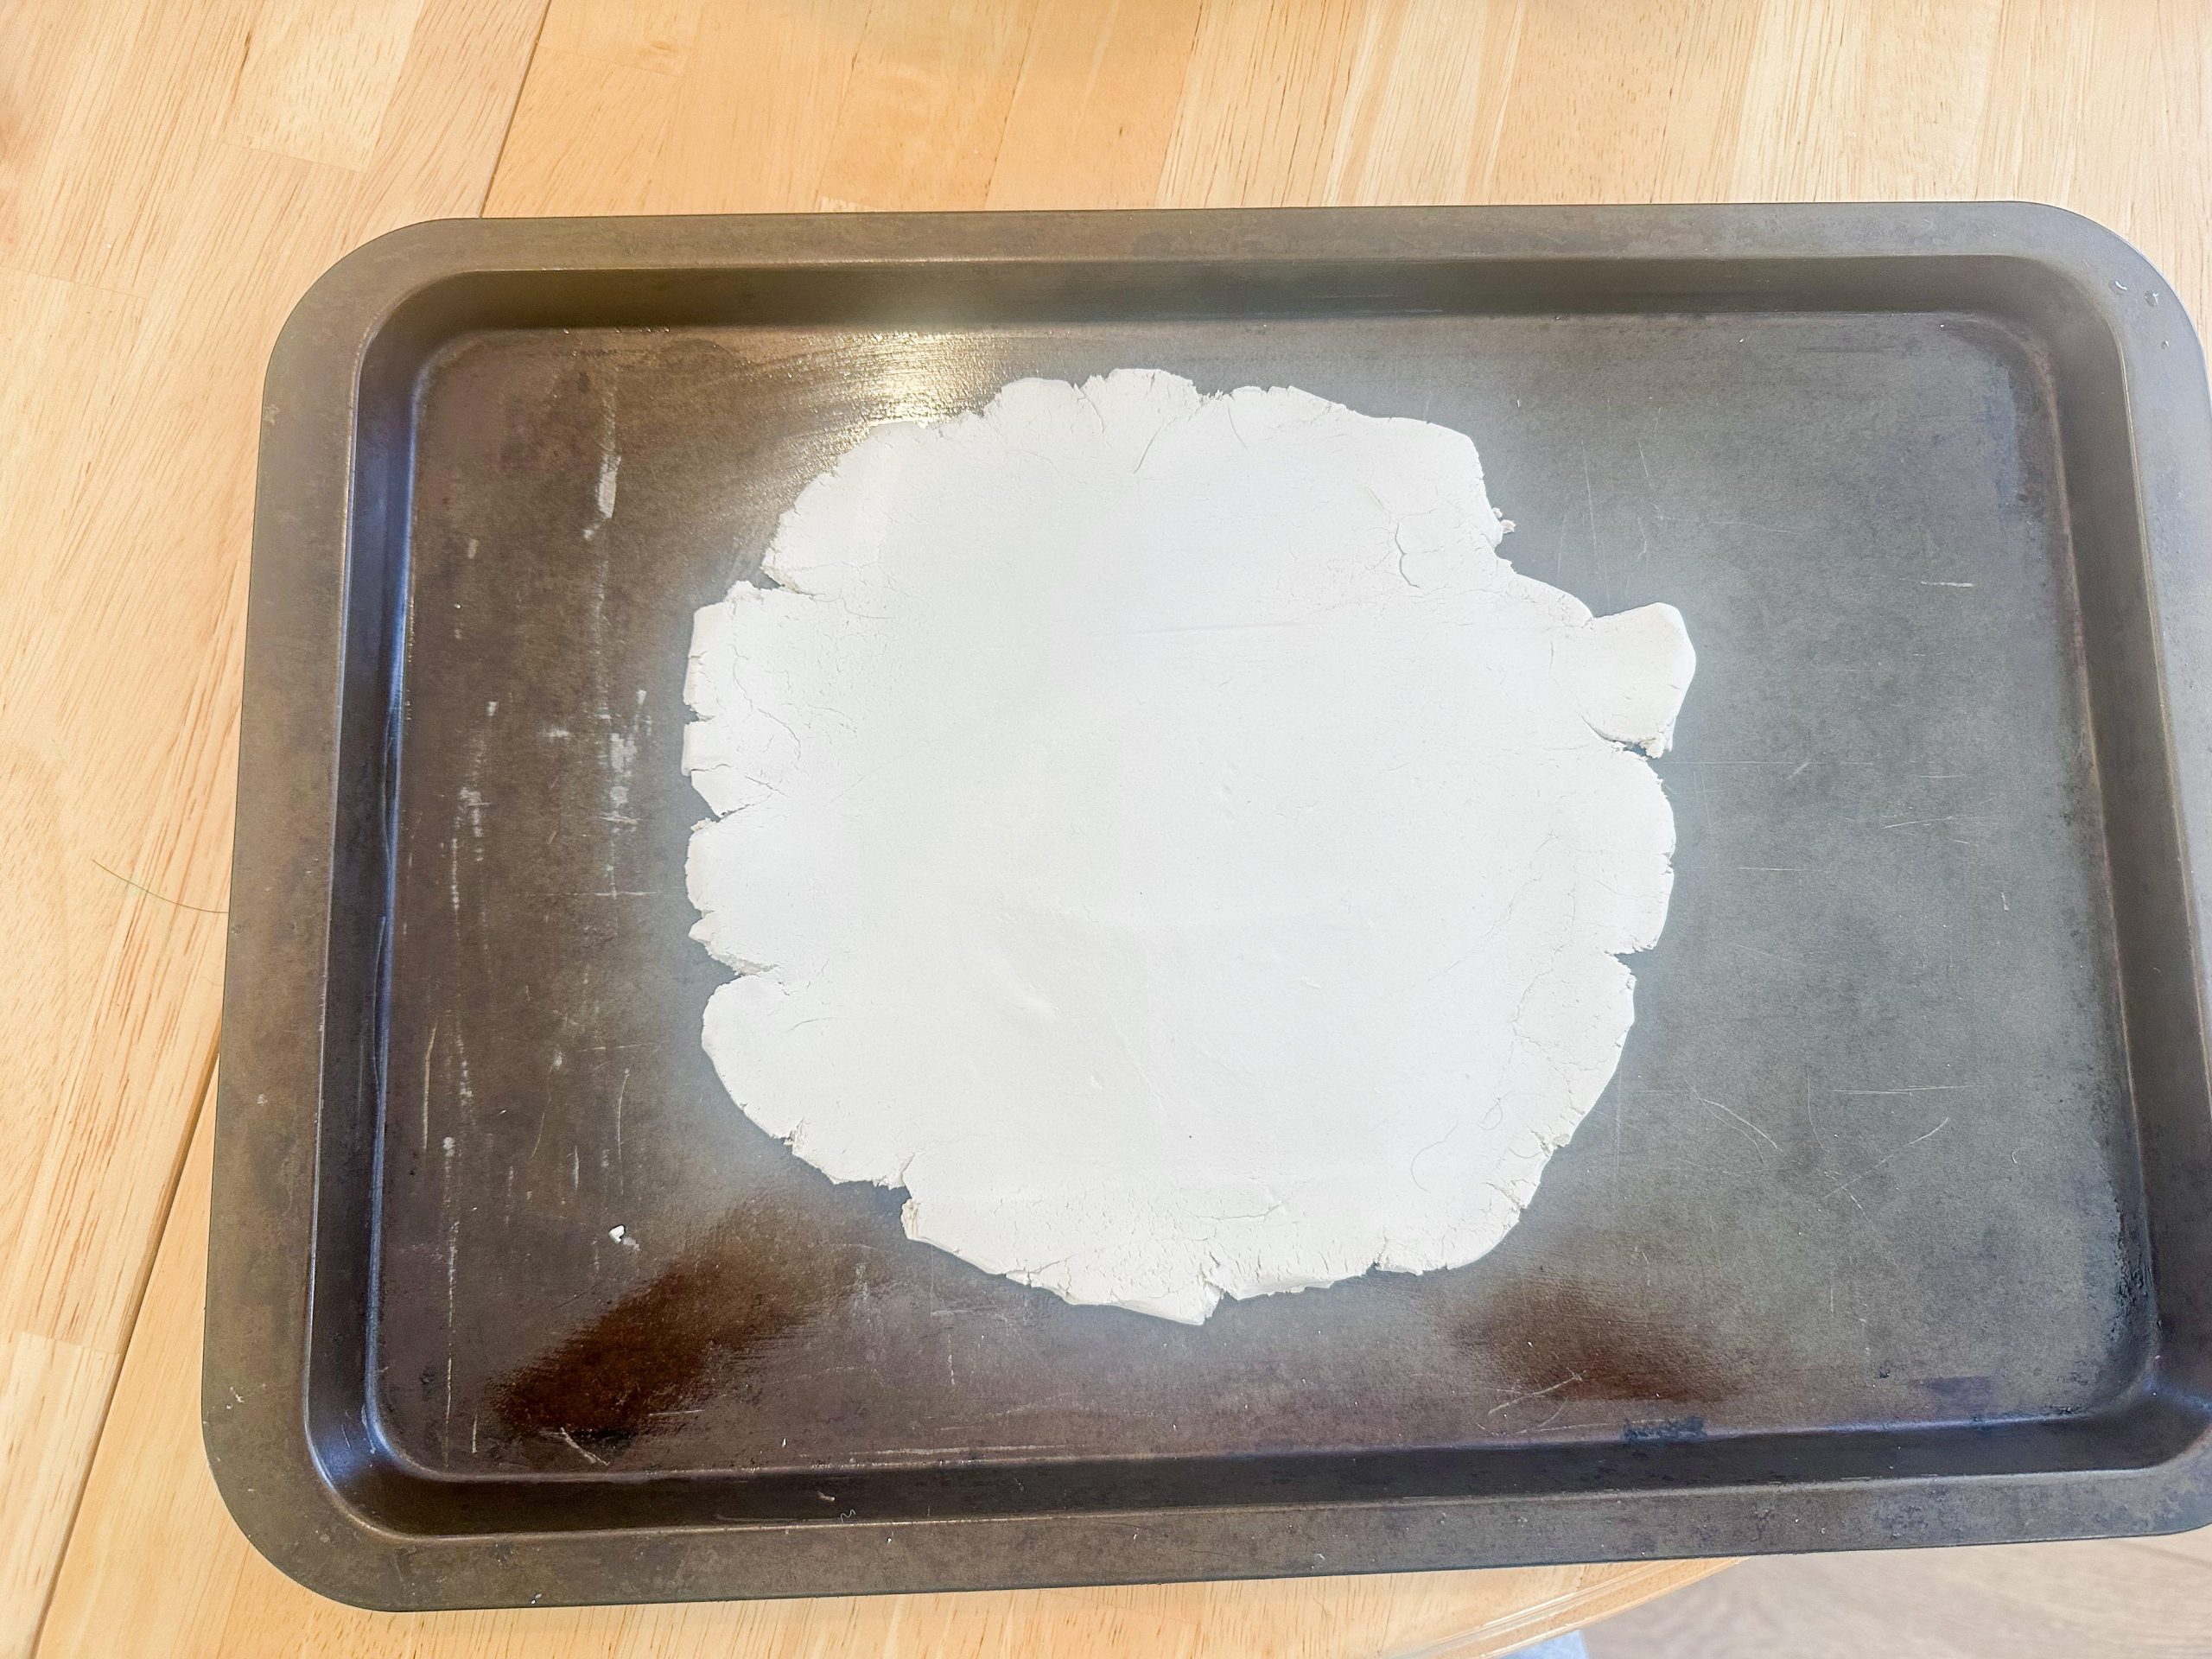
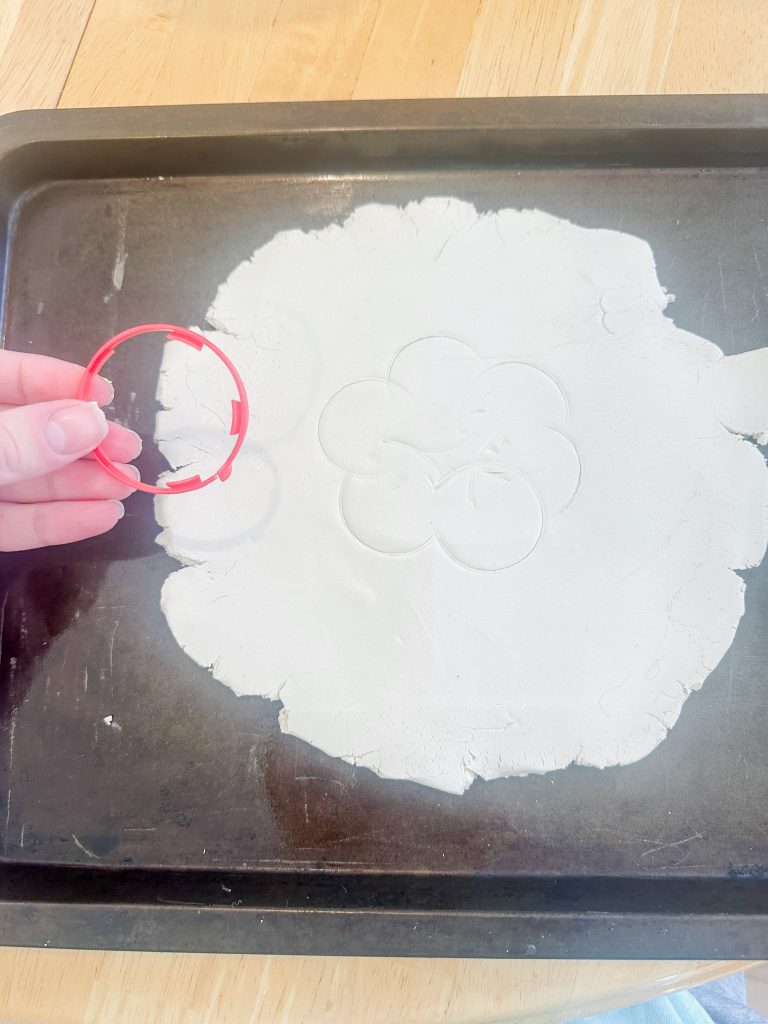
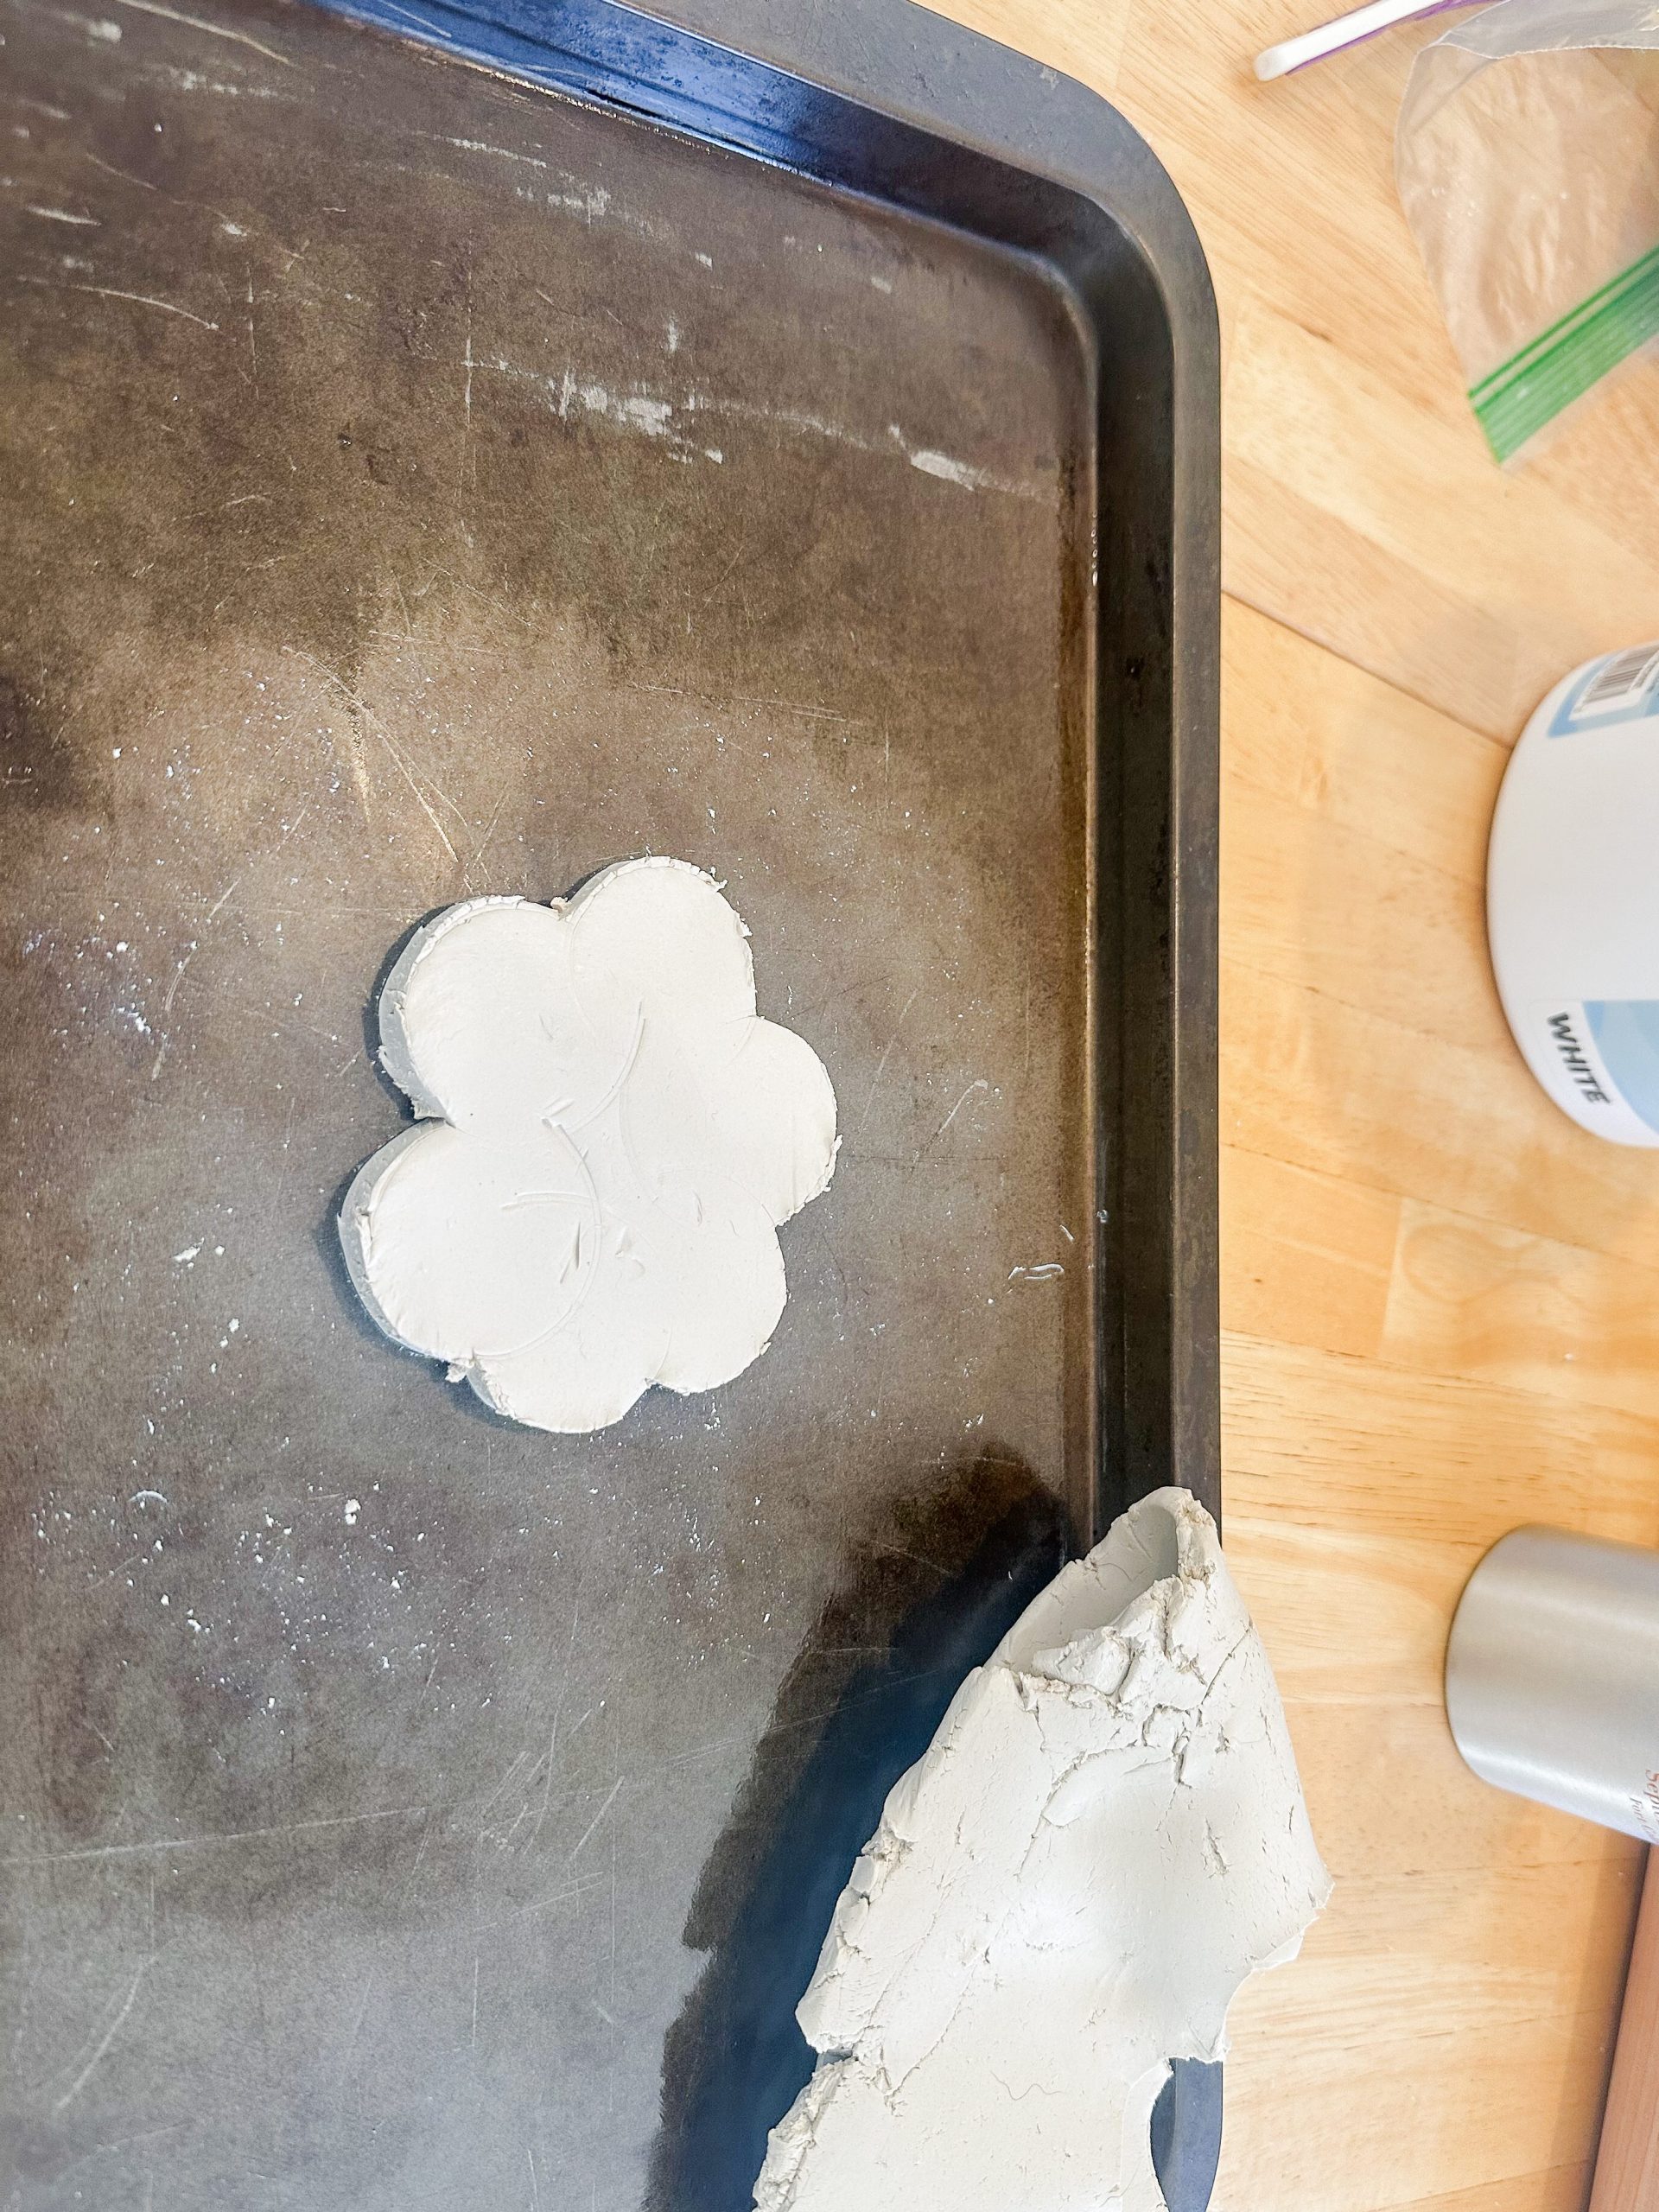
Pro Tip: Dip your knife in water before cutting—this keeps the edges smooth instead of crumbly.
Step 3: Cut and Smooth Your Air Dry Clay Flower Frog
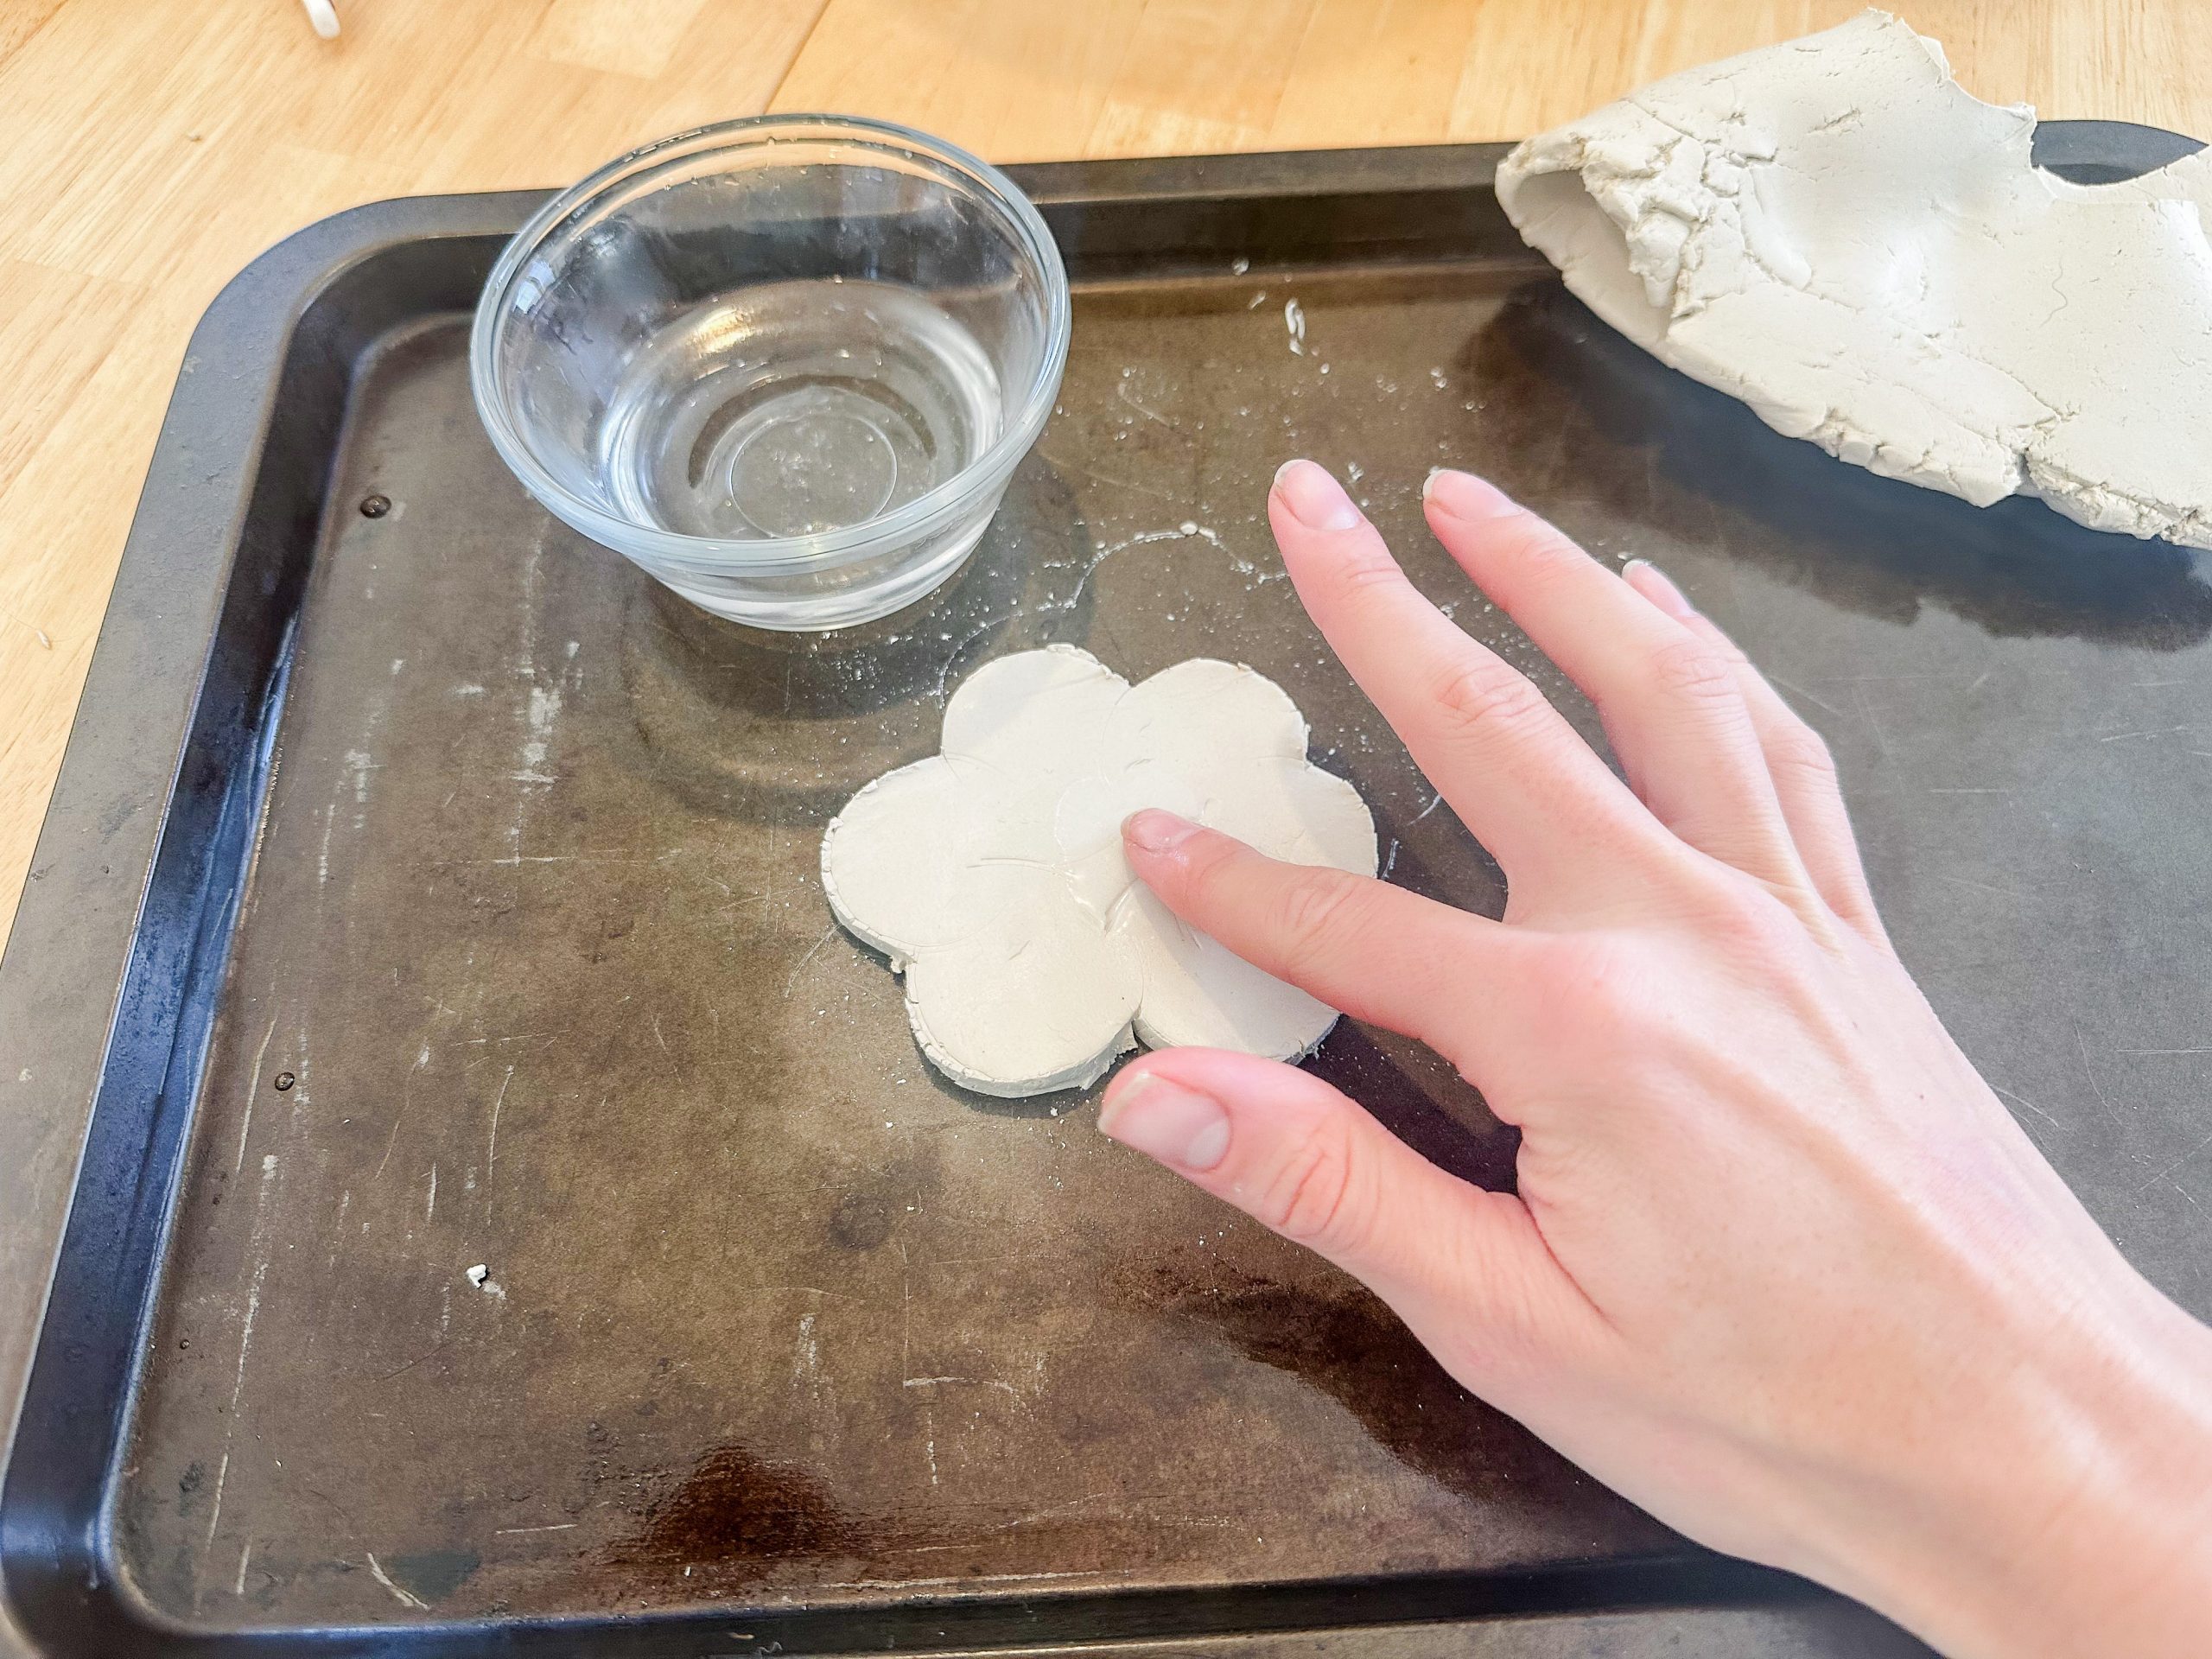
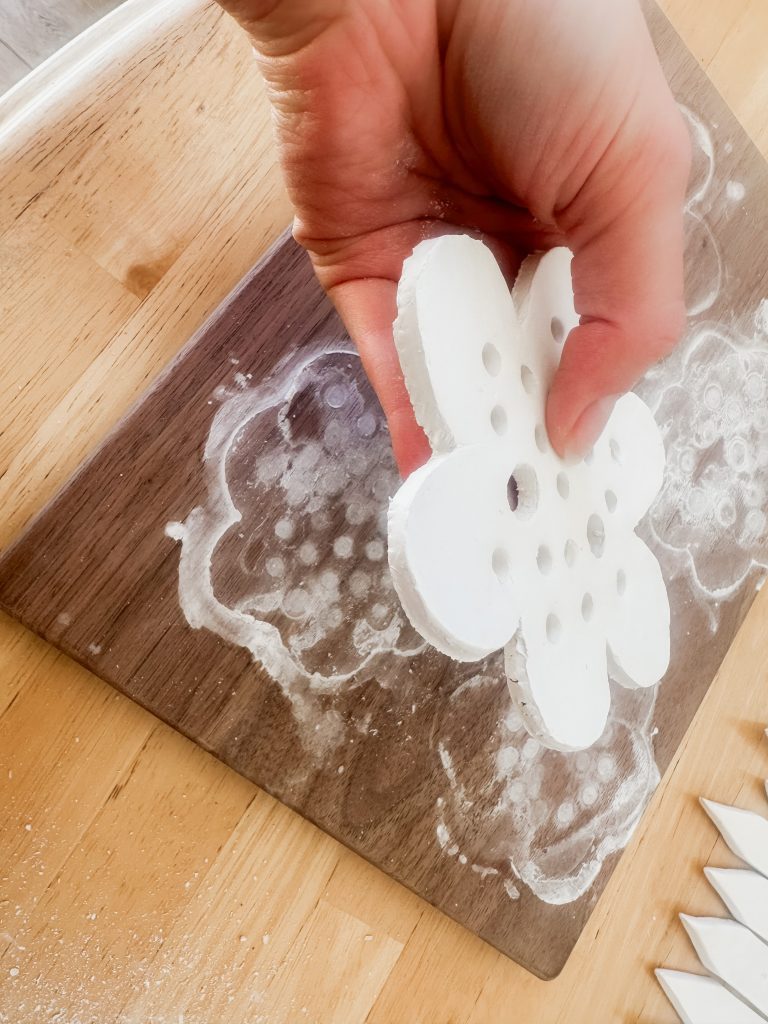
Once you’ve got your shape cut out, transfer it to a drying surface. I like to use one that is moveable, such as a cutting board, that way I can up it out of kids’ reach while it dries. After you transfer your piece, it is time to smooth it out. Dip your finger in a small bowl of water and run it along the edges to get a smooth finish.
Step 4: Make the Holes for the Stems in Your Clay Flower Holder
Now for the fun part—poking holes!
- For smaller holes, use a straw and punch out as many as you like.
- For bigger holes, use a toothpick to outline them, then widen them with your fingers.
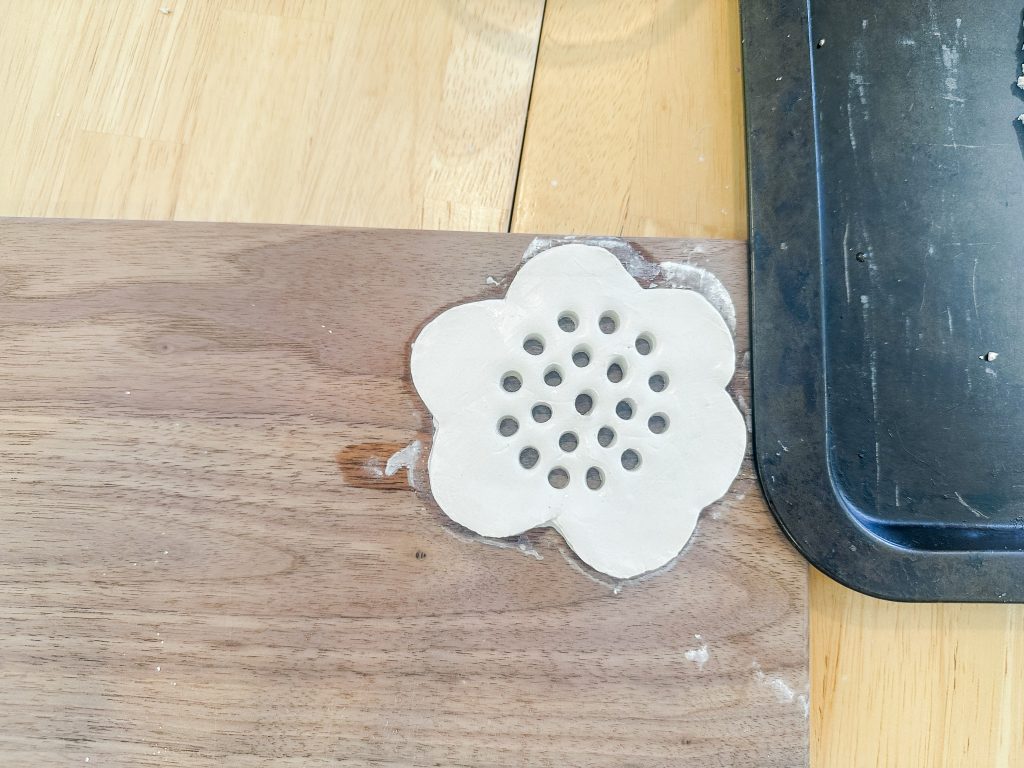
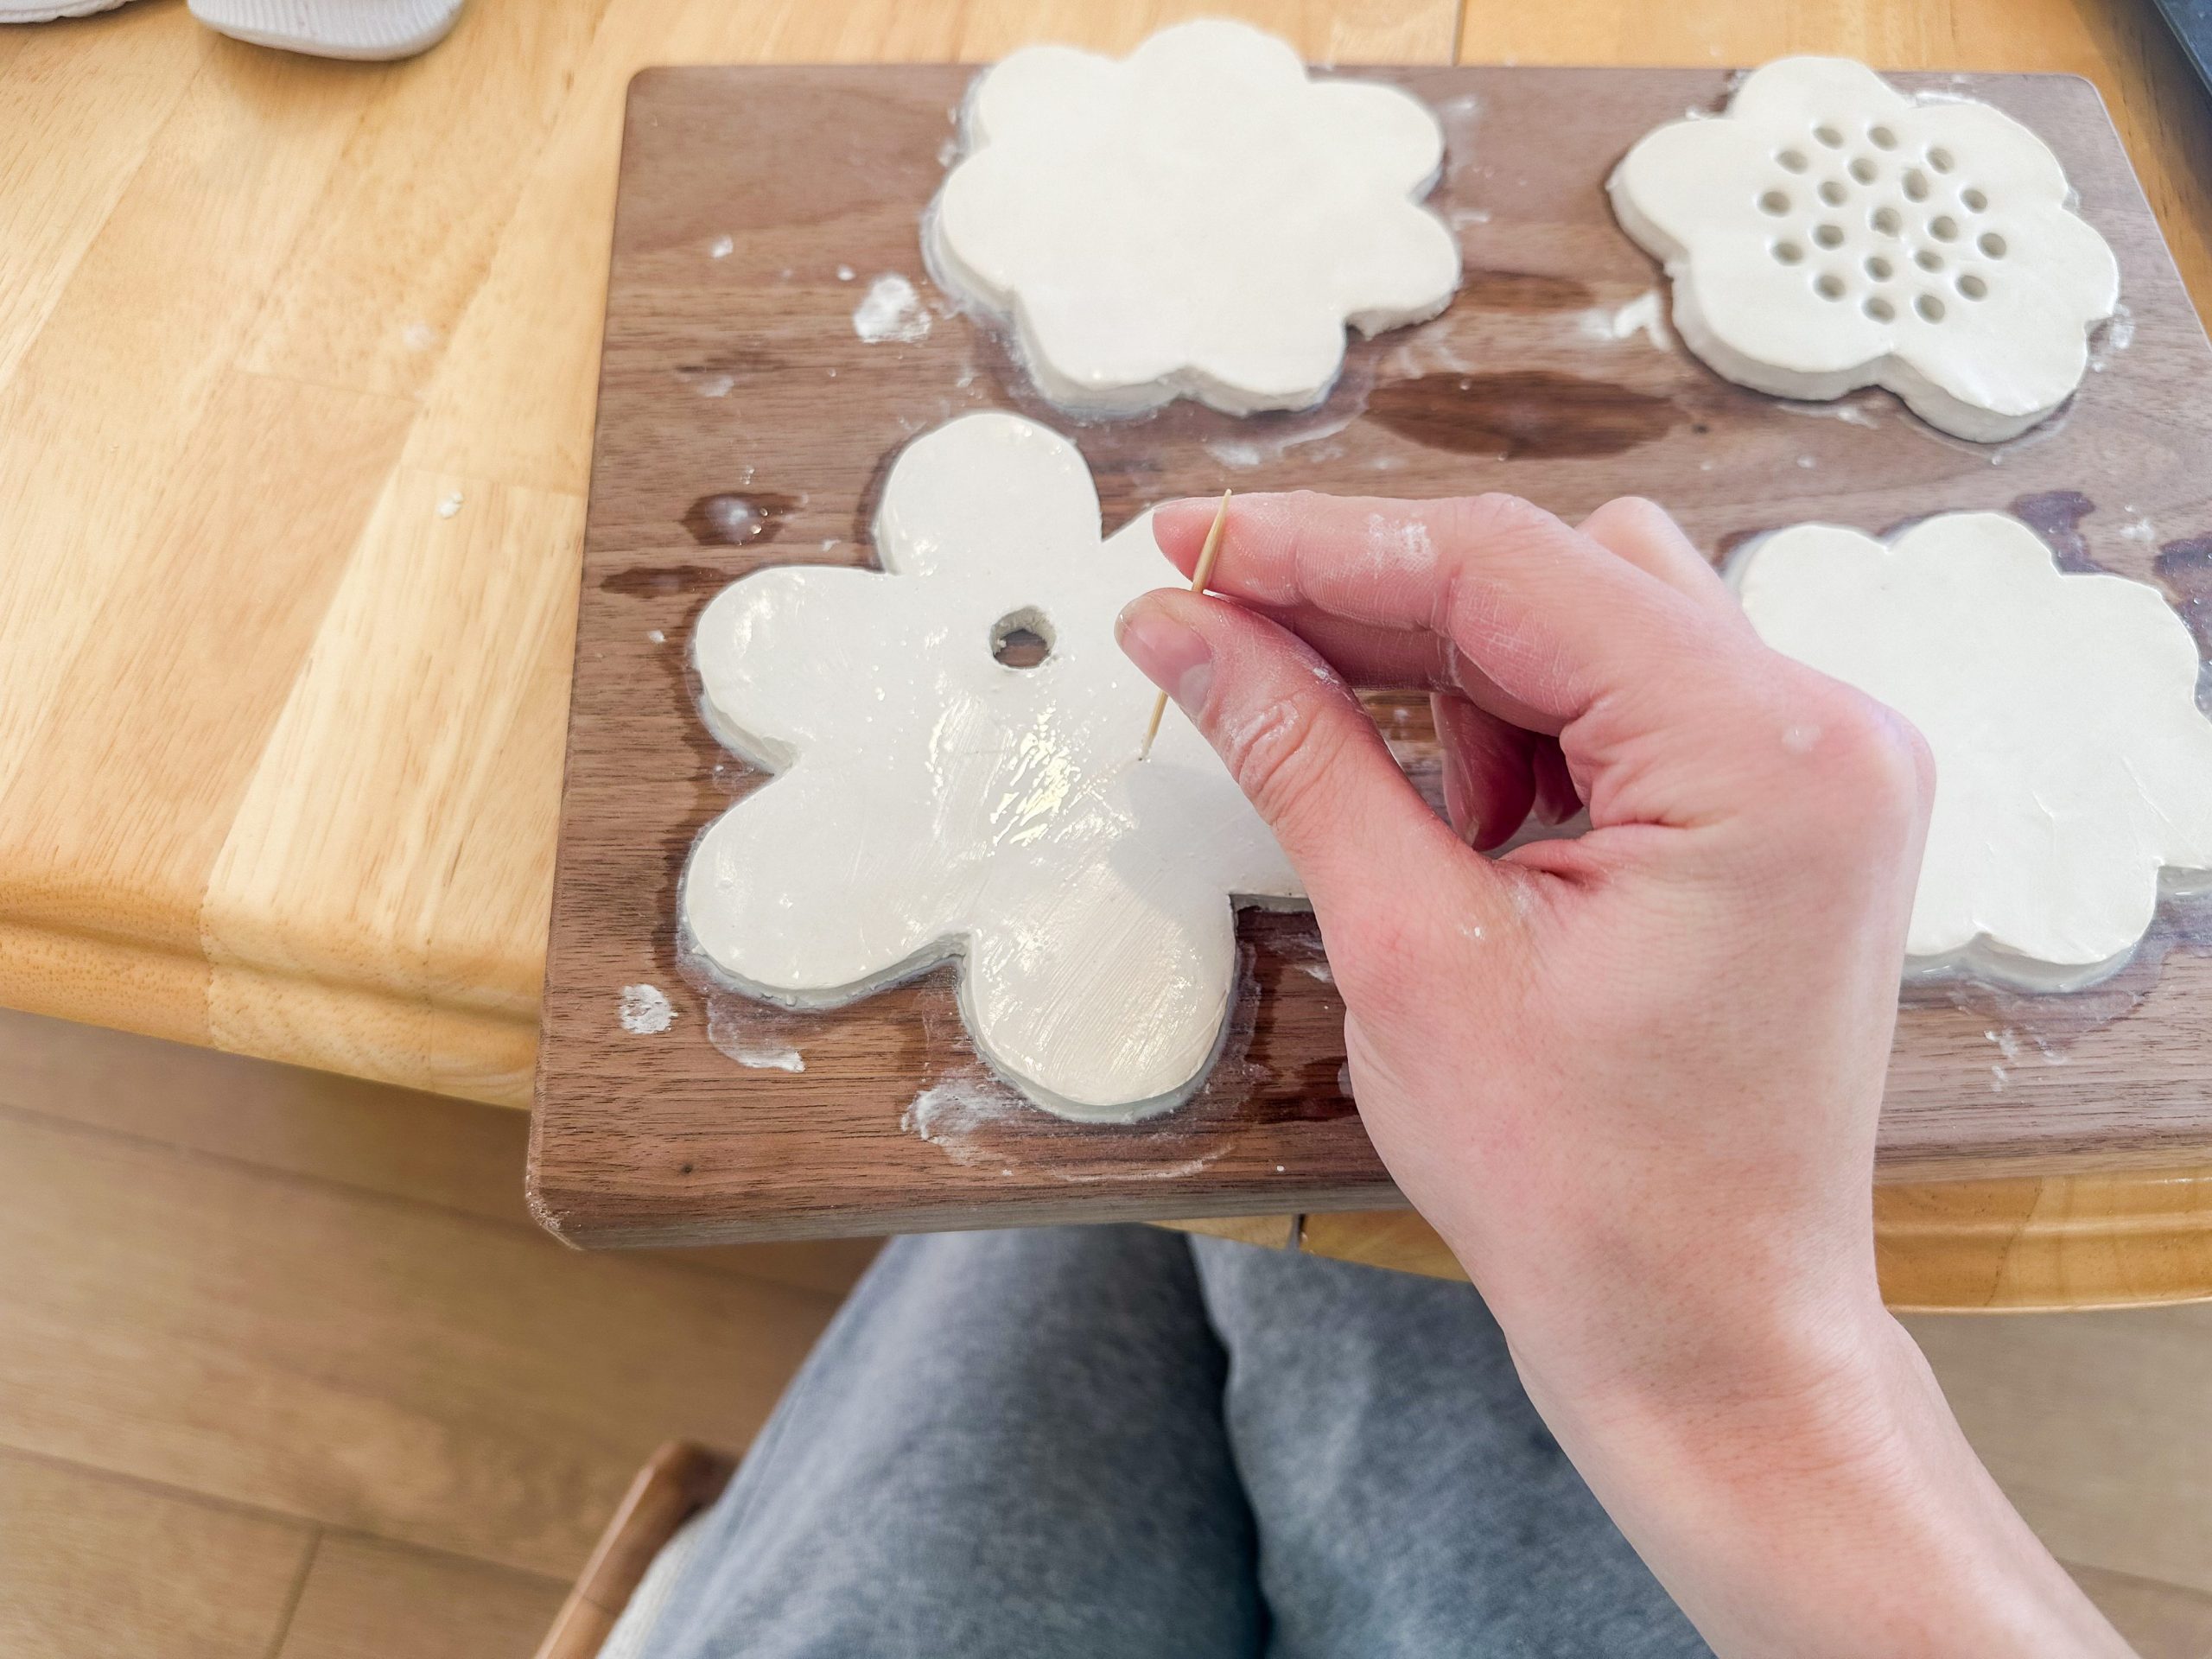
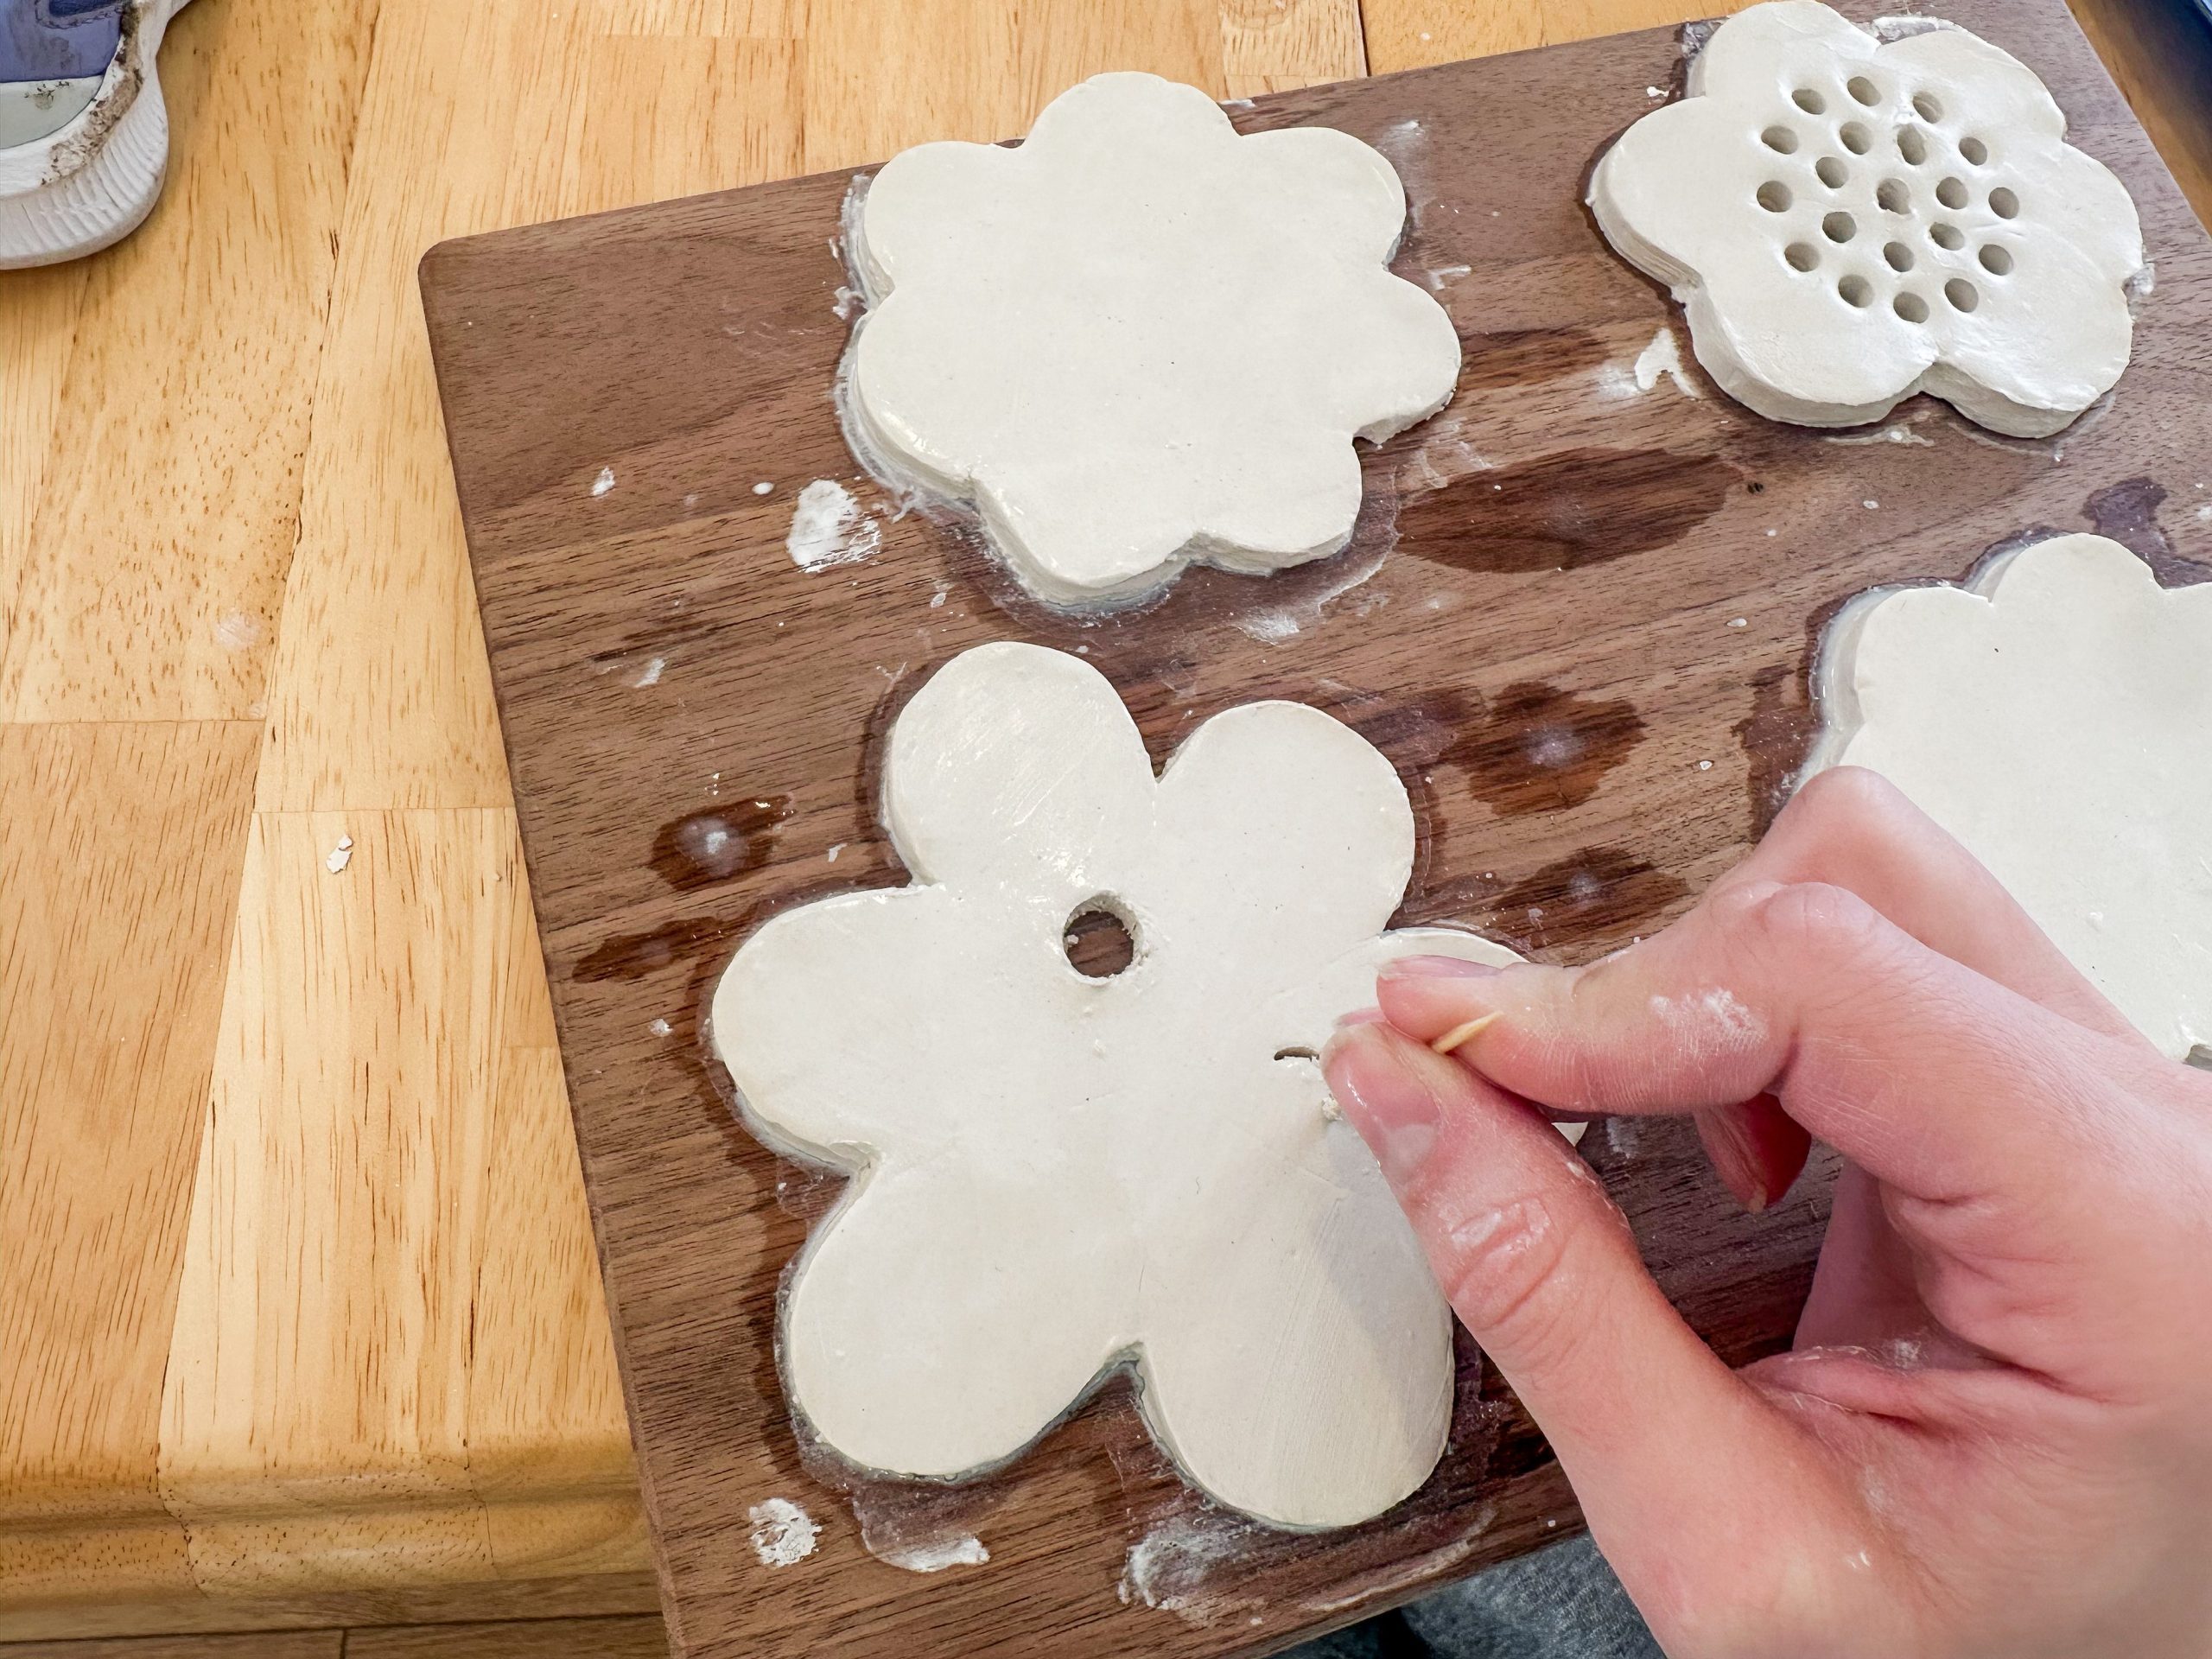
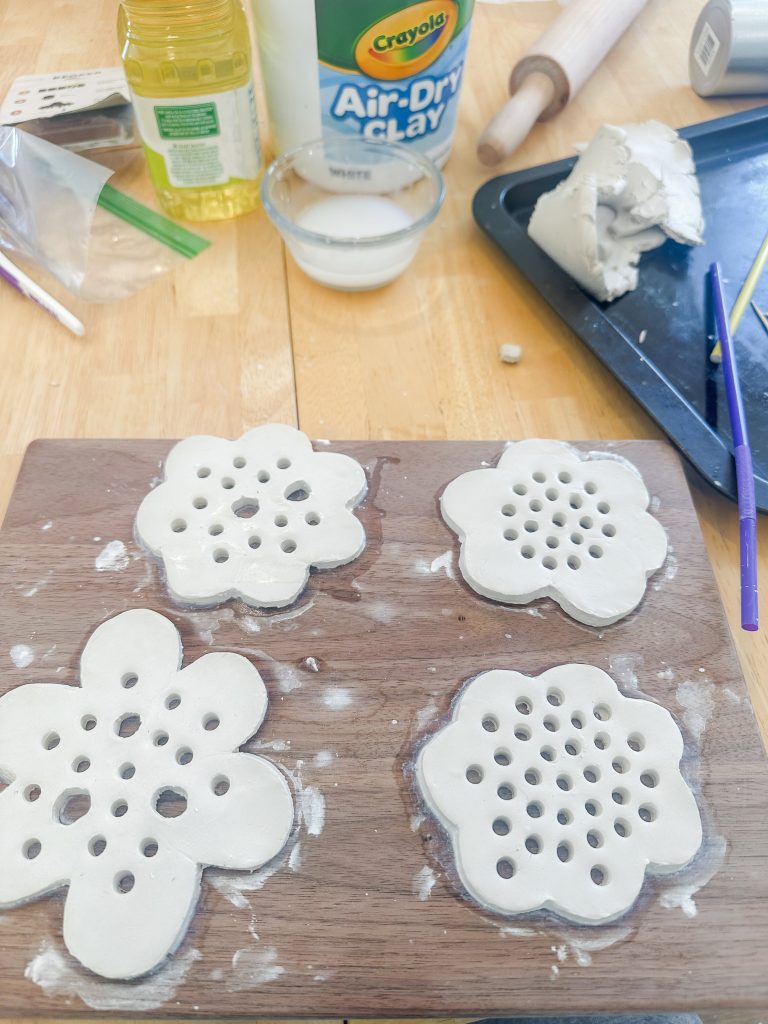
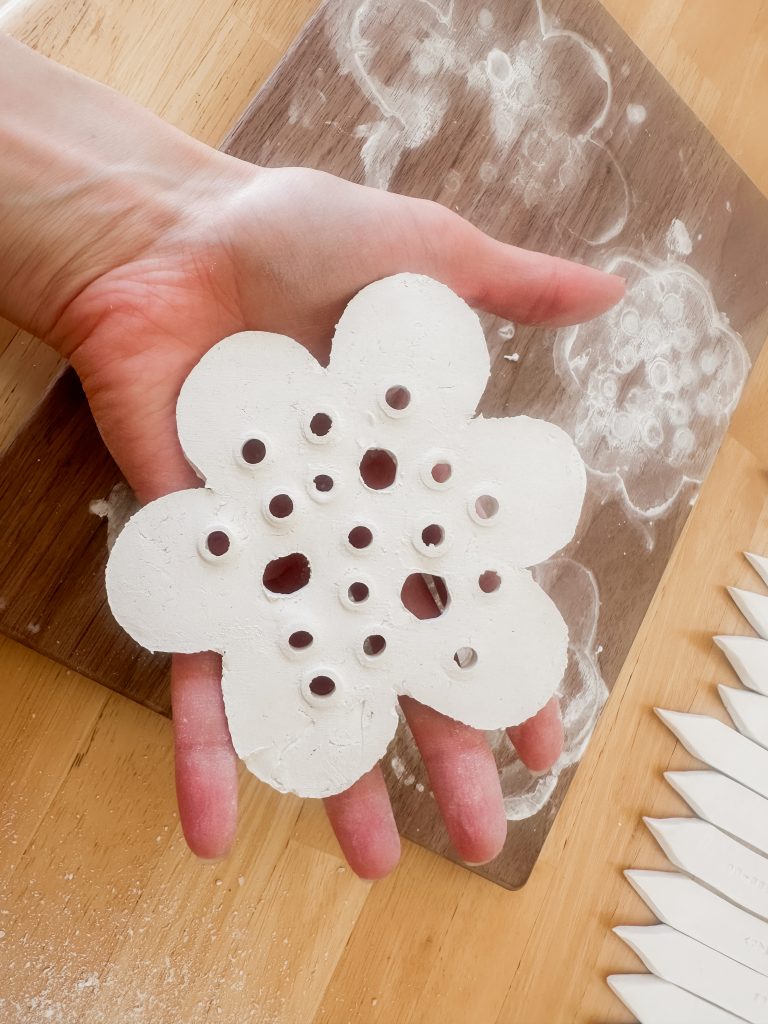
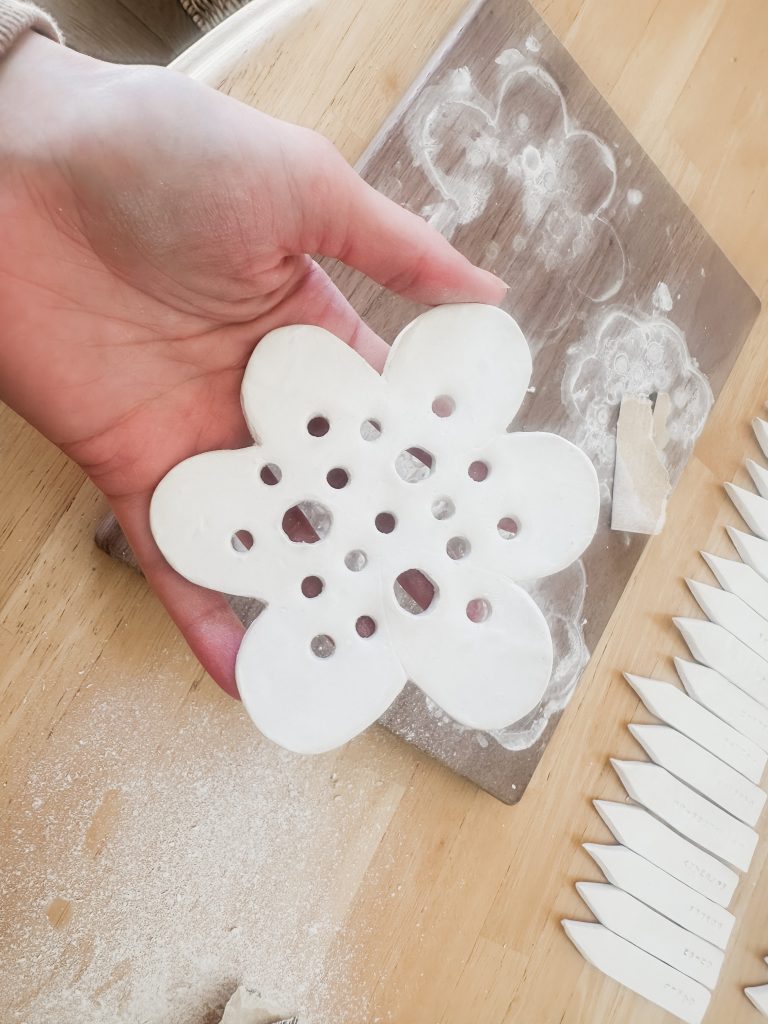
The layout of your holes determines how your flowers will sit. Lots of holes? Full, lush arrangement. Fewer holes? Minimalist chic. It’s totally up to you.
Step 5: Drying Your DIY Flower Frog Air Dry Clay Craft
Move your clay pieces to a safe place. Let them sit undisturbed for 24 hours, then carefully flip them over to dry evenly.
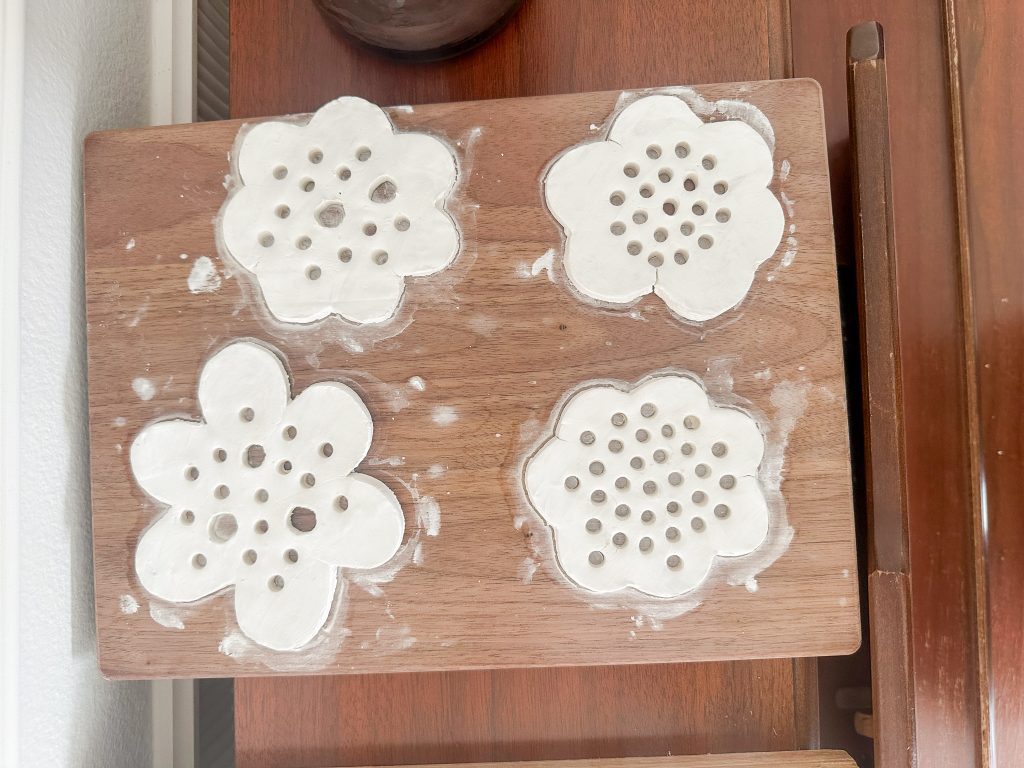
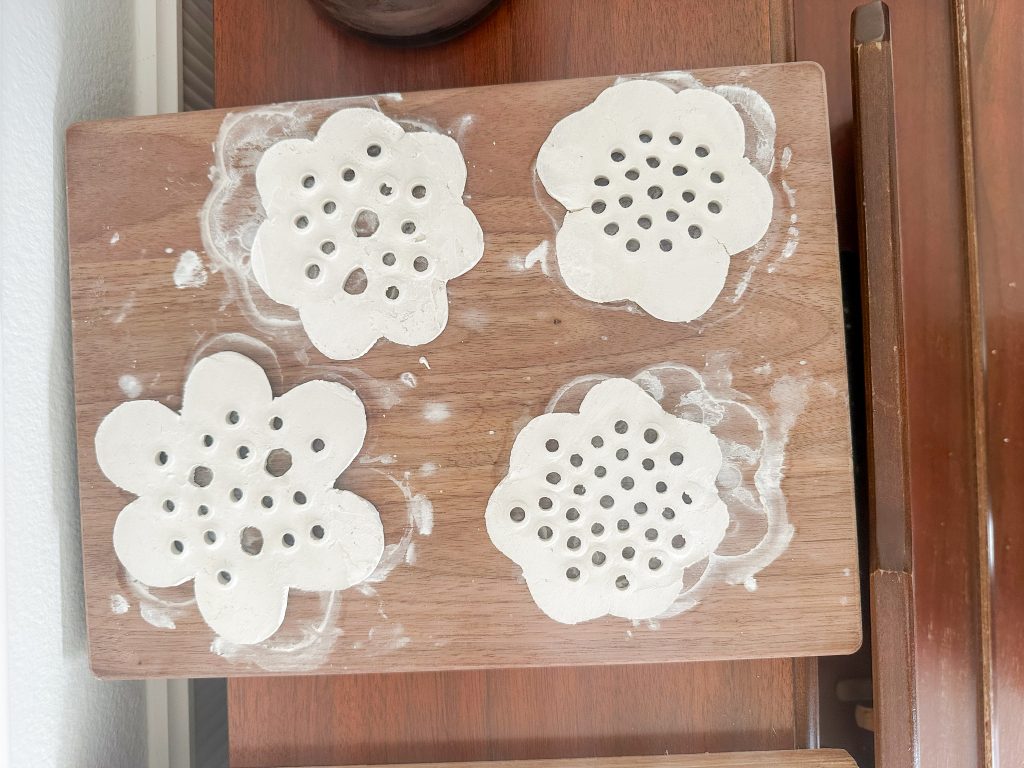
These need at least two full days to dry completely, so resist the urge to touch them too soon. Rushing this step will result in cracks, and nothing is more frustrating than a project that falls apart at the finish line.
Step 6: Sand the Flower Frogs
Once the flower frogs are dry, use a fine grit sandpaper like 320 grit and gently sand down any rough edges and smooth out the surfaces.
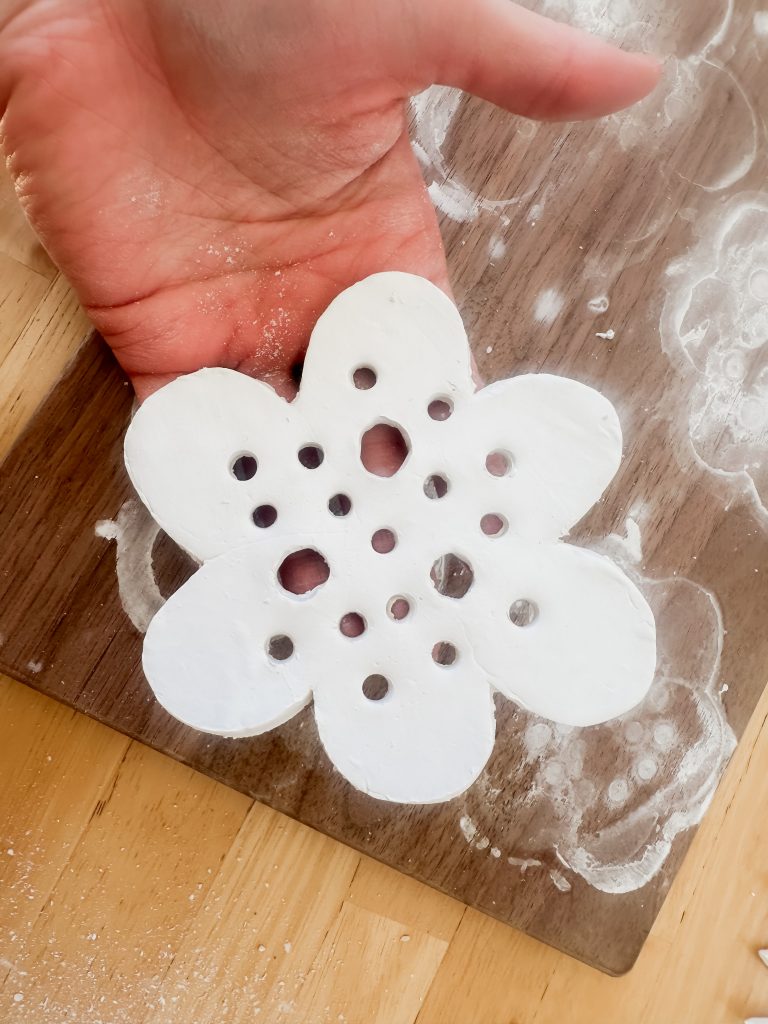
Step 7: Paint the Flower Frogs (Optional)
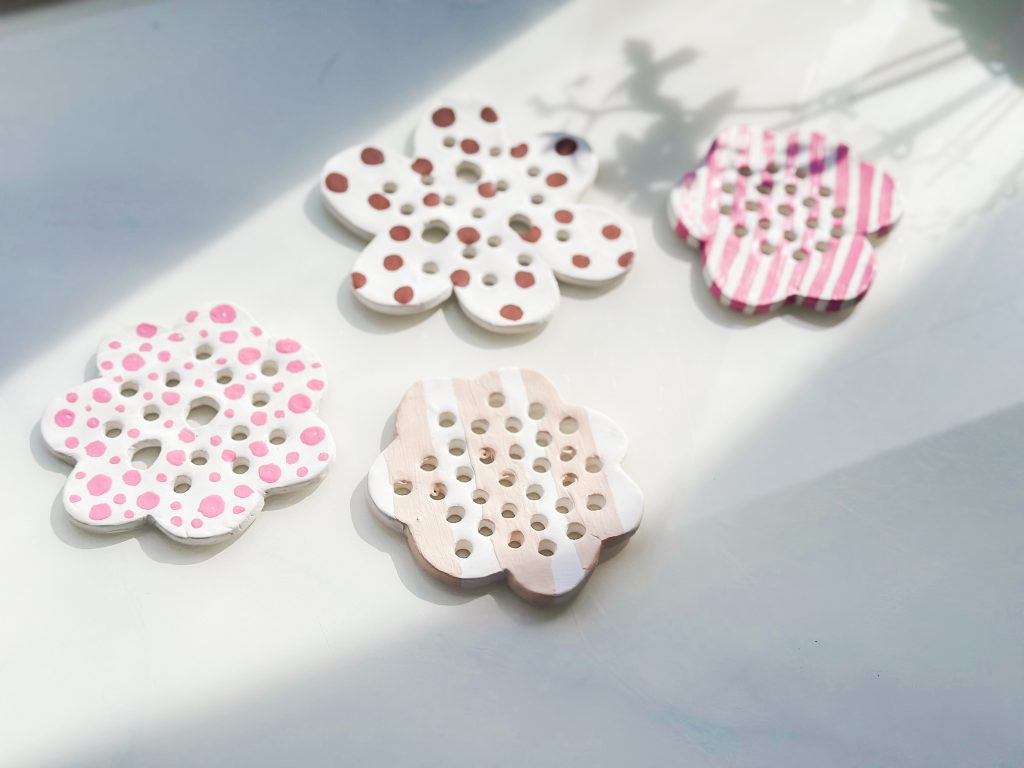
After you have sanded, use a damp cloth to wipe off the dust. Then, using a paint of your choosing (I used acrylic paint) paint a design on the flower frog! You could also leave them blank and they would still look super cute!
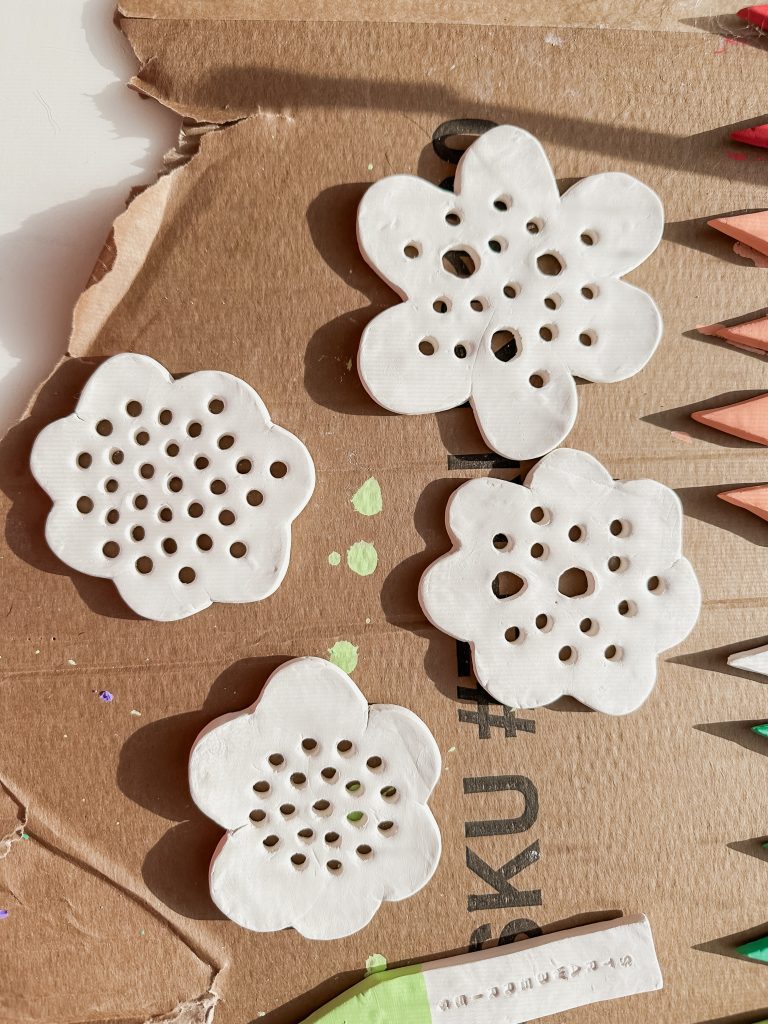
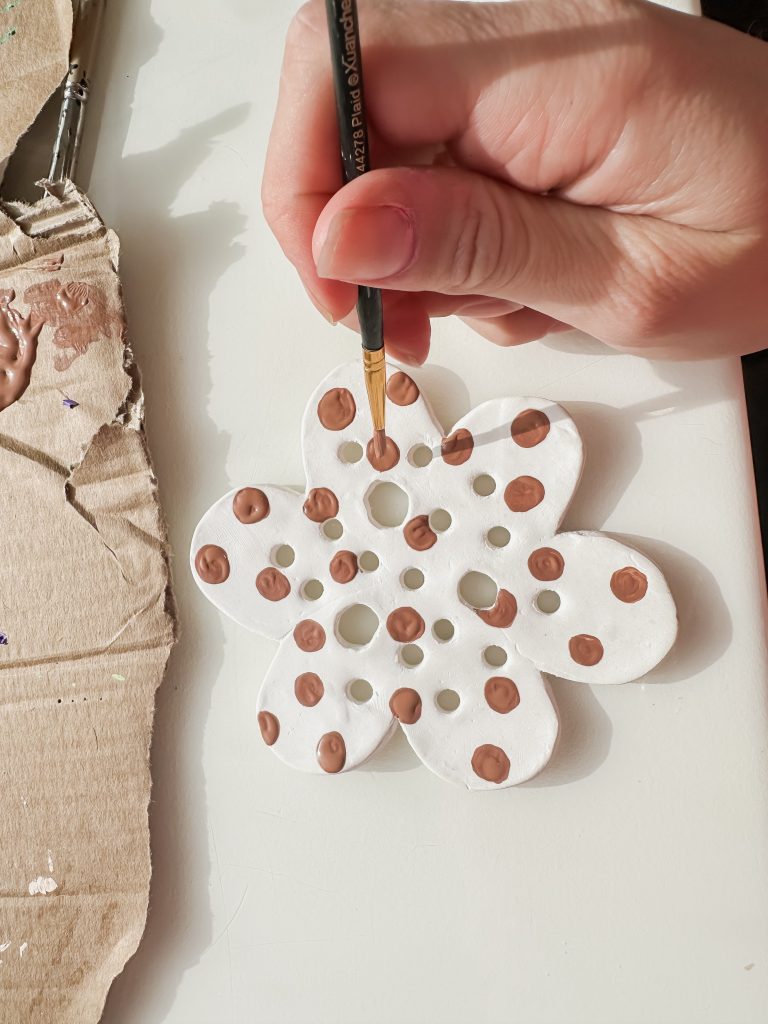
The end! These are so cute and would make such a great perfect handmade gift for Mother’s Day, a teacher appreciation gift, or for anyone who loves to garden. Pair one with a thrifted vase and a bouquet of fresh-cut flowers, and you’ve got a heartfelt, budget-friendly present!
What You’ll Need to Make a DIY Flower Frog
- Air-dry clay
- Cookie sheet
- A rolling pin
- Cookie cutters
- A knife or clay tool
- A small bowl of water
- A straw and/or toothpick
- A drying surface
- Sand paper
- Acrylic Paint
- Paint Brush