
How to Make DIY Air Dry Clay Christmas Houses
This post may contain affiliate links, which means I may earn a small commission if you make a purchase using one of those links. As an Amazon Associate, I earn from qualifying purchases. Thank you for supporting Projects & Pearls.
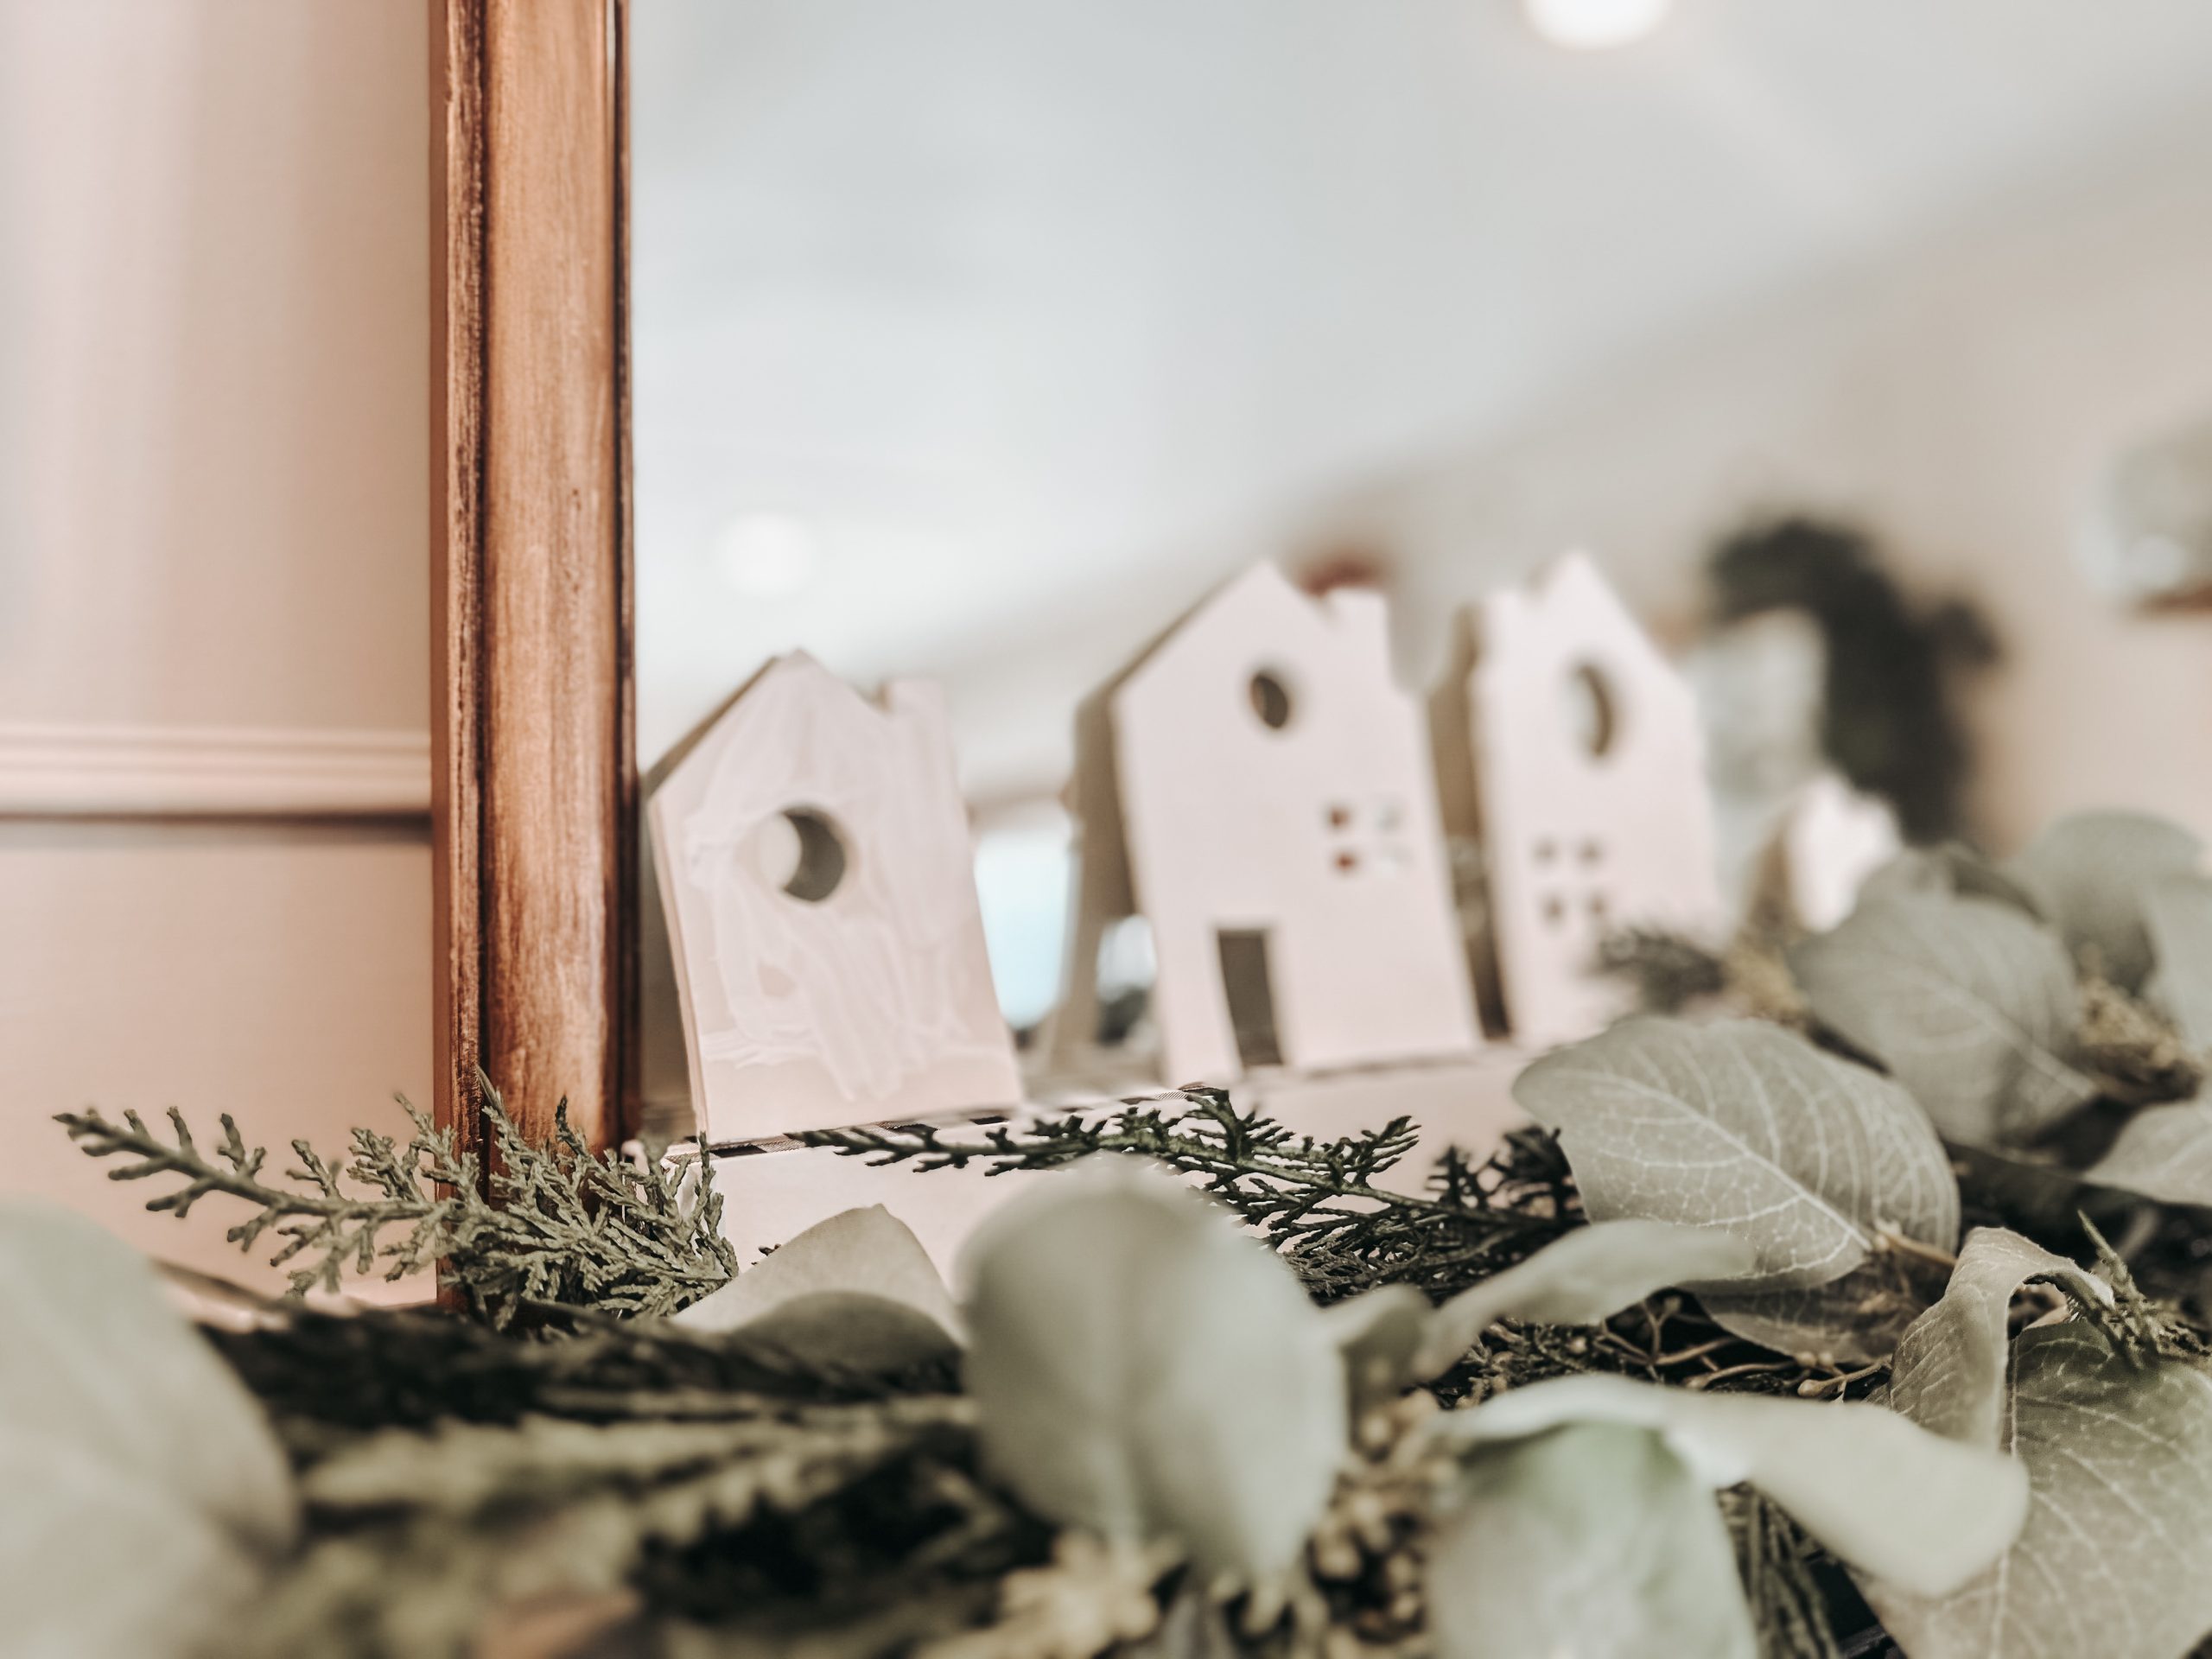
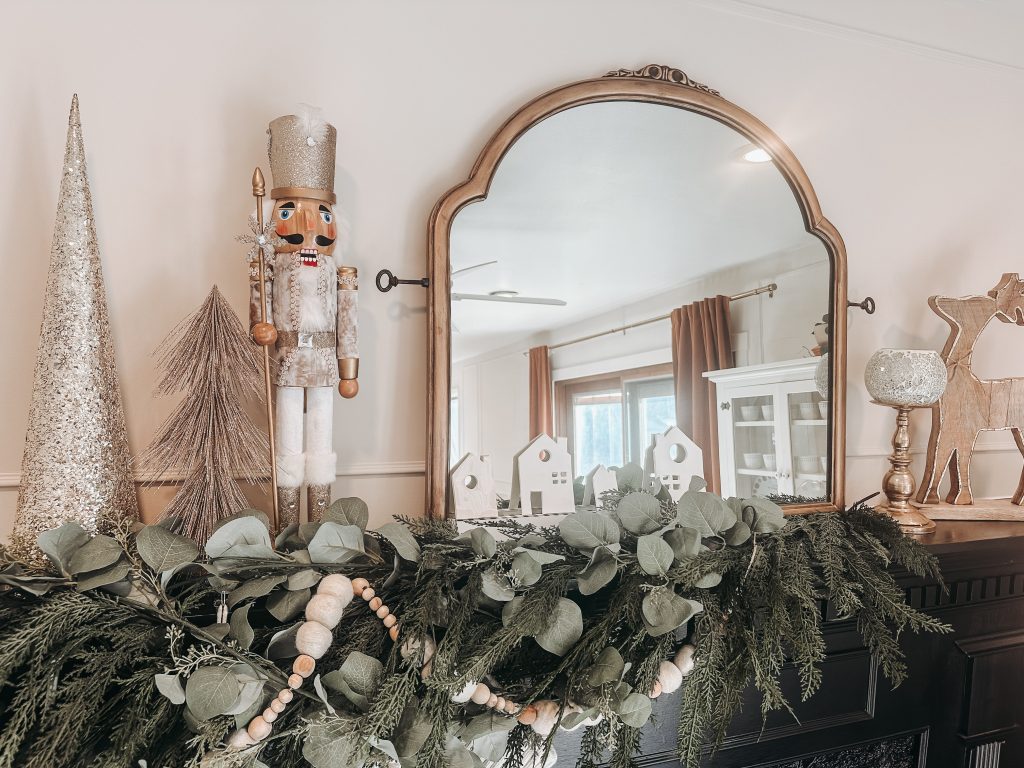
I’ve been on a real air dry clay kick lately – one bucket goes a long way and air dry clay crafts are so easy and cute! Making a DIY air dry clay Christmas house is a way to spend quality time with your kids this holiday season. This project is simple, affordable, and a great way to get everyone involved in crafting a cozy holiday display for your home. Whether you’re a seasoned crafter or just dabbling in air dry clay crafts, you’ll find this project both satisfying and kid-friendly.
Materials You’ll Need
Basic Supplies:
- Air dry clay (white or colored, depending on your preference)
- Rolling pin or a flat surface tool
- Exacto knife or small kitchen knife
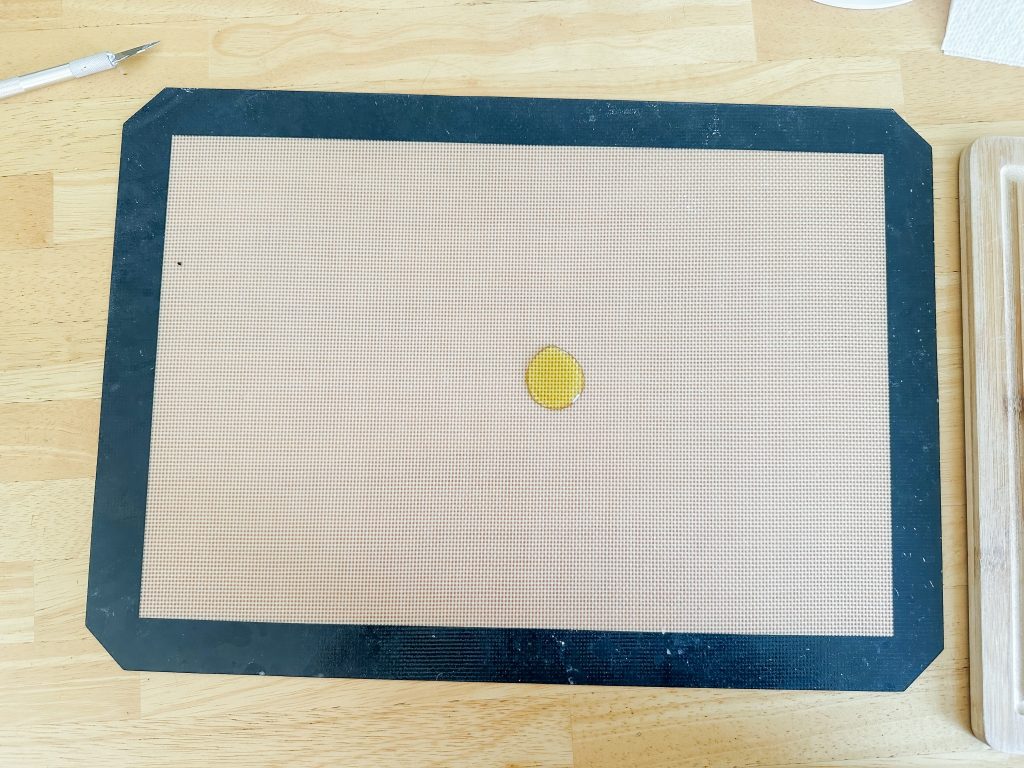
- Wax paper or a silicone mat for rolling clay
- Toothpicks, skewers, or small tools for detailing
- A ruler (optional, but helpful for straight lines)
- Acrylic paint in your favorite Christmas colors
- Paintbrushes
- Battery-operated tea lights for a warm glow
Optional Add-Ons:
- Glitter for a festive touch
- Small decorative elements like beads or buttons
- Stamps or textured tools for creating patterns
- Cookie cutters in holiday shapes
Most of these items are budget-friendly and can be found at your local craft store or online. You probably already have many of these in your kitchen or craft stash!
If you’re interested in giving handmade gifts this holiday season, I have you covered! Inside my DIY Gift Vault you’ll find detailed handmade gift tutorials, full supply lists, free printable labels and greeting cards! Sign up now for instant access!
Step-by-Step Instructions for Your Clay Christmas Houses
This air dry clay houses DIY project is broken into manageable steps so you and your little ones can work together easily.
1. Prepare Your Work Area
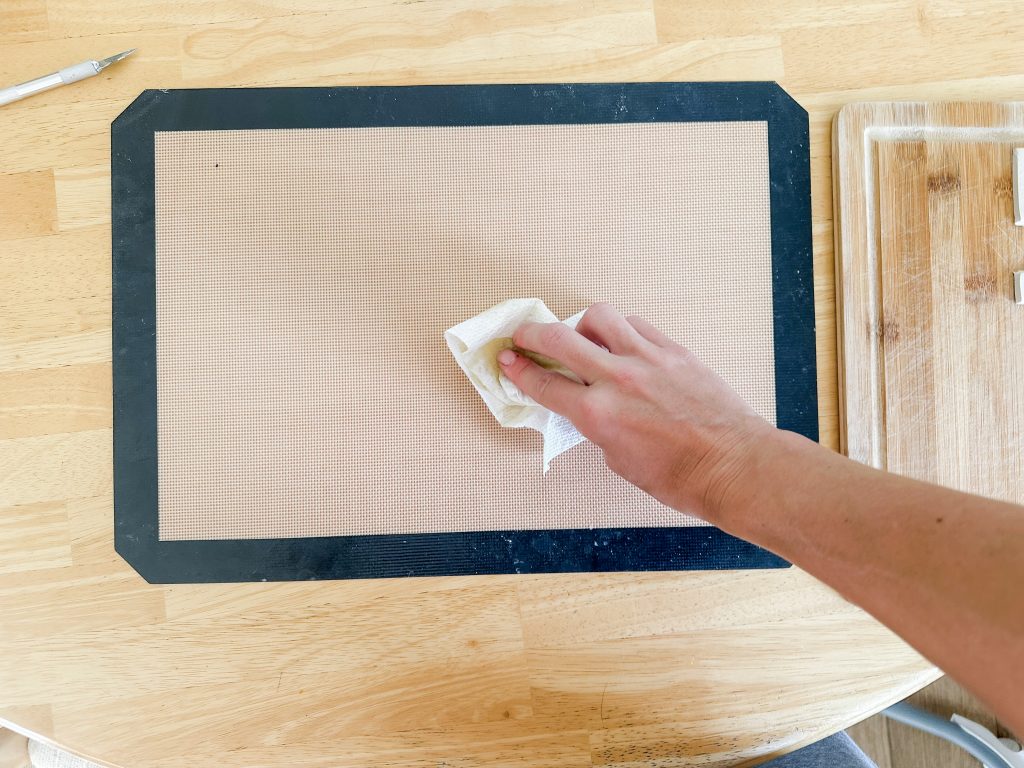
Kids and clay can get messy, so start by covering your table with newspaper or a plastic tablecloth. Lay down wax paper or a silicone mat for rolling out the clay. Keep a damp cloth handy for cleaning little hands (and yours) between steps.
2. Roll Out the Clay
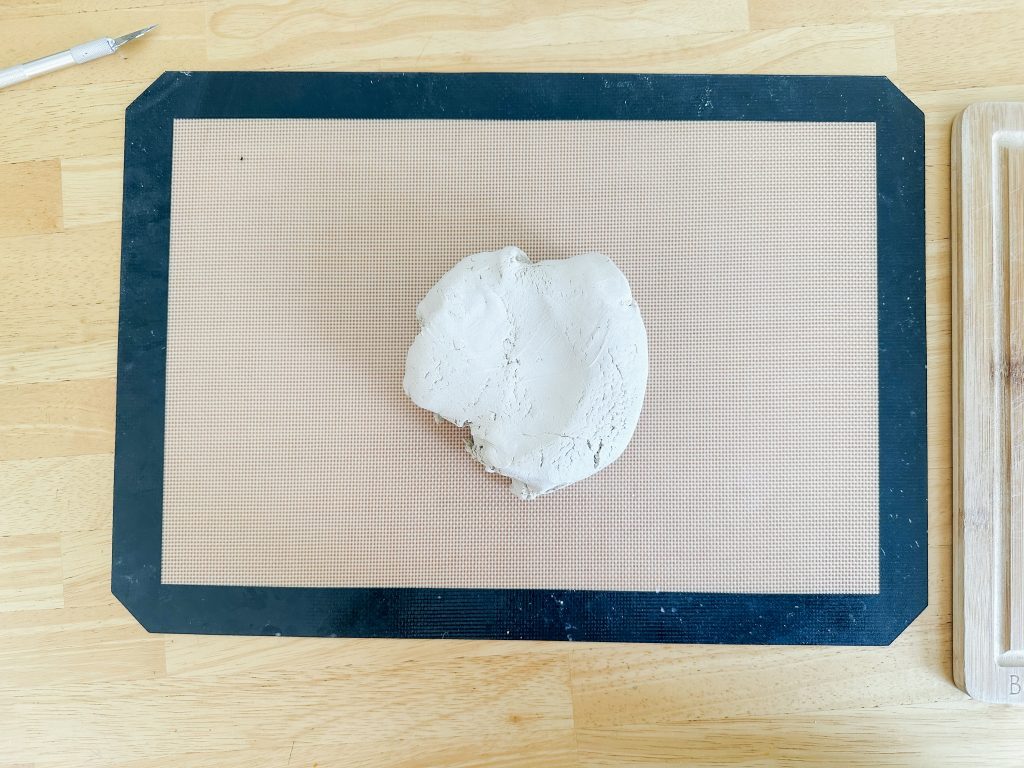
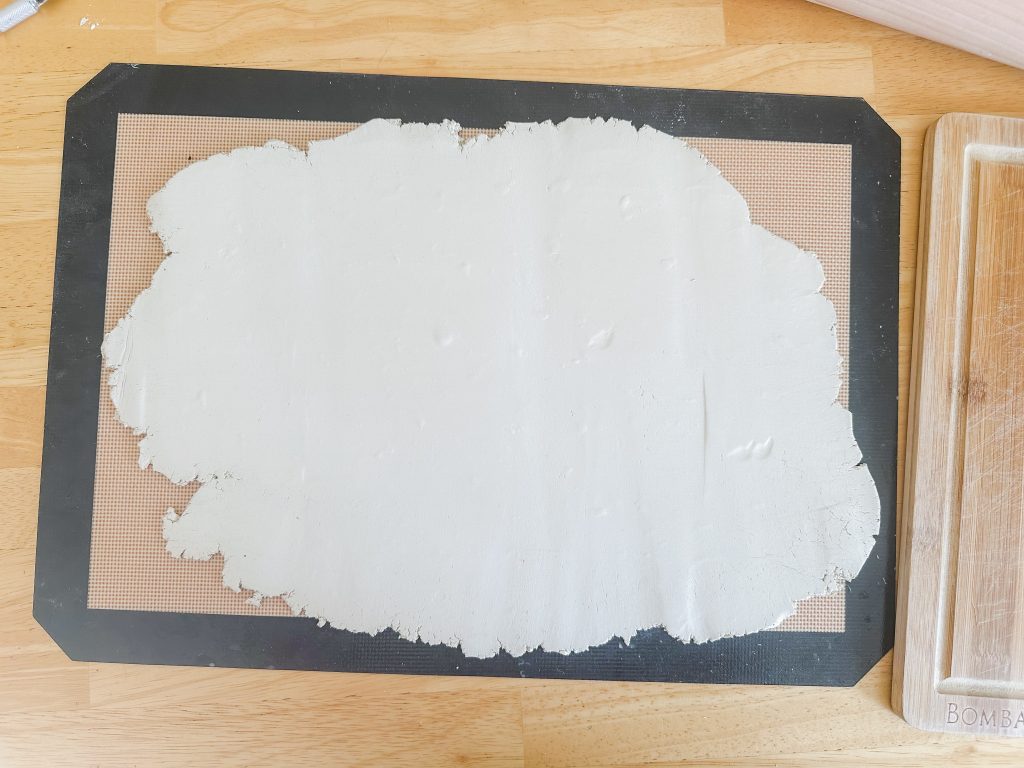
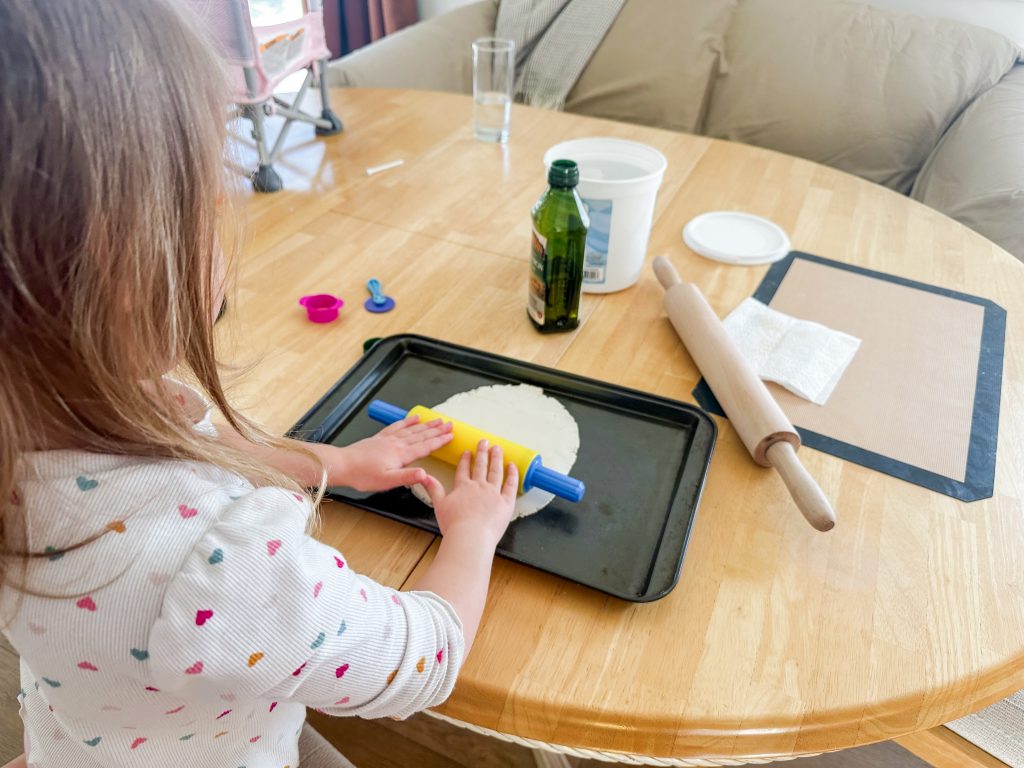
Take a chunk of your air dry clay and knead it for a minute to soften it. Roll it out to about ¼ inch thick. I found it best to use a little olive oil to prevent sticking.
3. Cut Out the House Pieces
Using a knife or craft tool, cut the outline of the house in the shape of your choosing.
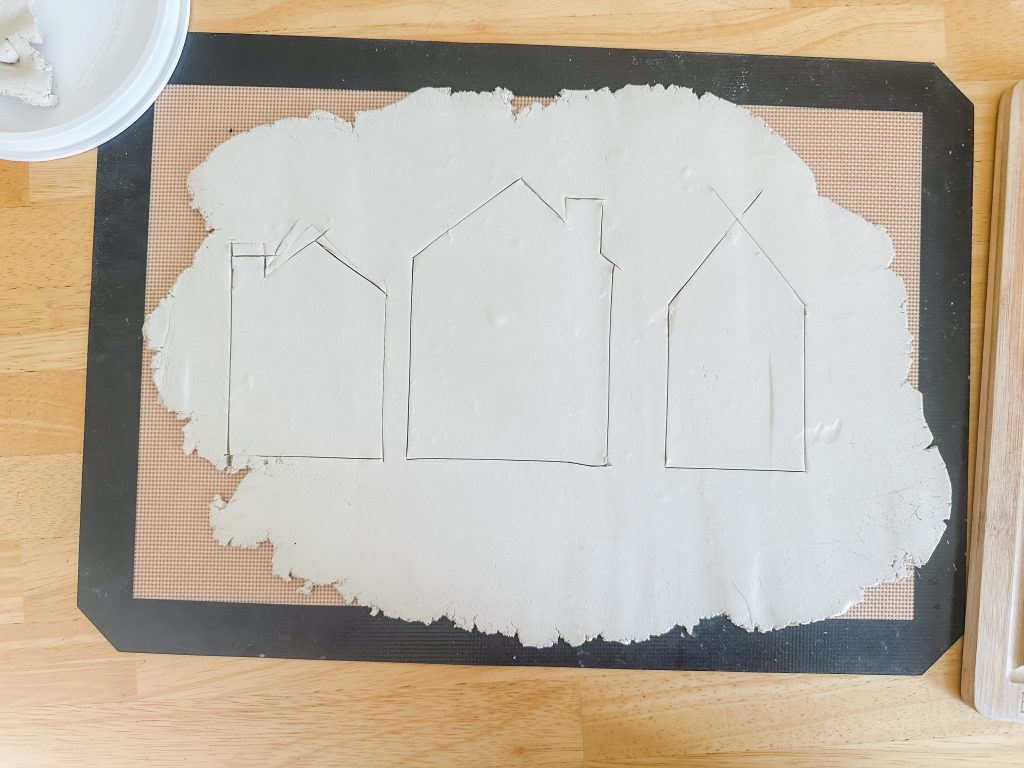
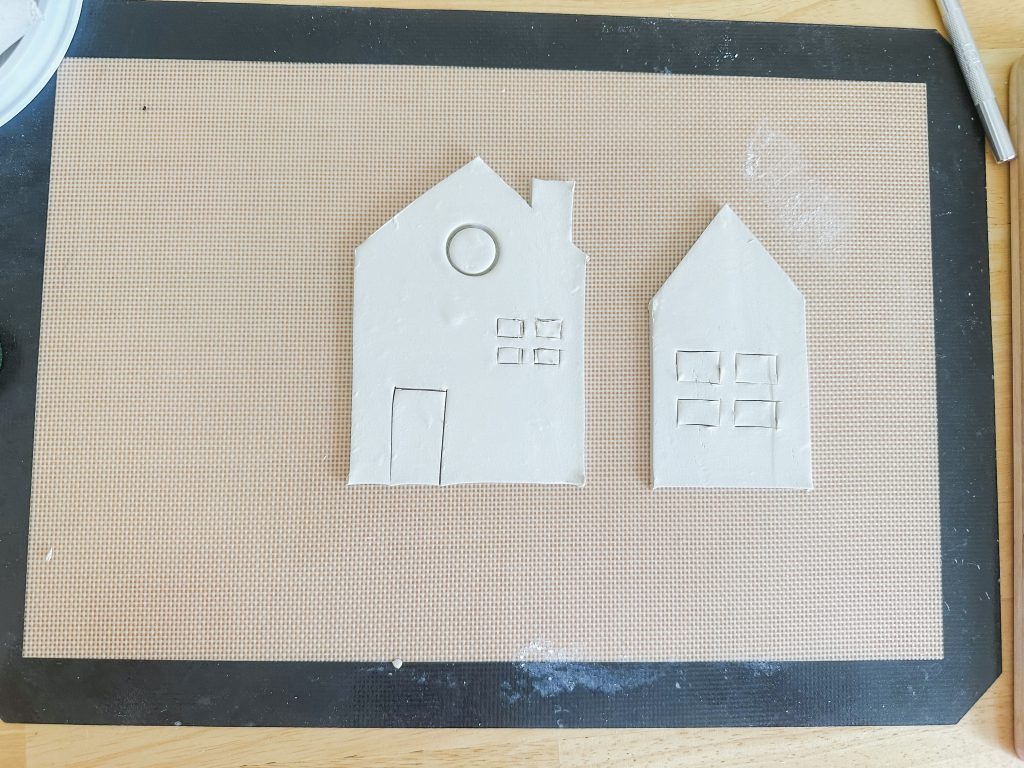
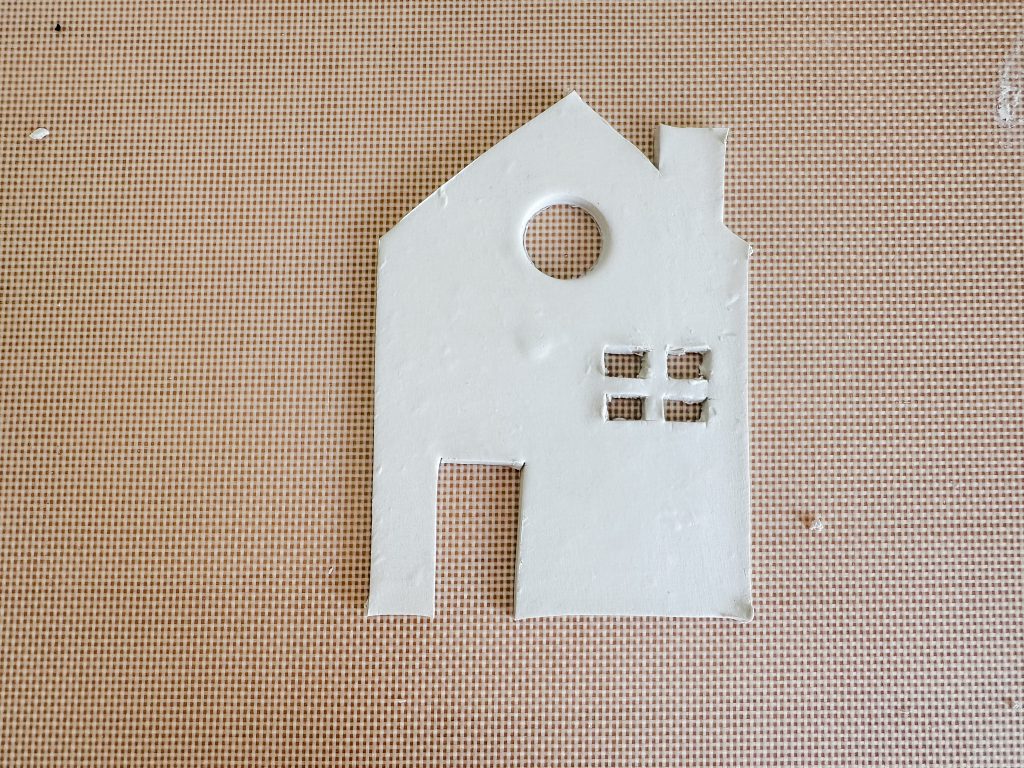
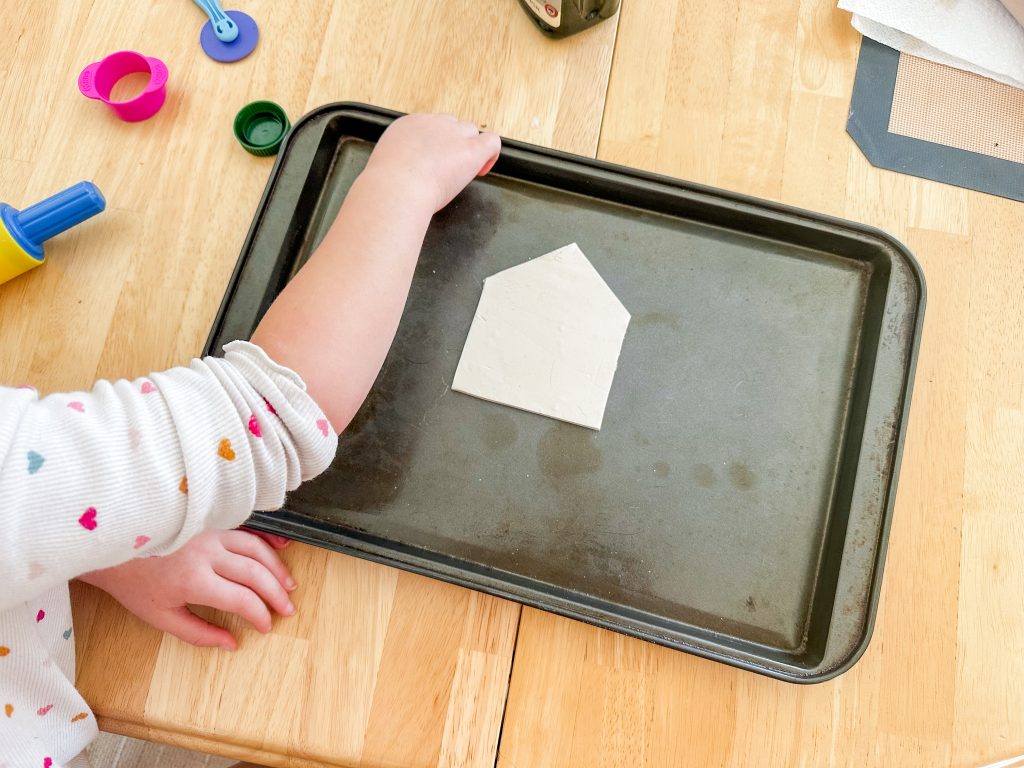
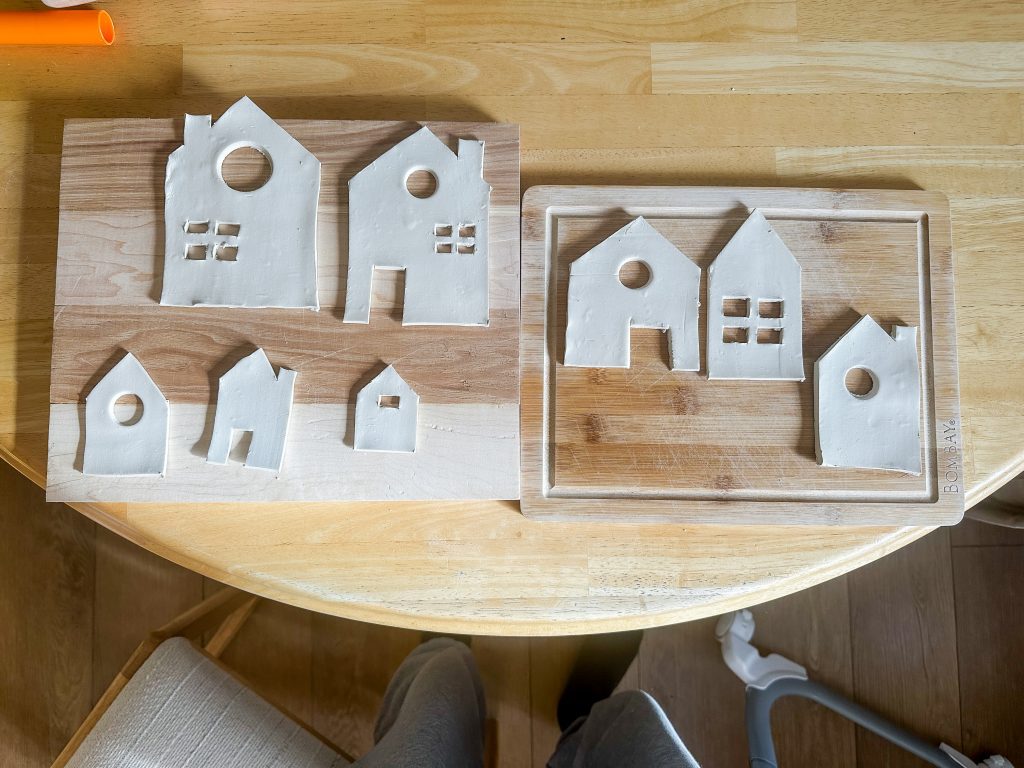
Tip: place your houses on something you can move to safe place while they dry. I used cutting boards. Coardboard would work well, also!
4. Add Details
This is where your clay Christmas village can really shine! Use toothpicks, skewers, or other small tools to etch patterns like brickwork, woodgrain, or snowflakes.
5. Smooth the House
Use water and your finger to smooth out any cracks or imperfections in the clay.
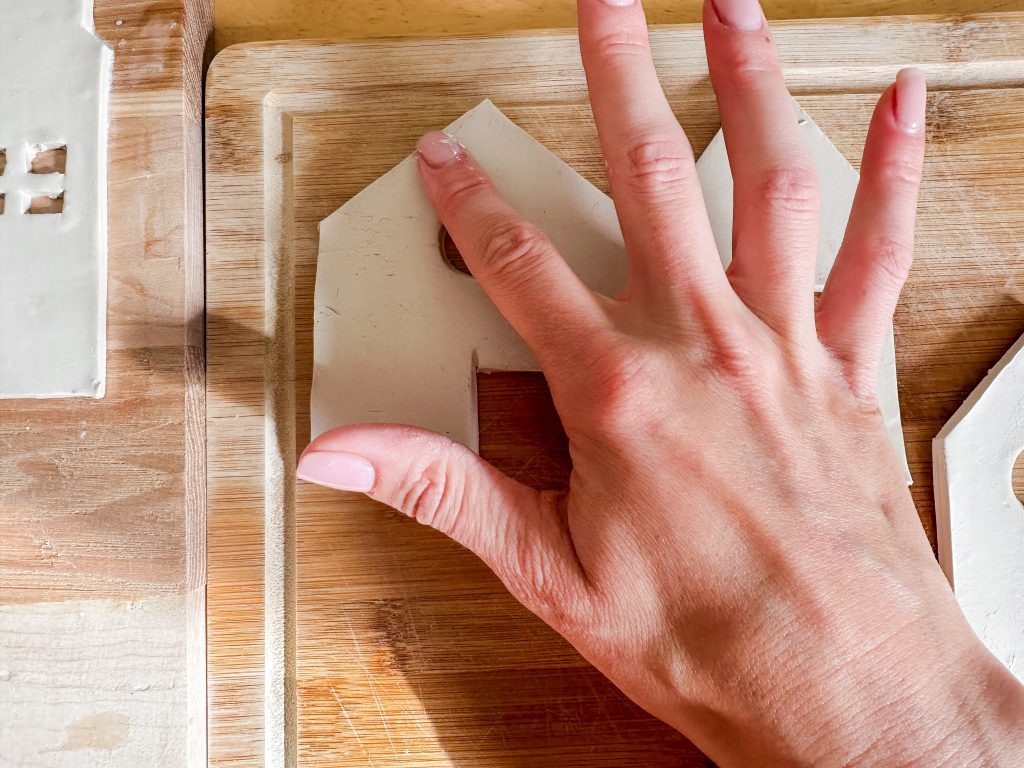
6. Letting the Clay Dry
Air drying takes 24–48 hours, depending on the thickness of your pieces. Place your house in a safe spot where it won’t be bumped or touched.
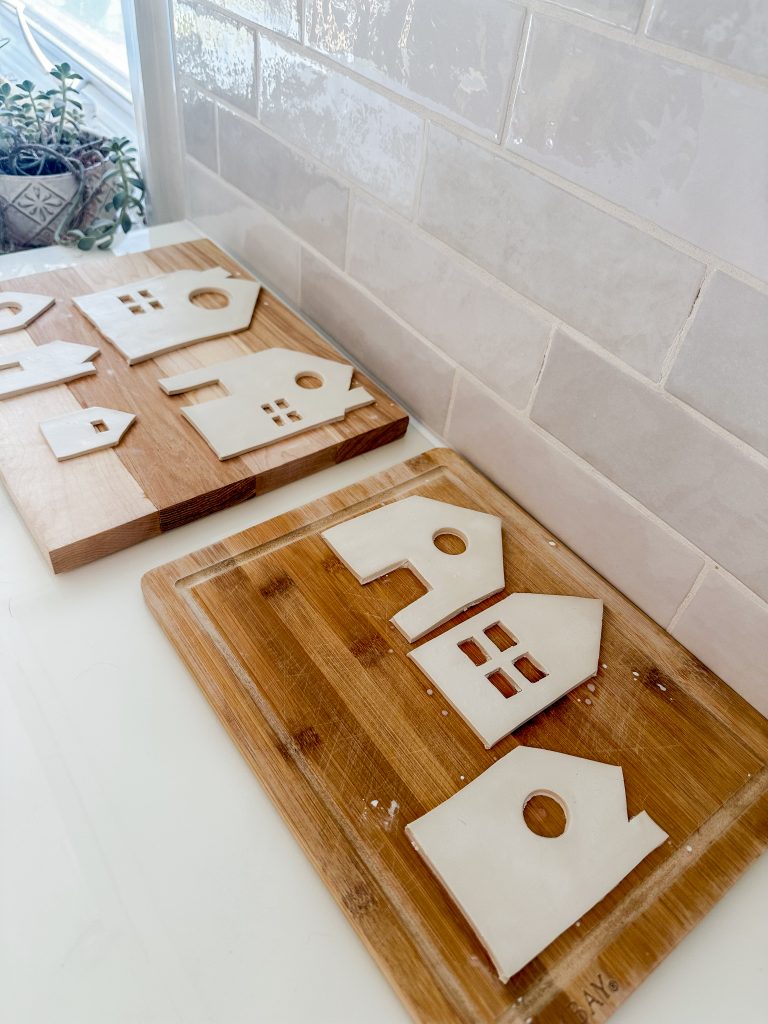
Tip: Gently turn the house over after 24 hours to ensure all sides dry evenly.
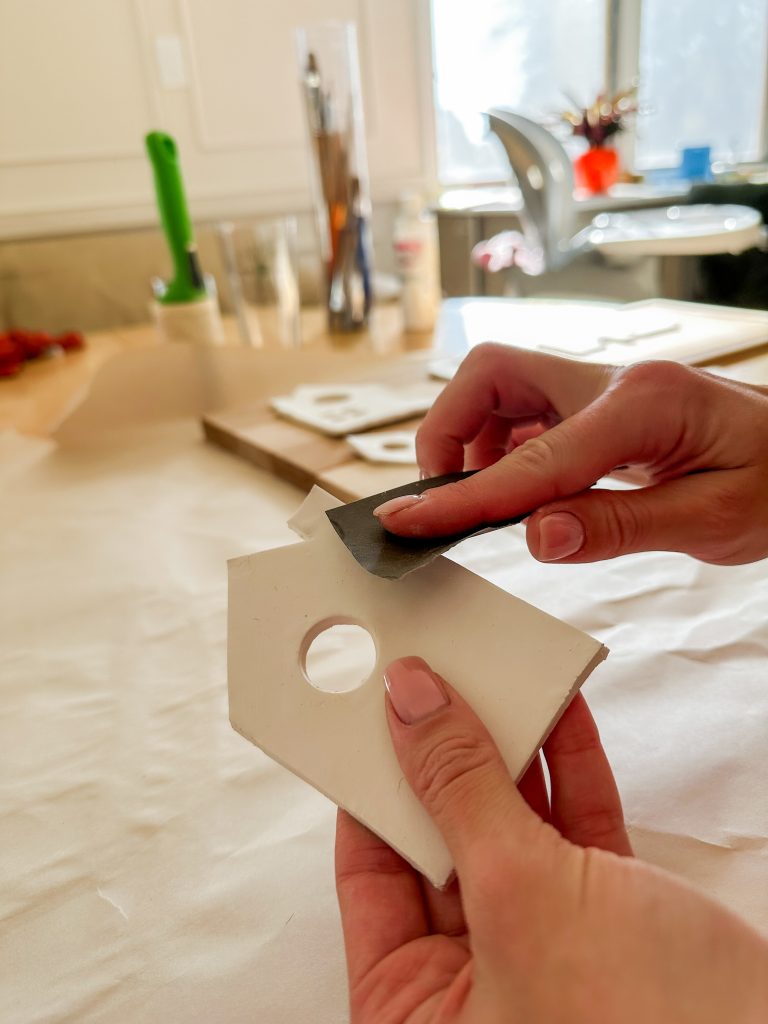
7. Sand the Clay
Use a fine grit sand paper to gently sand any imperfections or rough edges.
8. Painting and Decorating
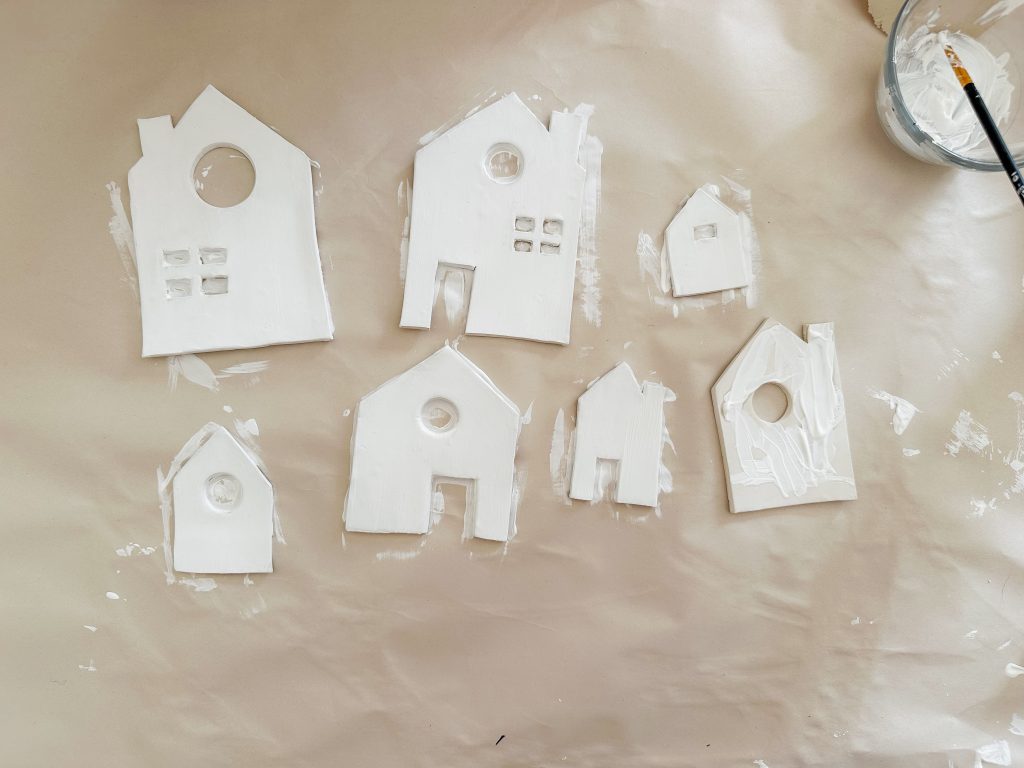
Use acrylic paint to bring your DIY clay tea light houses to life. Here are some ideas to inspire you:
- Paint the house white for a snowy effect, then add glitter for extra sparkle.
- Use classic Christmas colors like red, green, and gold.
- Let the kids personalize their houses with bright, playful designs.
For an extra festive look, you can sprinkle glitter onto the wet paint or glue.
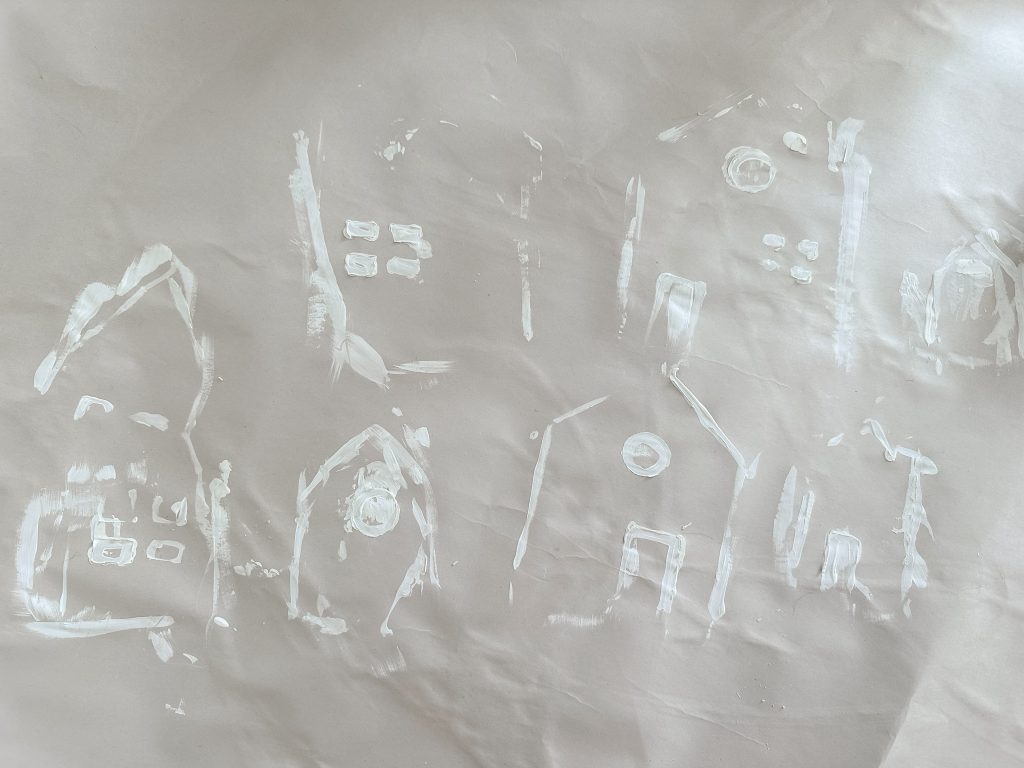
Adding the Tea Lights (Optional)
Once your house is painted and completely dry, place it on a shelf with a battery-operated tea light behind it. The soft glow will make your air dry clay Christmas projects feel magical, especially in the evening.
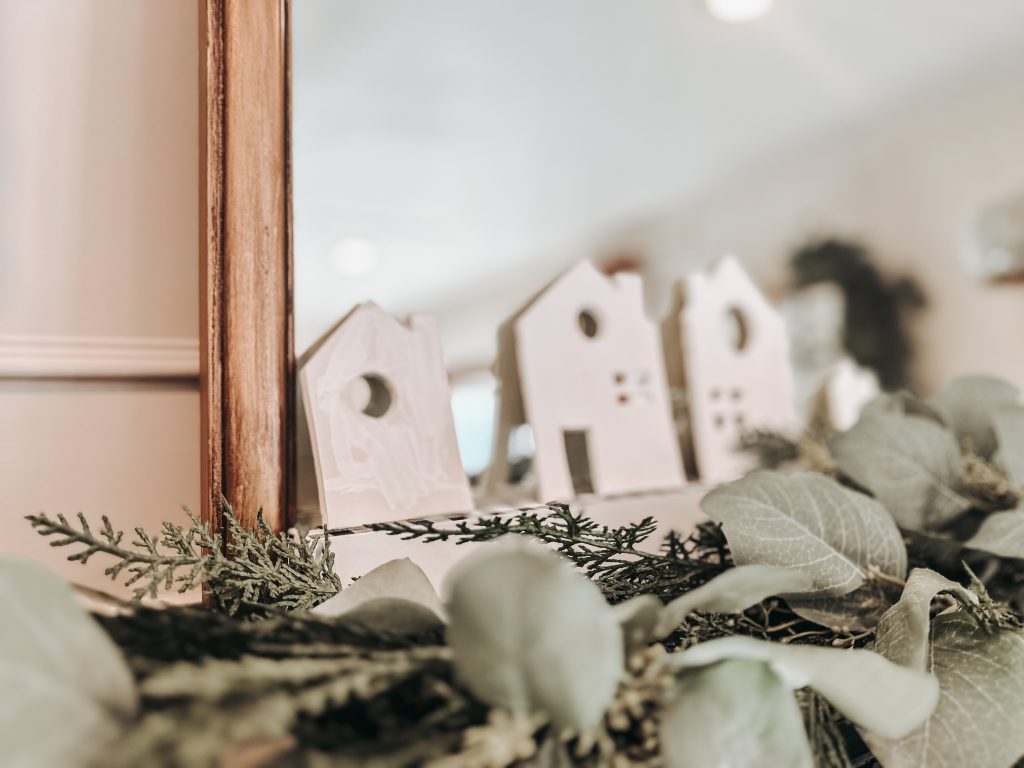
Whether you’re making one house or a whole clay Christmas village, the result will be a heartfelt addition to your holiday decor. So gather your supplies, roll up your sleeves, and get crafting! Your family will cherish this new holiday tradition for years to come.
Check out my other tutorials for more air dry diy clay craft ideas!


Hi, i couldn’t see how the clay pieces were put together to make a house, are they glued?