
DIY Clay Ghosts
This post may contain affiliate links, which means I may earn a small commission if you make a purchase using one of those links. As an Amazon Associate, I earn from qualifying purchases. Thank you for supporting Projects & Pearls.
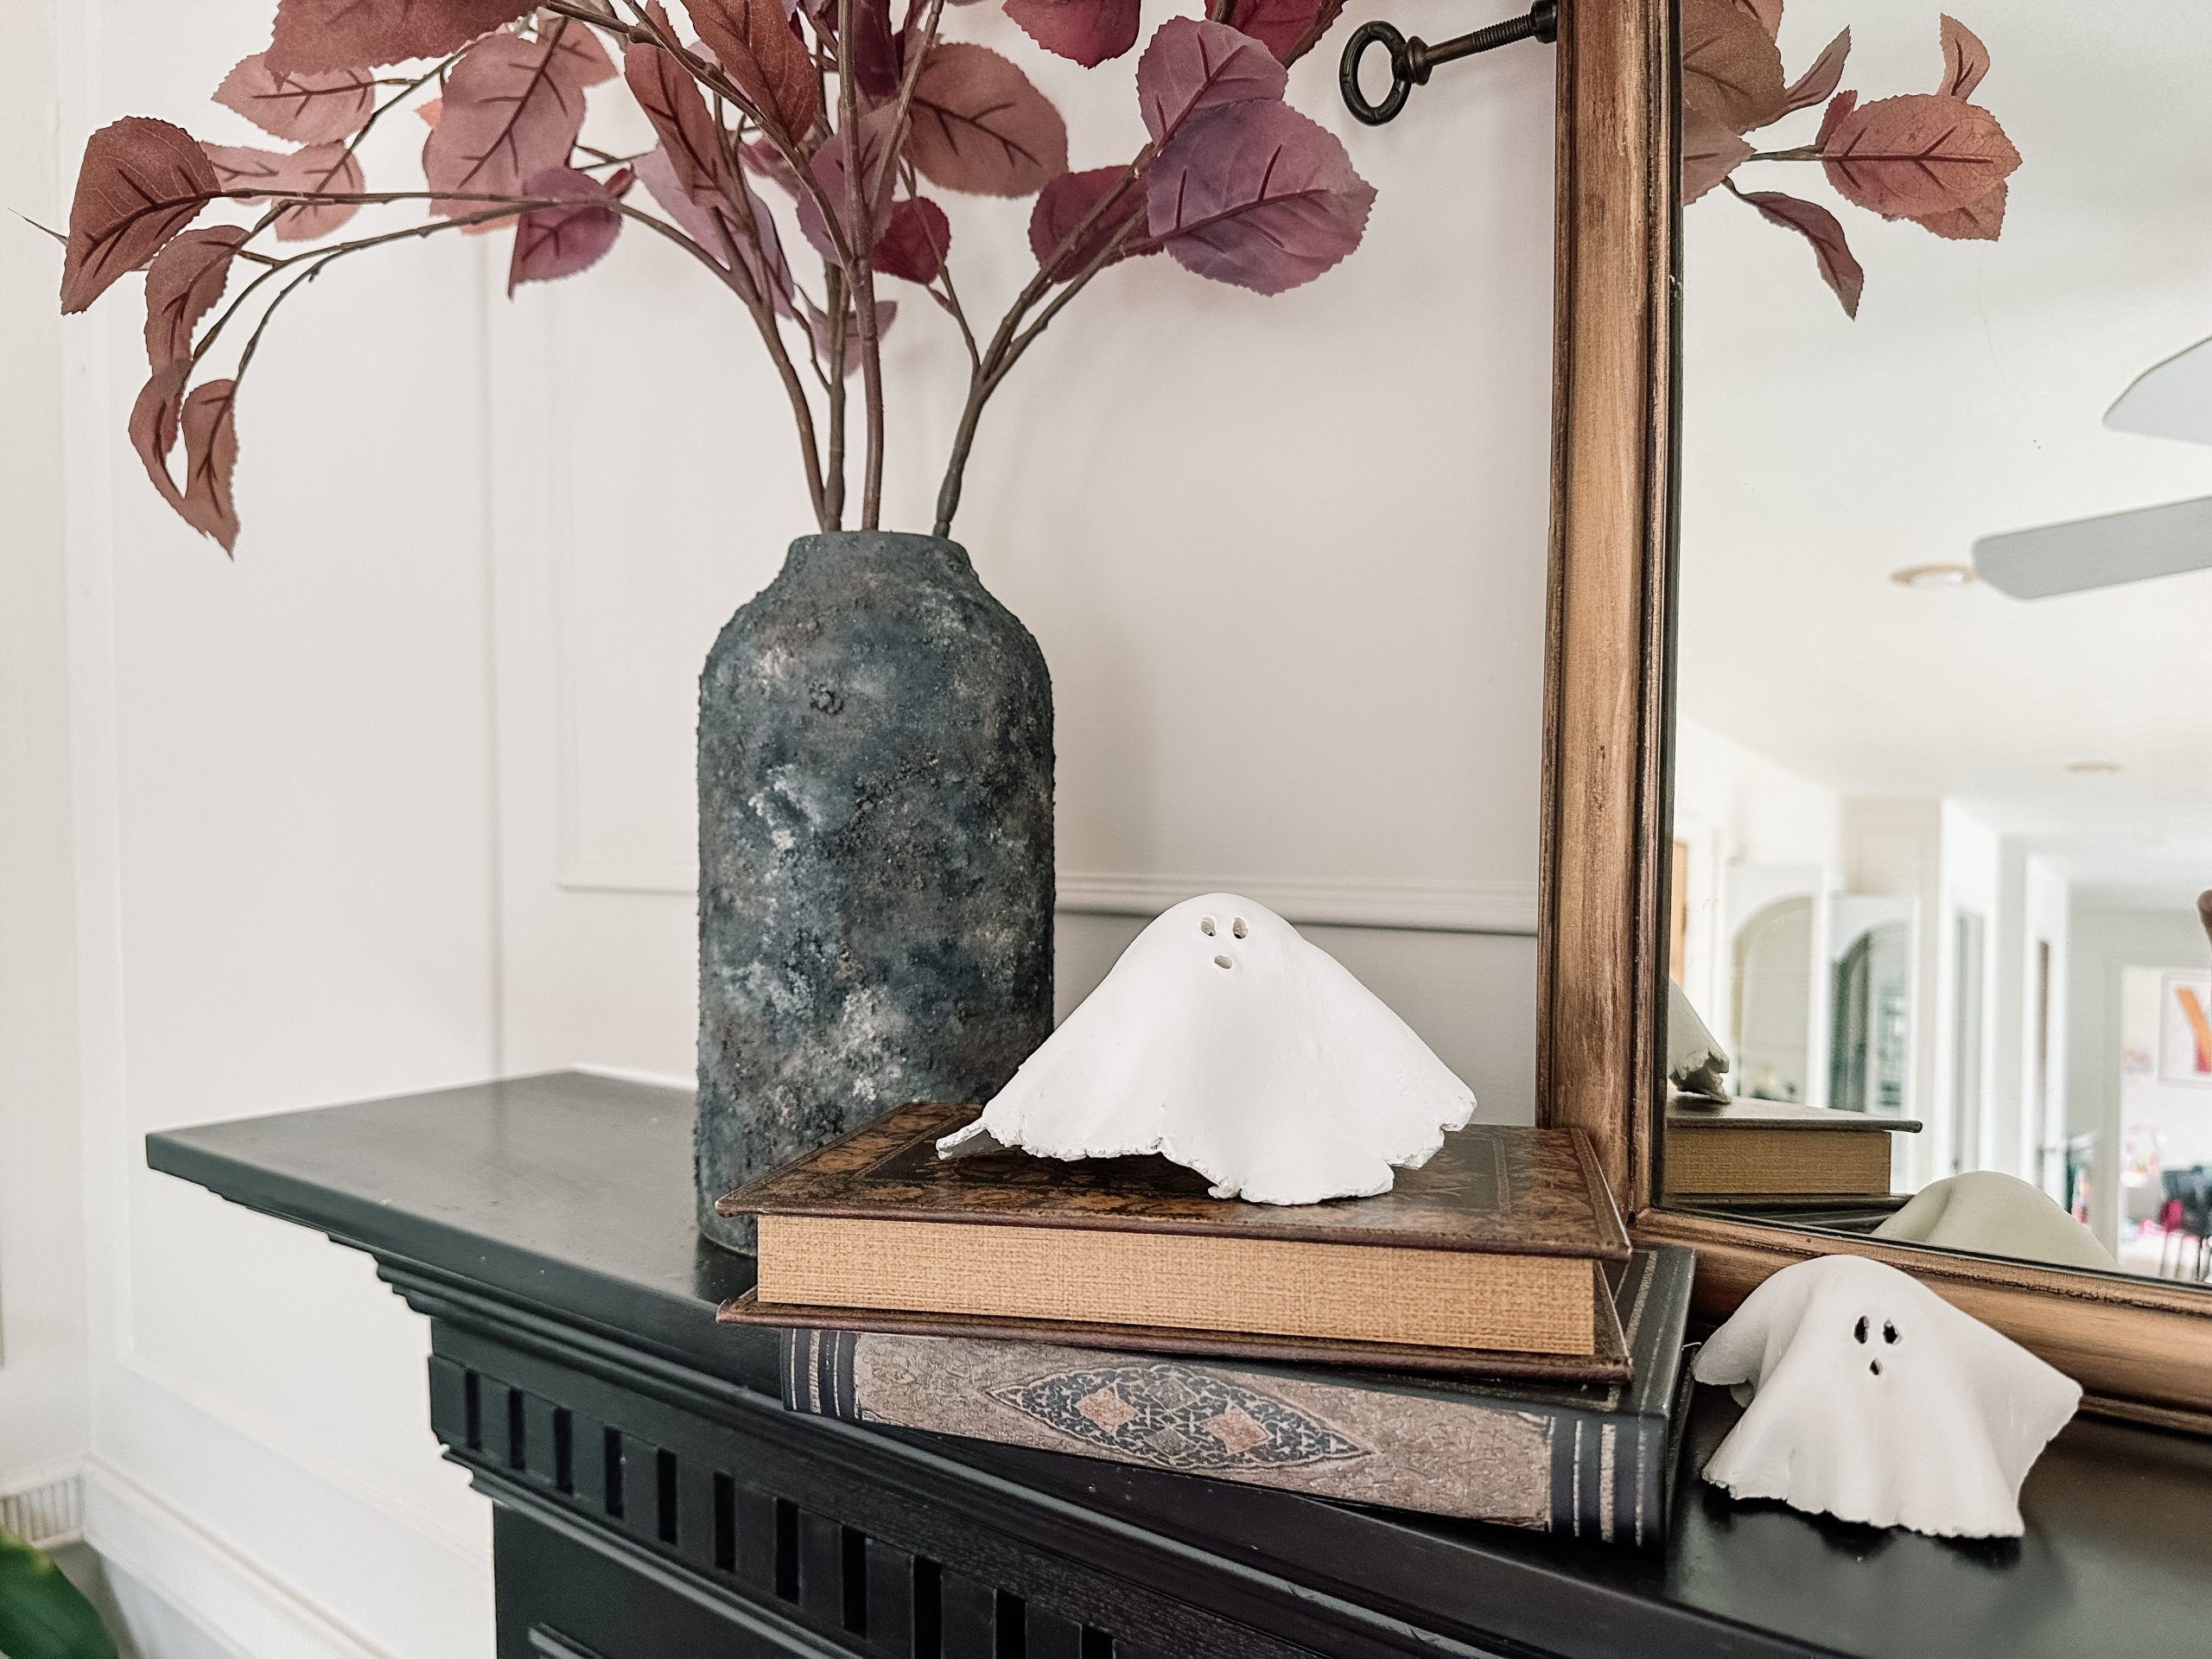
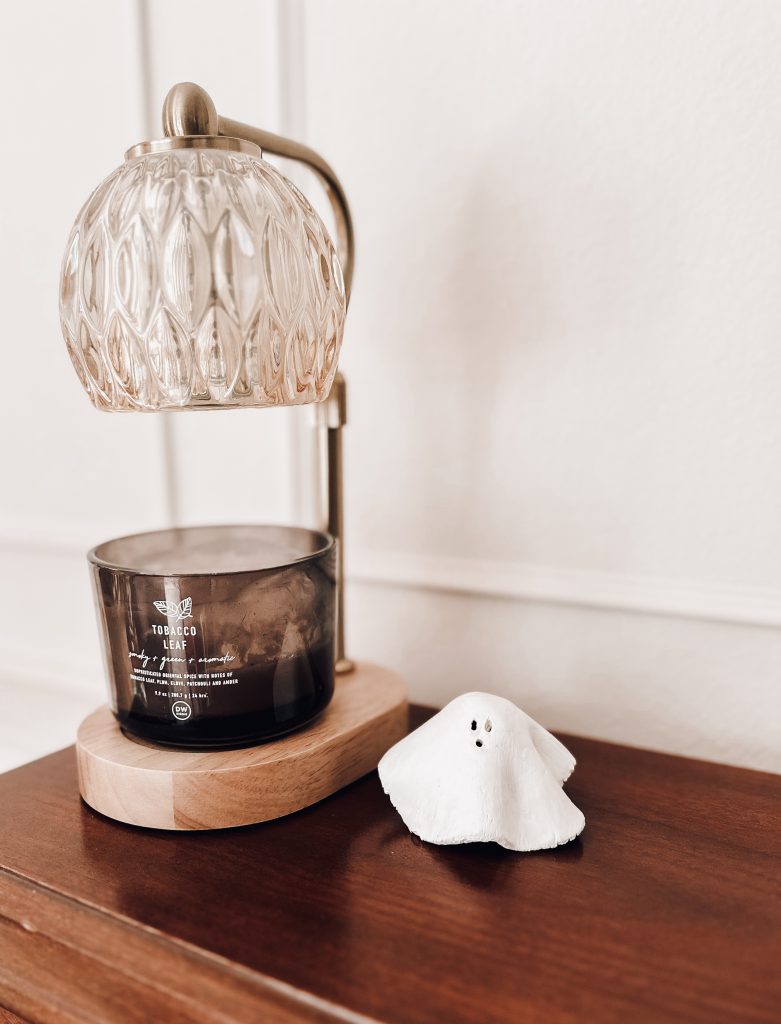
If you haven’t already seen the little DIY clay ghost trend floating around the internet (pun intended) then I’m here to show you a great little craft you can do with your kids and use to decorate for Halloween for years to come. This project is perfect for beginners and those of you looking to involve your kids… or if you just need to fill 20 mins of their day, lol. I’m on a mission to create seasonal and holiday decor pieces that don’t take up a ton of space and are easy to switch out month to month. These little DIY clay ghosts are adorable, minimal decorations that will add a touch of Halloween to your home this year.
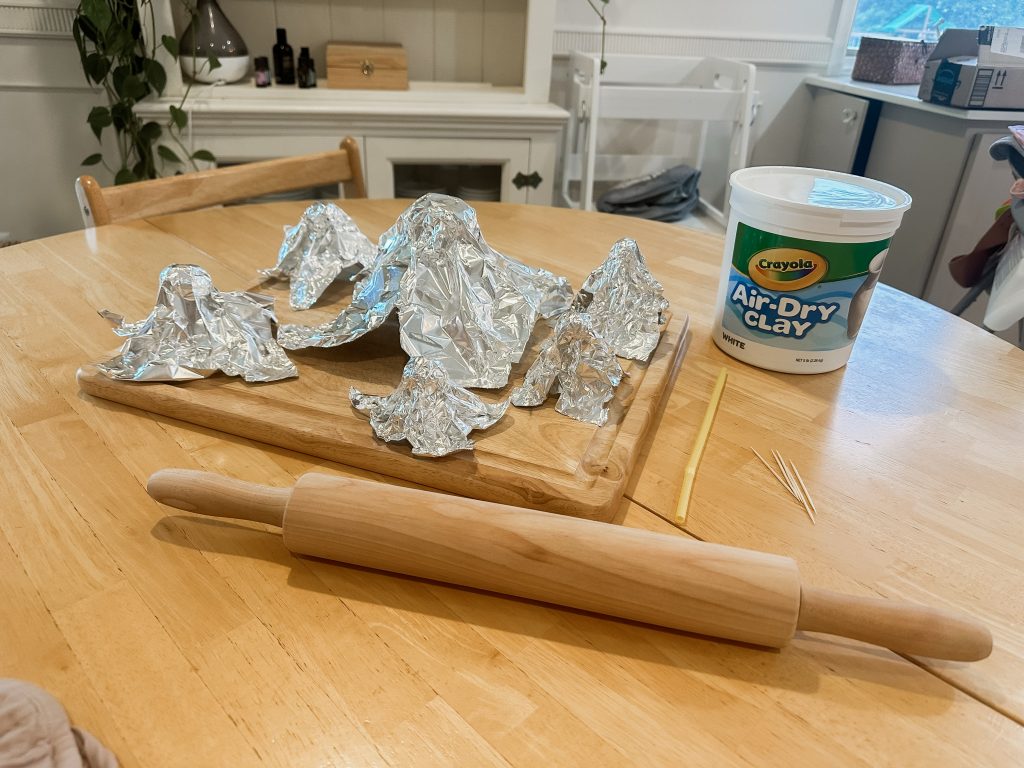
Before we dive into the process, let’s gather all the materials you’ll need for this easy craft. Most of these items are likely already in your home, and if not, they are easy to find at any craft store or online.
Materials
- Air dry clay: You’ll need about a pound, depending on how many ghosts you want to make.
- Rolling pin: Any rolling pin will work, but if you don’t have one, you can use a glass bottle or a cylindrical object.
- Aluminum Foil: This will help support the ghost while the clay dries.
- Toothpicks: For carving out the eyes and mouths.
- Water: For smoothing the clay.
- Acrylic paint
- Paintbrushes
Step 1: Make Your Stands for the Wet Clay
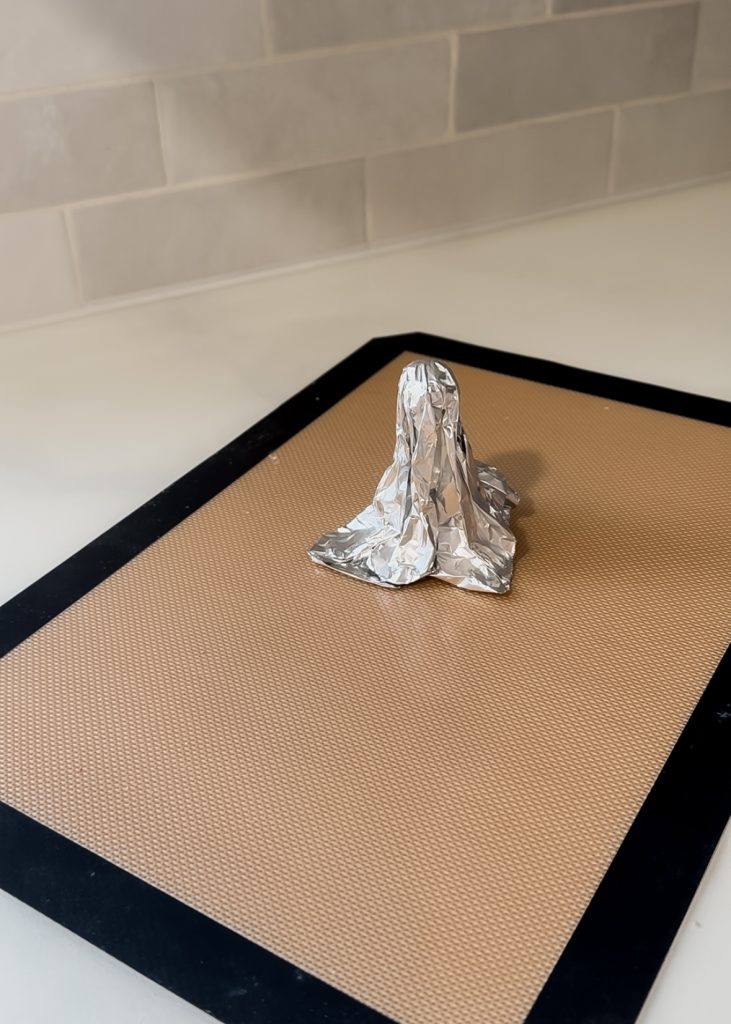
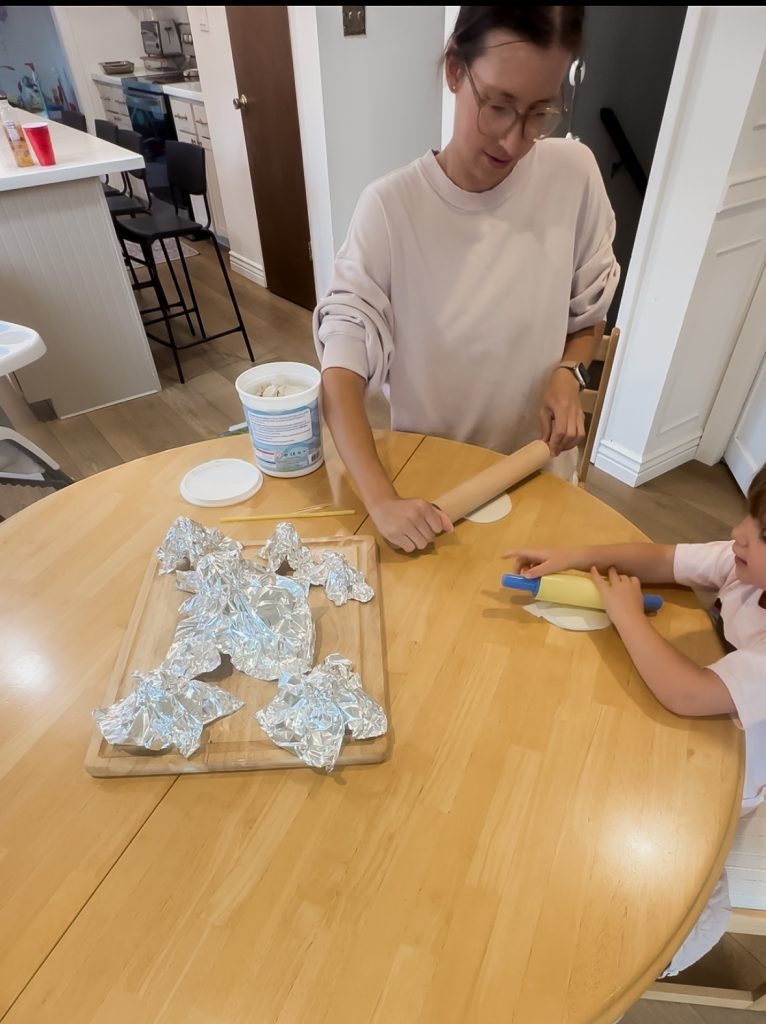
In order for the DIY clay ghosts dry properly and maintain their shape, you’ll need to create stands for them. There are so many ways you could do this but I opted for the aluminum foil method. I rolled aluminum foil into a ball to use as the head shape and then wrapped more aluminum foil around it to create the body. Push it down into the table a little bit until it stands on its own.
Step 2: Rolling Out the Clay
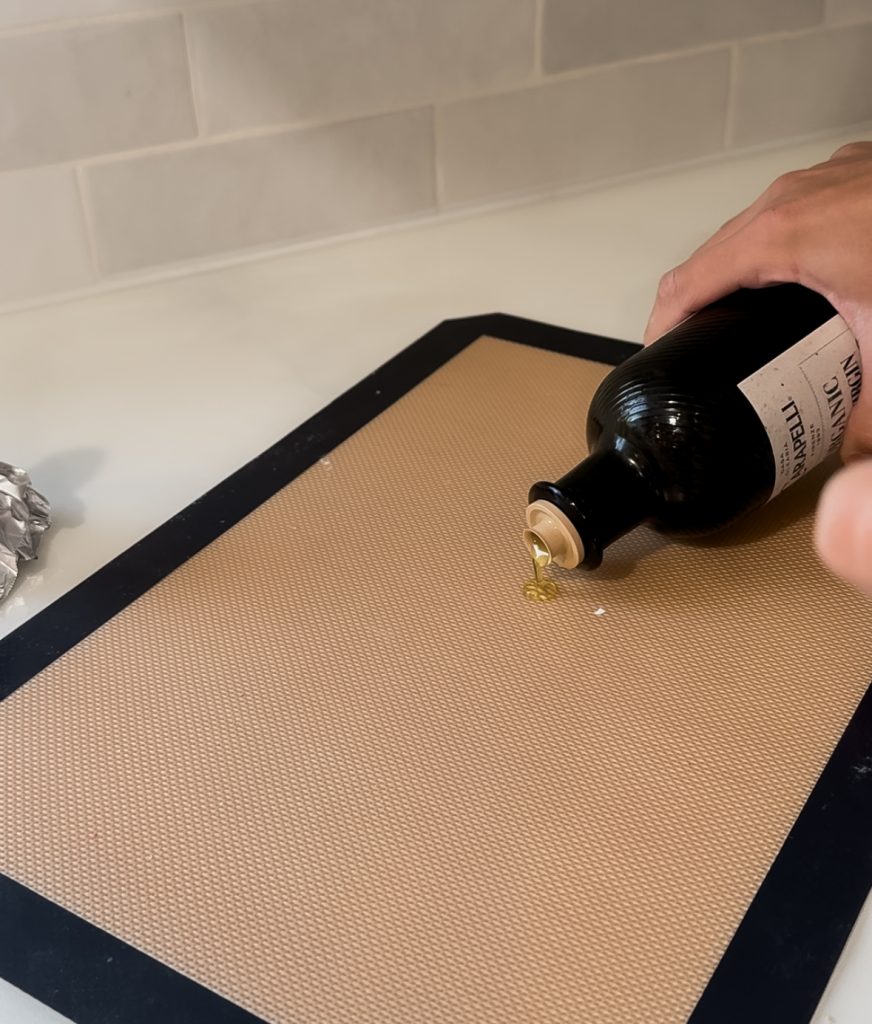
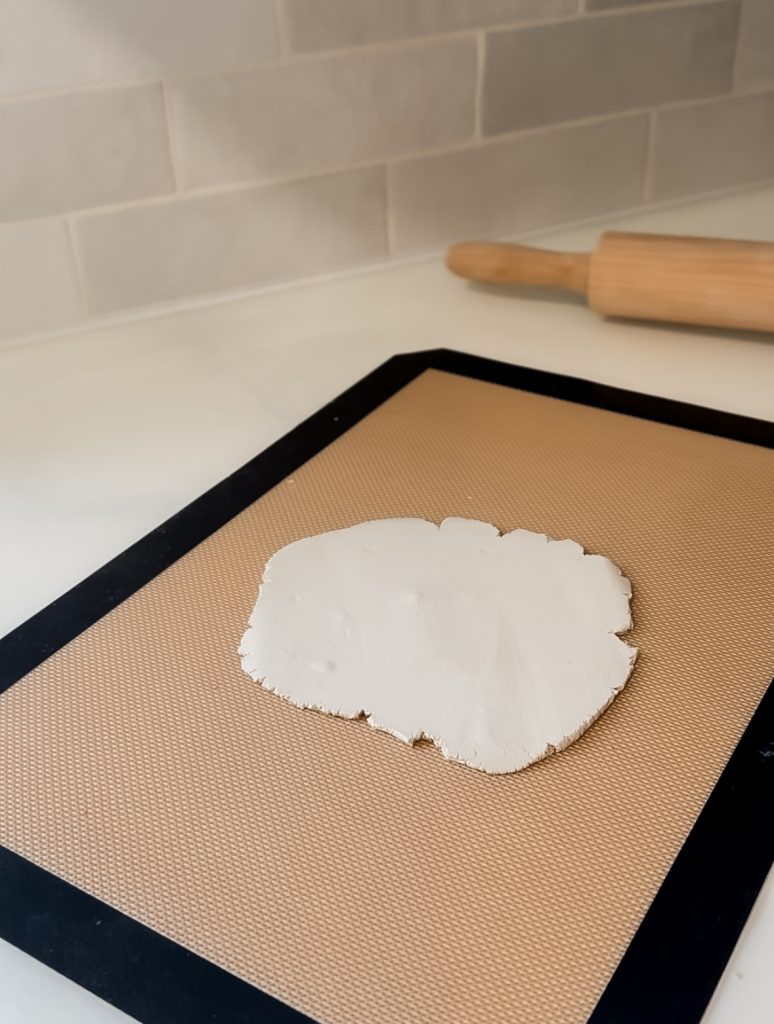
Once your stands are ready, it’s time to roll out the air-dry clay. I found that the clay was sticking to the table quite a lot so I ended up using some olive oil to prevent that from happening. You could also try plastic wrap or parchment paper as well.
Use your rolling pin (or substitute) to roll out the clay to about 1/4 inch thickness. You want the clay to be thin enough to drape easily but thick enough to hold its shape when formed into a ghost.
Make sure to keep an eye on the thickness of the clay as you roll it out. If it’s too thin, it may tear.
Step 3: Shaping the Ghost
This part really challenged my perfectionism. I kept getting frustrated with how the clay was draping over the foil instead of just letting it do its thing. My daughter didn’t think twice about it and her ghost is 10x cuter so a good lesson to learn from the three year old – imperfections add character!
Carefully drape your rolled-out clay over the stands you made earlier. Let the clay naturally fall into folds that mimic the flowing shape of a ghost. Gently adjust the folds and shape until you’re happy with the look of your ghost.
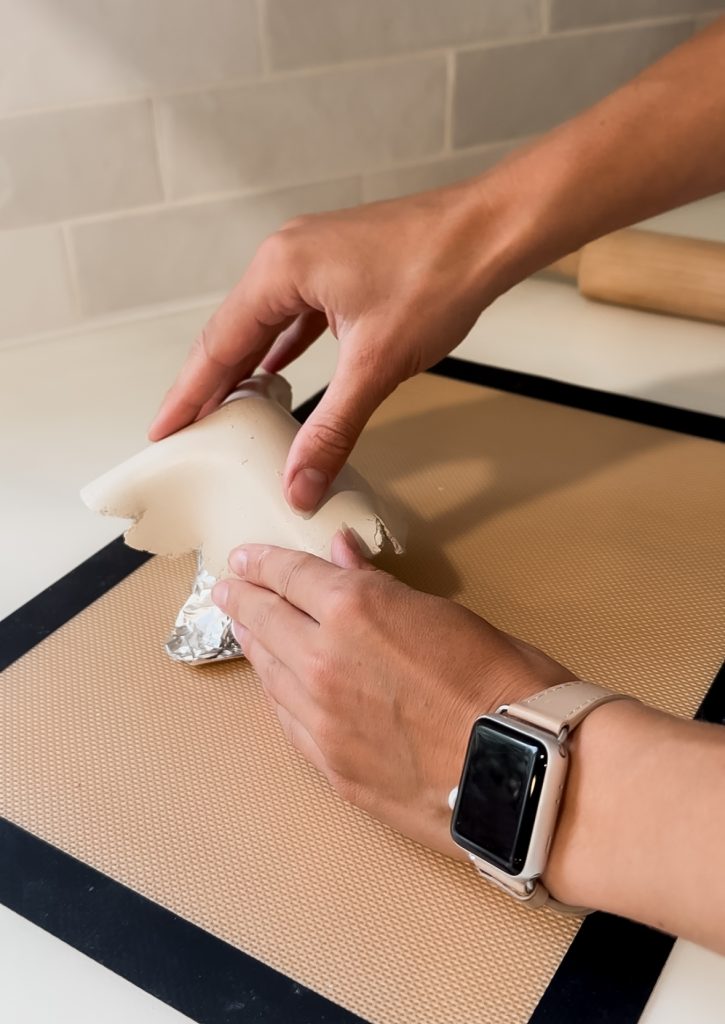
This step is all about having fun and being creative. Each ghost will come out looking slightly different, giving your Halloween decor a charming, handmade feel.
Step 4: Smoothing the Clay
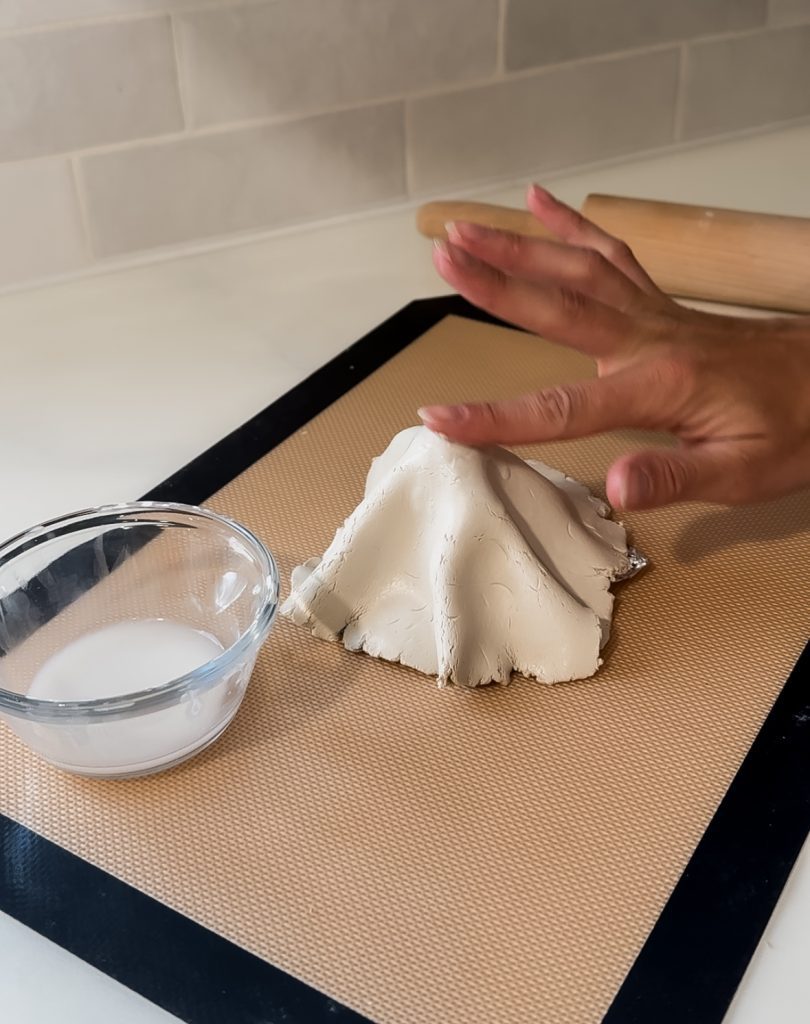
Once you’ve shaped your ghost, it’s time to smooth out any rough edges or unwanted marks. This step ensures that your ghost looks polished and neat when it’s finished.
Dip your fingers in water and gently smooth out any cracks, bumps, or rough spots on the surface of your ghost.
Smoothing the clay will help create a clean, finished look for your ghost and prevent any cracking as the clay dries.
Step 5: Make the Ghost Face
No clay ghost is complete without its spooky face!
Use the toothpick to GENTLY form eyes and a mouth. If you want a classic ghost look, go for large, round eyes and an open mouth in the shape of an “O.” For a more playful look, experiment with different facial expressions.
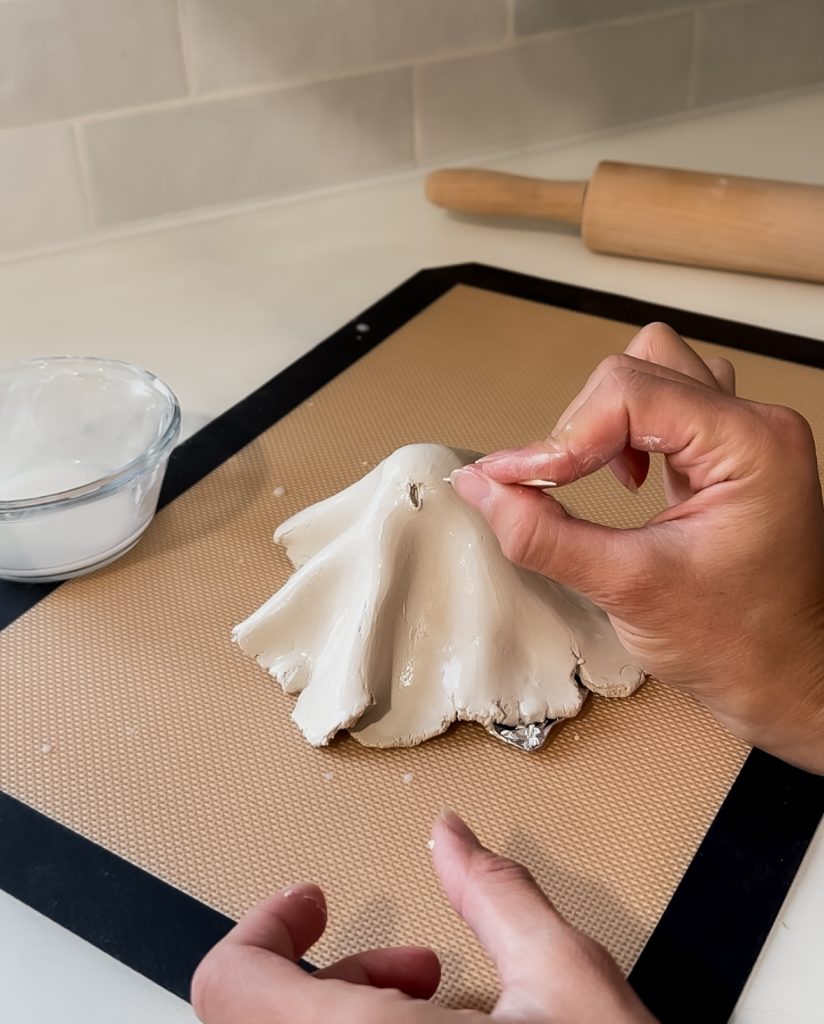
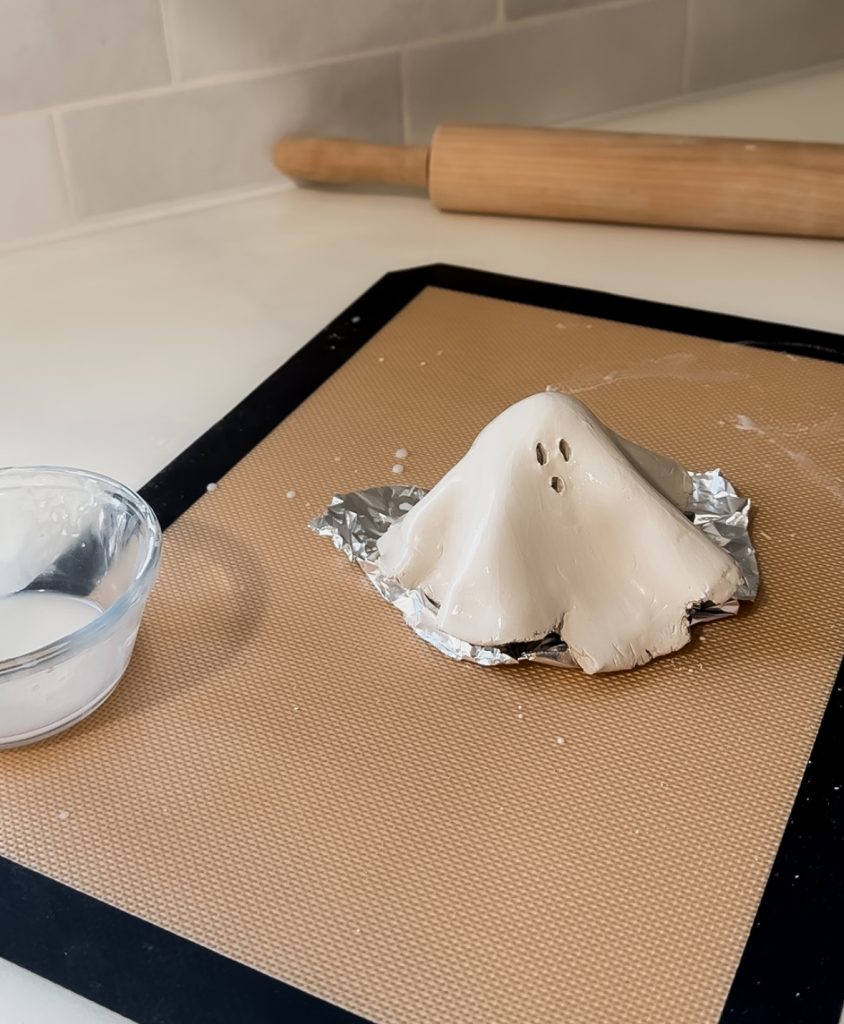
Remember that this is your chance to customize each ghost. Whether you’re aiming for cute or creepy, your DIY clay ghost can reflect your style and add to the overall vibe of your Halloween decor.
Step 6: Let the Ghost Dry
Leave your ghosts on their stands in a cool, dry place. Air-dry clay usually takes around 24 to 48 hours to fully dry, but it could take longer depending on the thickness of the clay and the humidity in your home. Avoid moving or touching the ghosts while they dry to prevent any accidental damage.
(Psst, while you wait…)
If you’re getting creative with these adorable DIY clay ghosts, chances are you’re also looking to keep your home decor minimal. If you’re like me, you love creating festive, seasonal decor that doesn’t take up a ton of space because as a mom of little kids, I already have enough to manage as it is! Learn how I stay on top of alllll the things in our home through simple storage solutions and by creating easy systems that work WITH my family’s habits, not against them – because we all know how hard it is to break a habit!
Before you dive into more projects that add to the clutter, grab my free guide, “10 Overlooked Storage Spaces in Your Home.” It’s packed with clever, budget-friendly tips to uncover overlooked storage spots and free up space you didn’t even know you had. Whether it’s the shoes cluttering your entryway or holiday decor overflowing in closets, this guide will help you make the most of every inch of your space and find simple solutions so you can stay organized all year long.
Grab your copy today and take the first step toward a more organized, clutter-free home!
And, if you’re ready for the next step, the Trouble Areas to Tidy Spaces Guide and Workbook will help you start making small changes in your home that lead to big impacts! With just a few simple tweaks, you can create a functional home that brings peace and works with your family’s unique needs.
Step 7: Paint the Ghost
Once your clay ghosts are completely dry, it’s time to bring them to life with a bit of paint! This final step is where your ghosts really come together as a part of your Halloween decor. And, a bonus second activity for your children!
Use a paintbrush to cover the entire surface of your ghost with white acrylic paint. I used a matte white paint and a glossy white to add a little dimension in the crew.
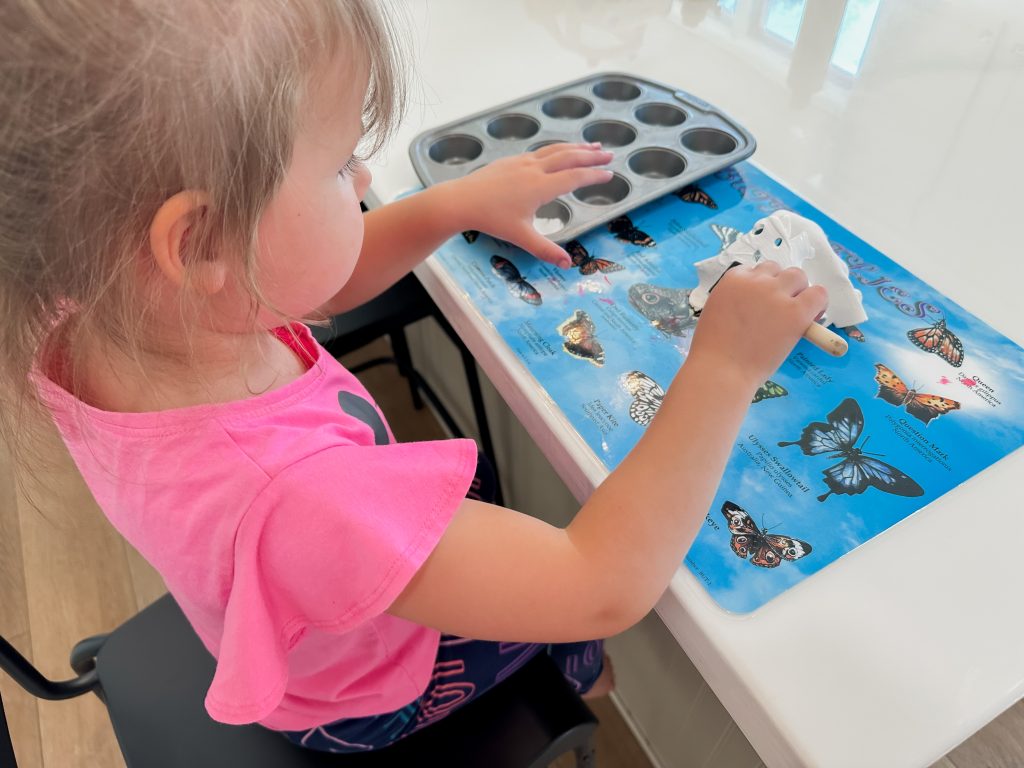
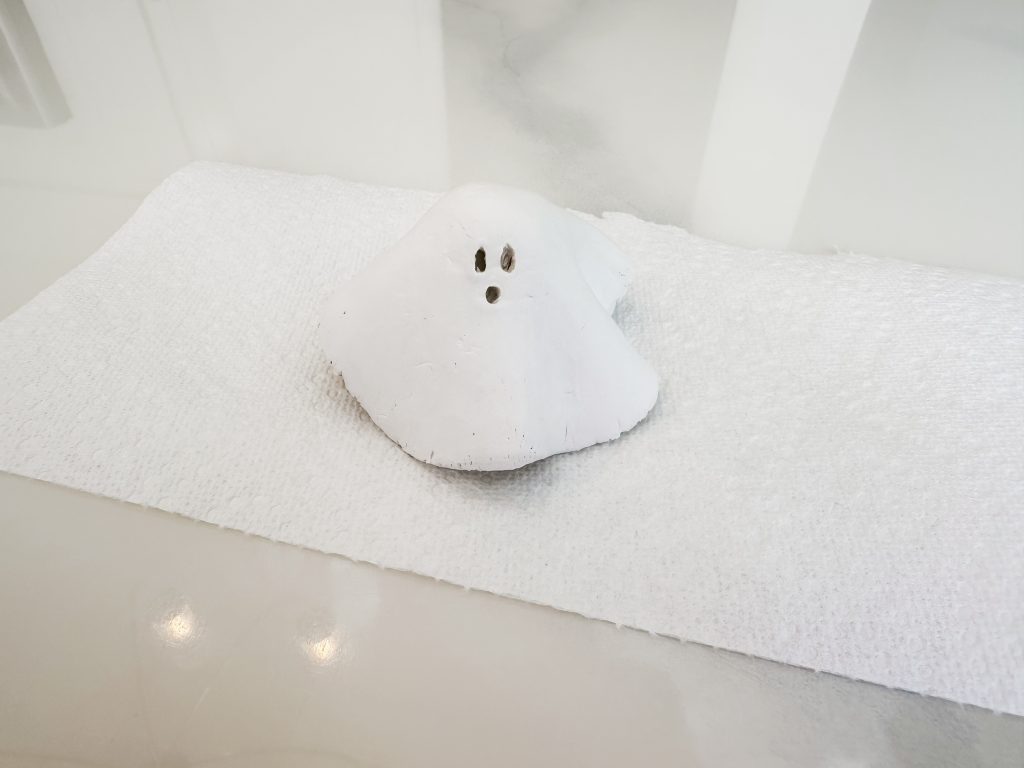
Once the paint has dried, your DIY clay ghosts are ready to be displayed in your home!
Displaying Your DIY Clay Ghosts
Your Halloween decor is now complete with these adorable and spooky DIY clay ghosts! This easy craft is not only a fun way to spend time with your family but also a budget-friendly way to personalize your home decor for October.
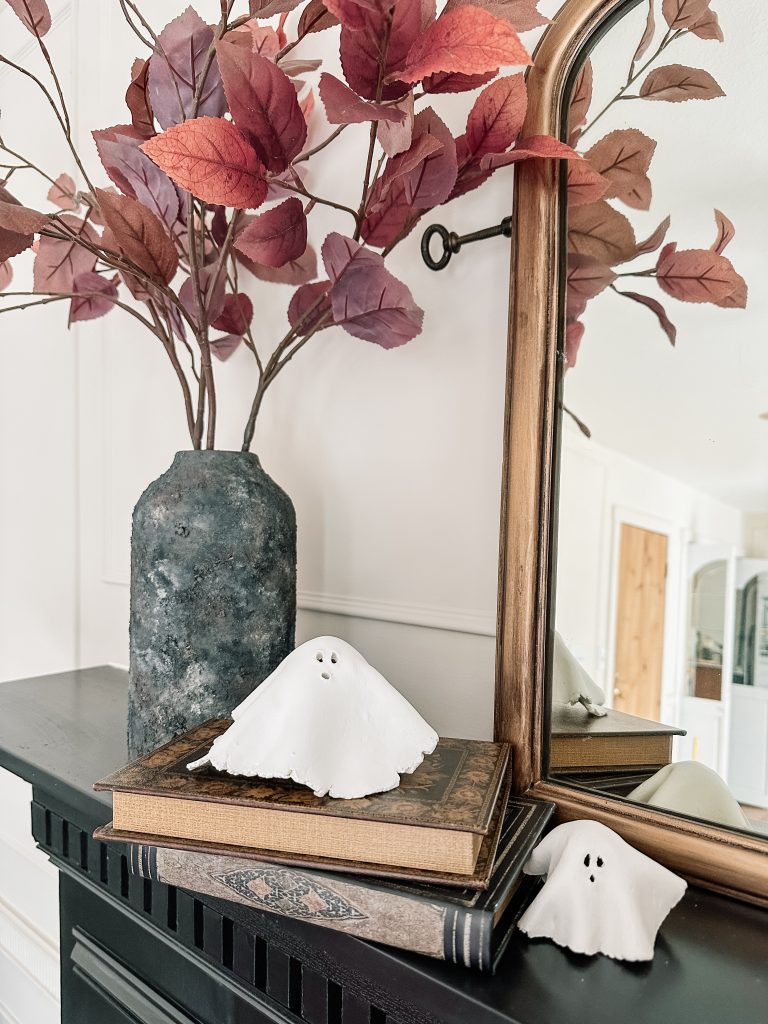
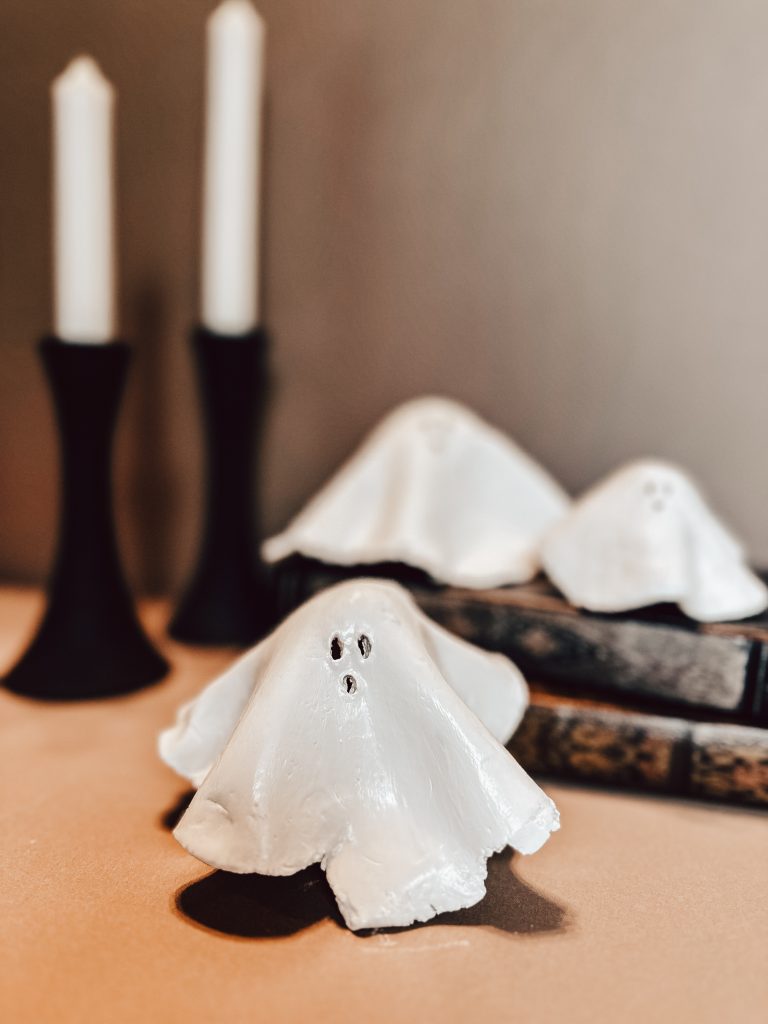
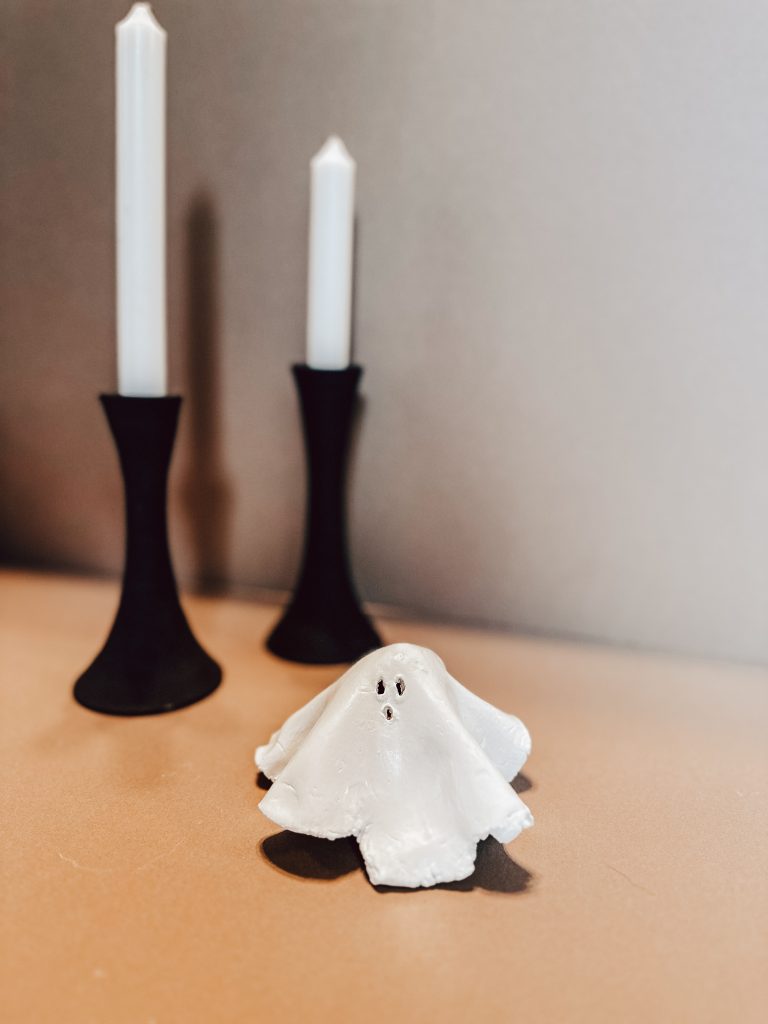
Whether you place them on shelves, tables, or even outdoors, these clay ghosts are sure to add a touch of homemade charm to your Halloween festivities. Plus, your kids will love showing off their creative skills to family and friends.
Bonus Tips:
- Use oil to prevent your clay from sticking to the rolling service
- Wait to make the face until after you shape your ghost – the space between the eyes will stretch and break if you do it before shaping.
- Use a toothpick to make the eyes and mouth instead of a straw – I started out with using a straw to punch holes in the clay before I even draped it over the foil. However, each time I draped it the bridge of the nose ripped in half.
- Place your foil stands on a cutting board (or another hard surface that can be moved) that way once you’re finished with them you can easily move all of them at out of reach while they dry for the next few days.
For more great halloween kids crafts, check out my cheesecloth ghosts made with a thrift store scarf and this funny way to involve your toddlers in pumpkin carving this year!


