
DIY Easter Decorations: Modern Air-Dry Clay Carrots Tutorial
This post may contain affiliate links, which means I may earn a small commission if you make a purchase using one of those links. As an Amazon Associate, I earn from qualifying purchases. Thank you for supporting Projects & Pearls.
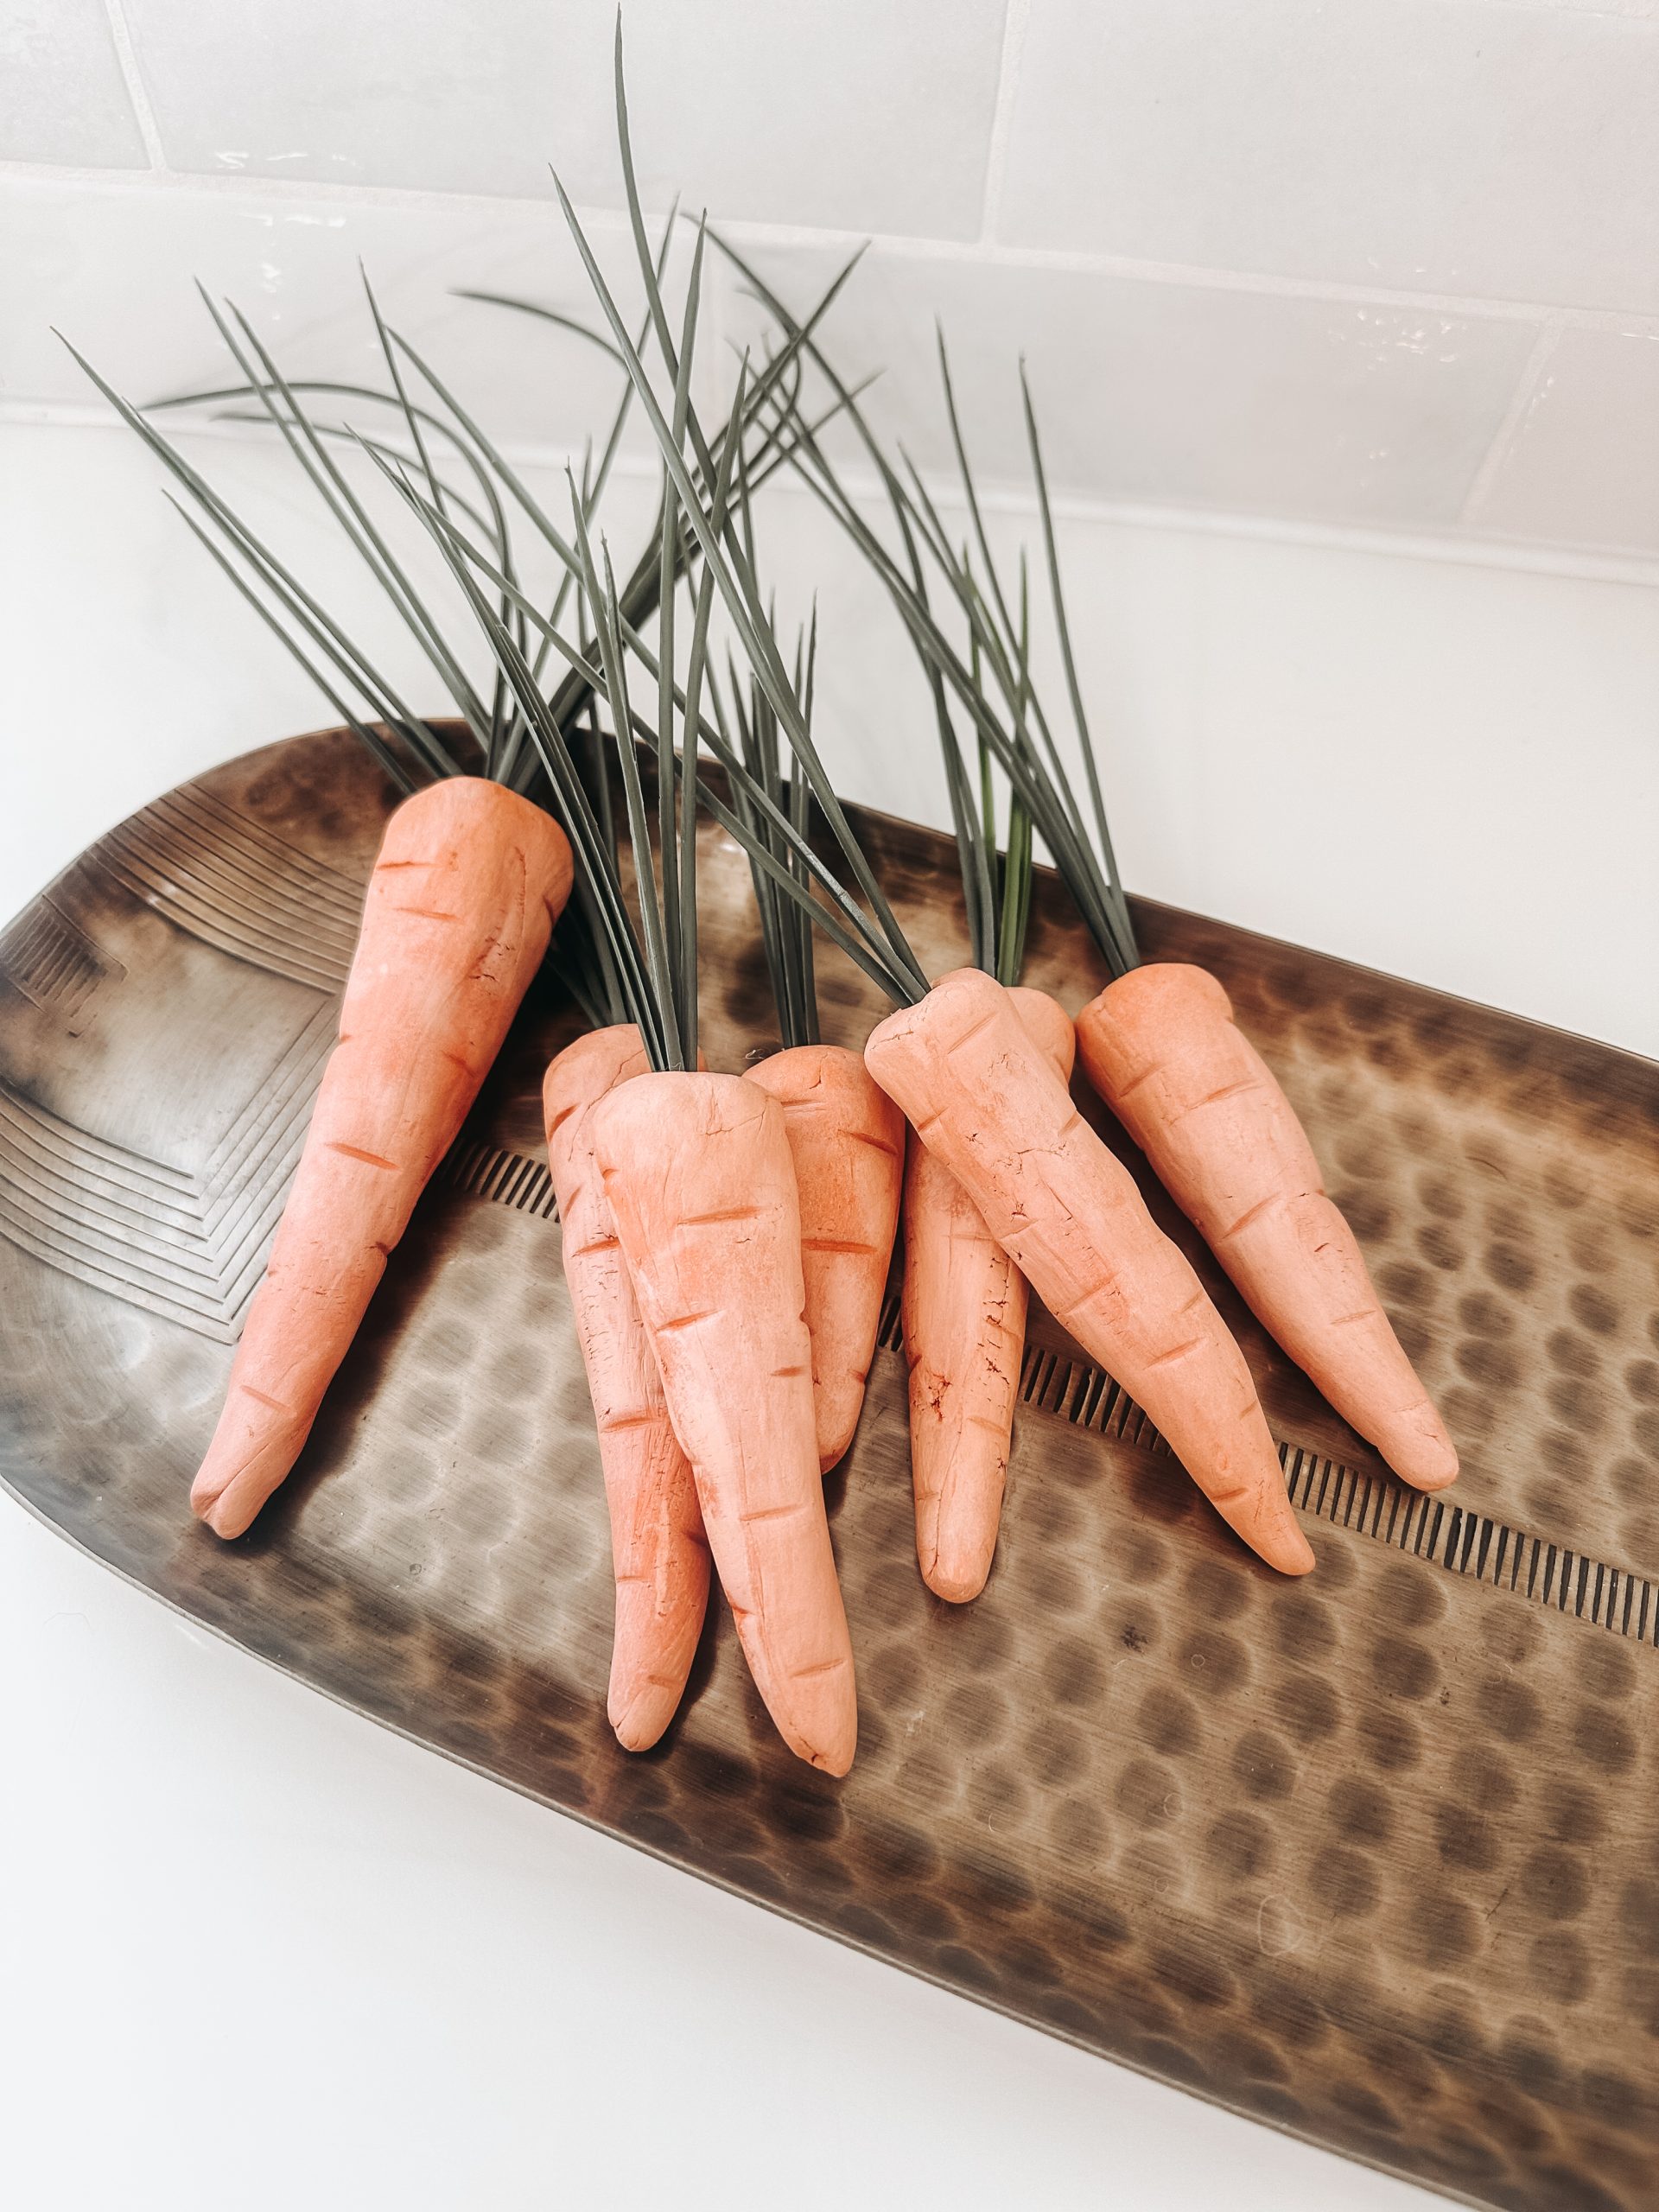
Easter is just around the corner, and if you’re like me you may struggle to find aesthetically pleasing easter decor out there that’s not tacky and cheap looking. So, if you can’t find it, you might as well make it! Creating your own DIY Easter Decorations with these air dry clay carrots is super easy and cute! If you’re looking for a fun, budget-friendly, and creative way to add charm to your Easter house decorations, this’ll be for you. Whether you’re a seasoned crafter or just starting out with Easter craft decorations, this project is easy, fun, and kid friendly.
Why Make DIY Air-Dry Clay Easter Carrots?
Because air dry clay is awesome. Aside from that though, creating your own DIY Easter crafts allows you to add a personalized touch to your home decor while staying on budget. These clay carrots:
- Are an adorable addition to your Easter decor ideas
- Make great table accents for Easter centerpieces
- Can be used in Easter decorating for tiered trays, baskets, or as bowl fillers
- Are a fun spring Easter crafts project to enjoy with kids
- Bring a fresh, farmhouse vibe to your Easter decorating ideas for the home
Step 1: Shape the Carrots
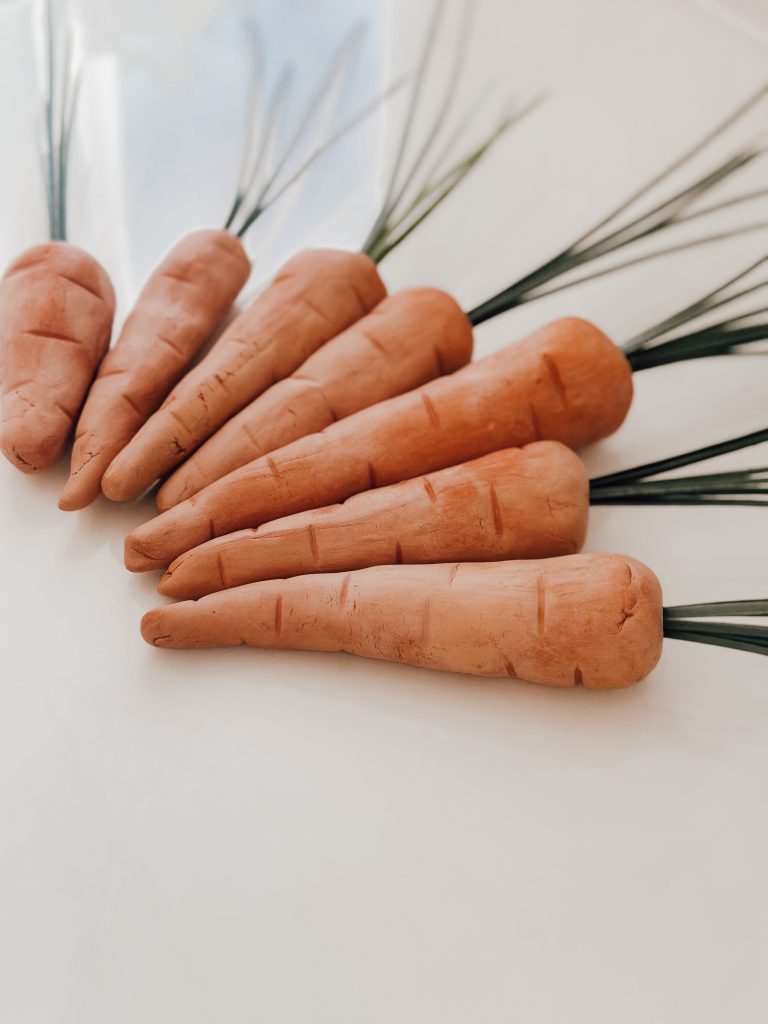
Take a small chunk of air-dry clay, about tennis ball size, and roll it between your hands to form a ball. Next, start to roll it into a cone shape. You can make your carrots as big or small as you like. I did several at different sizes. If they naturally start to curve while you’re rolling them into a cone, don’t correct the curve – it looks more natural that way!
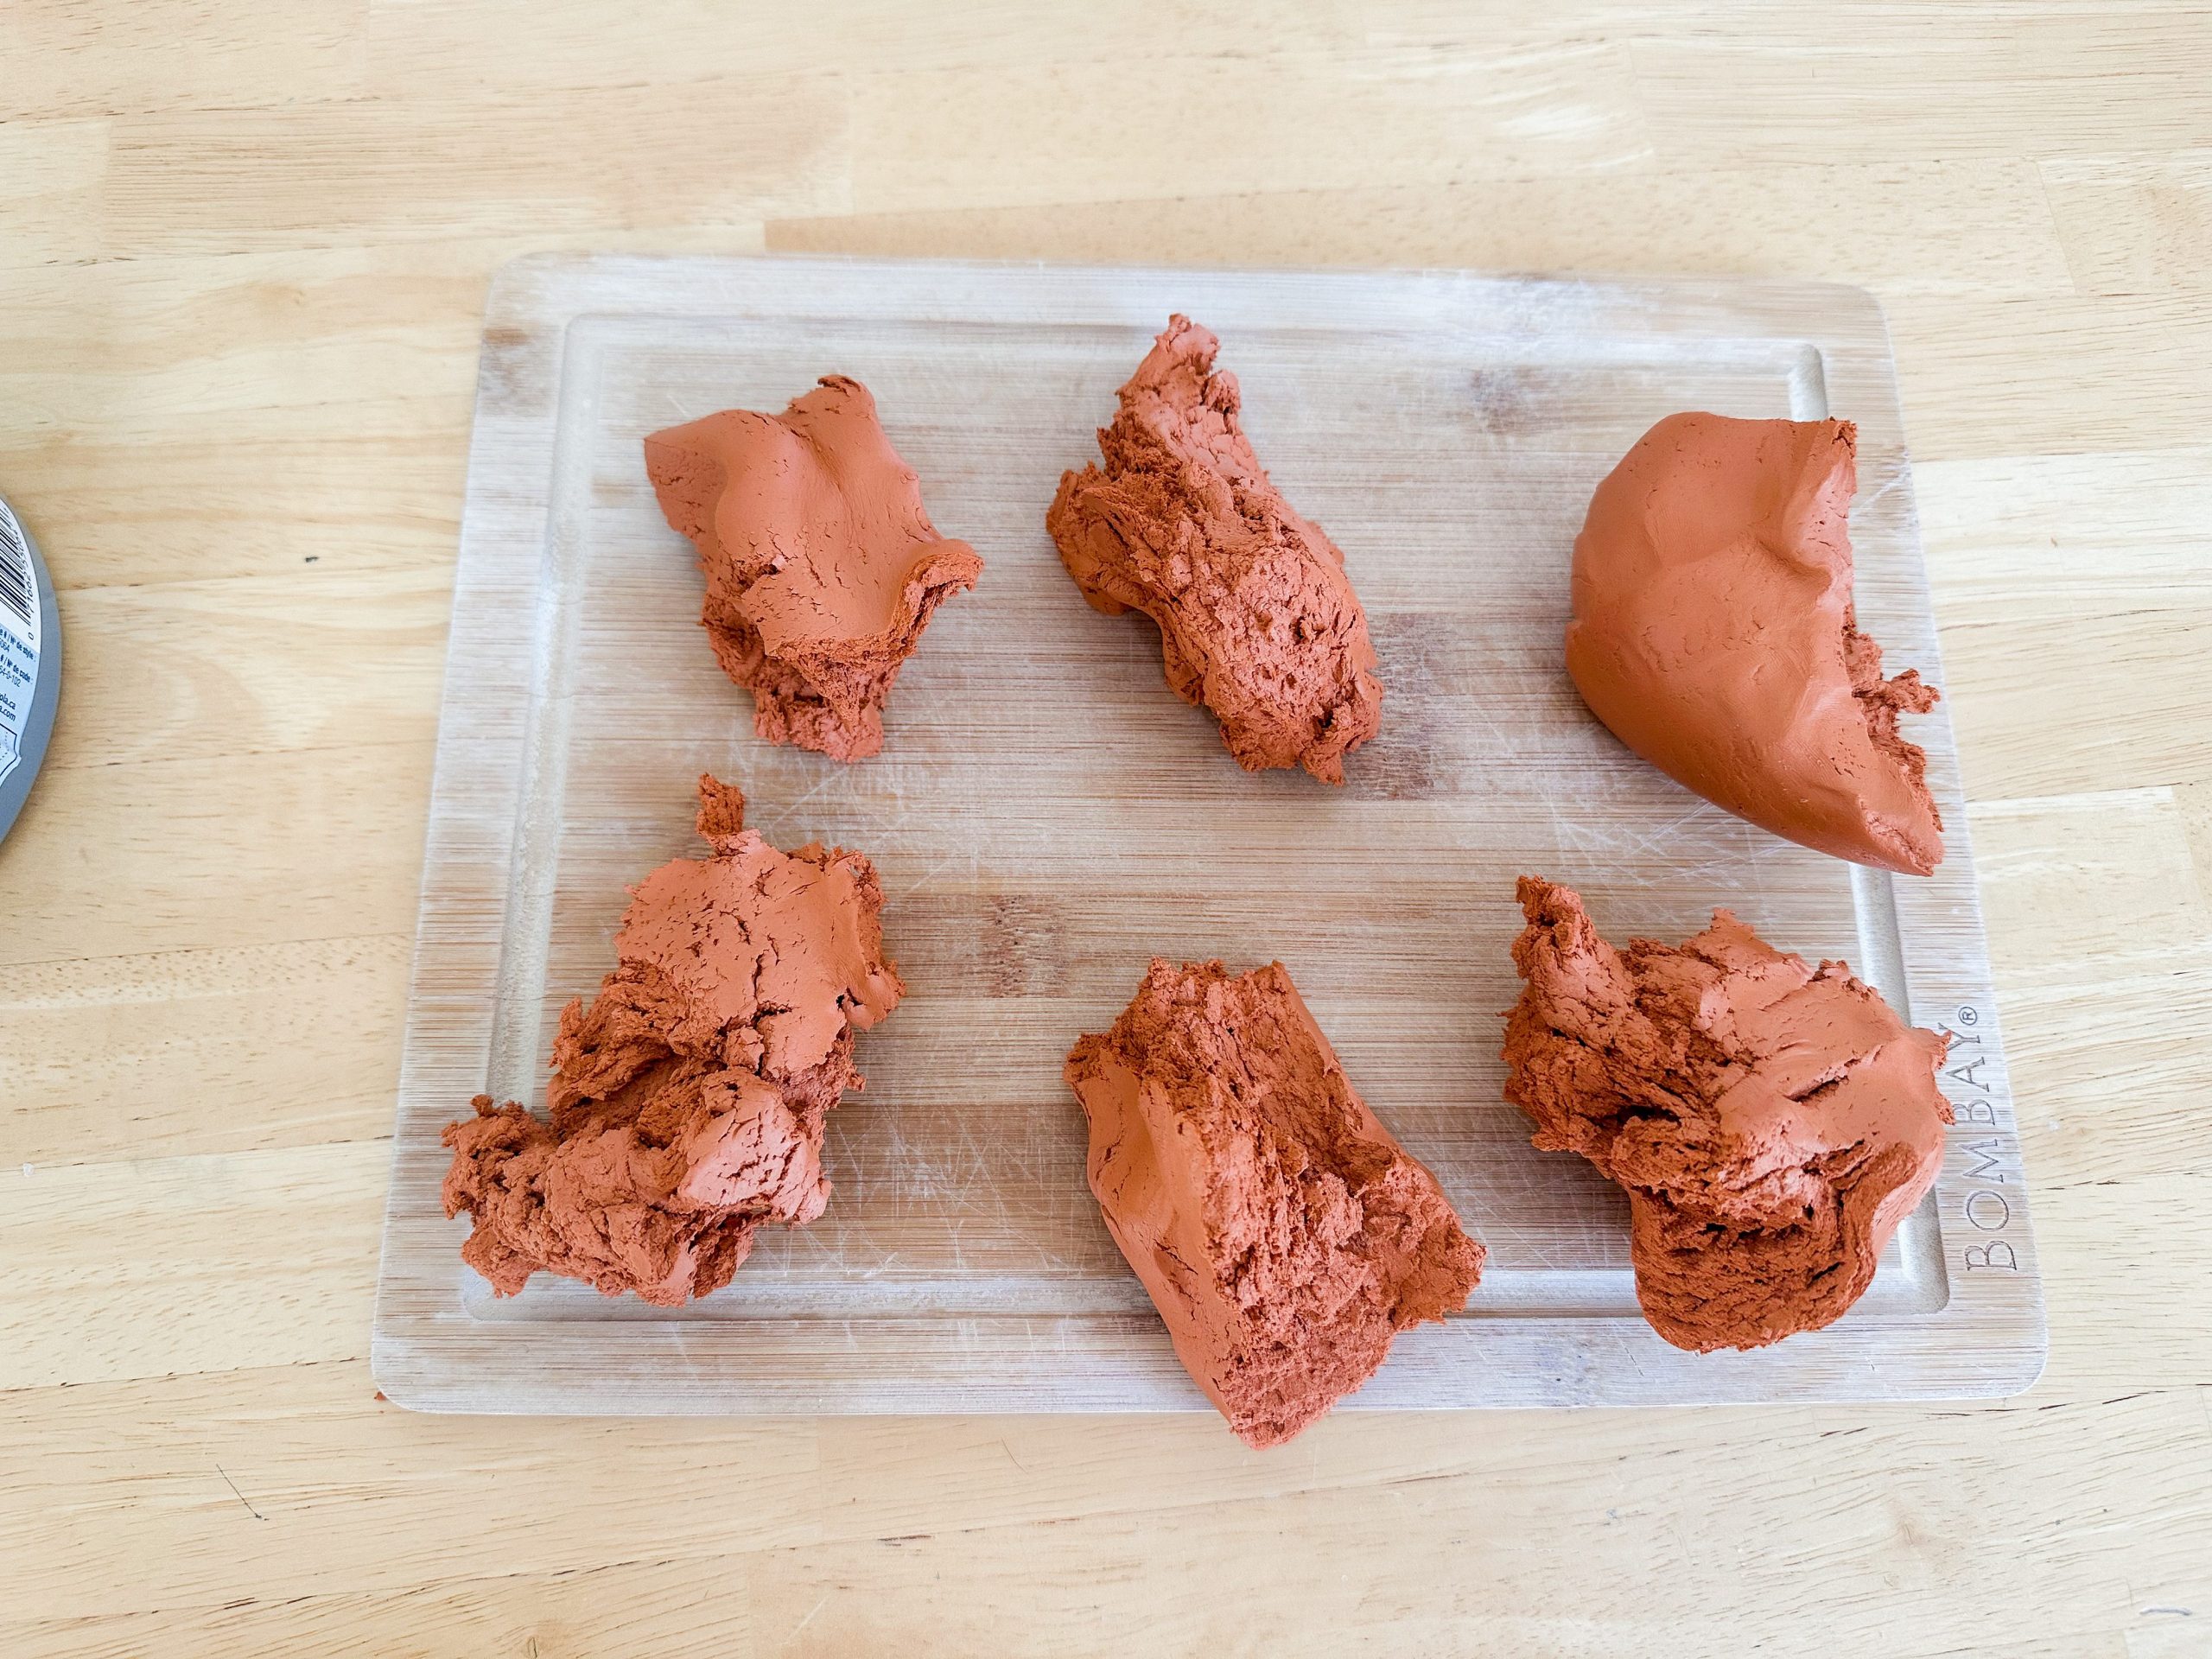
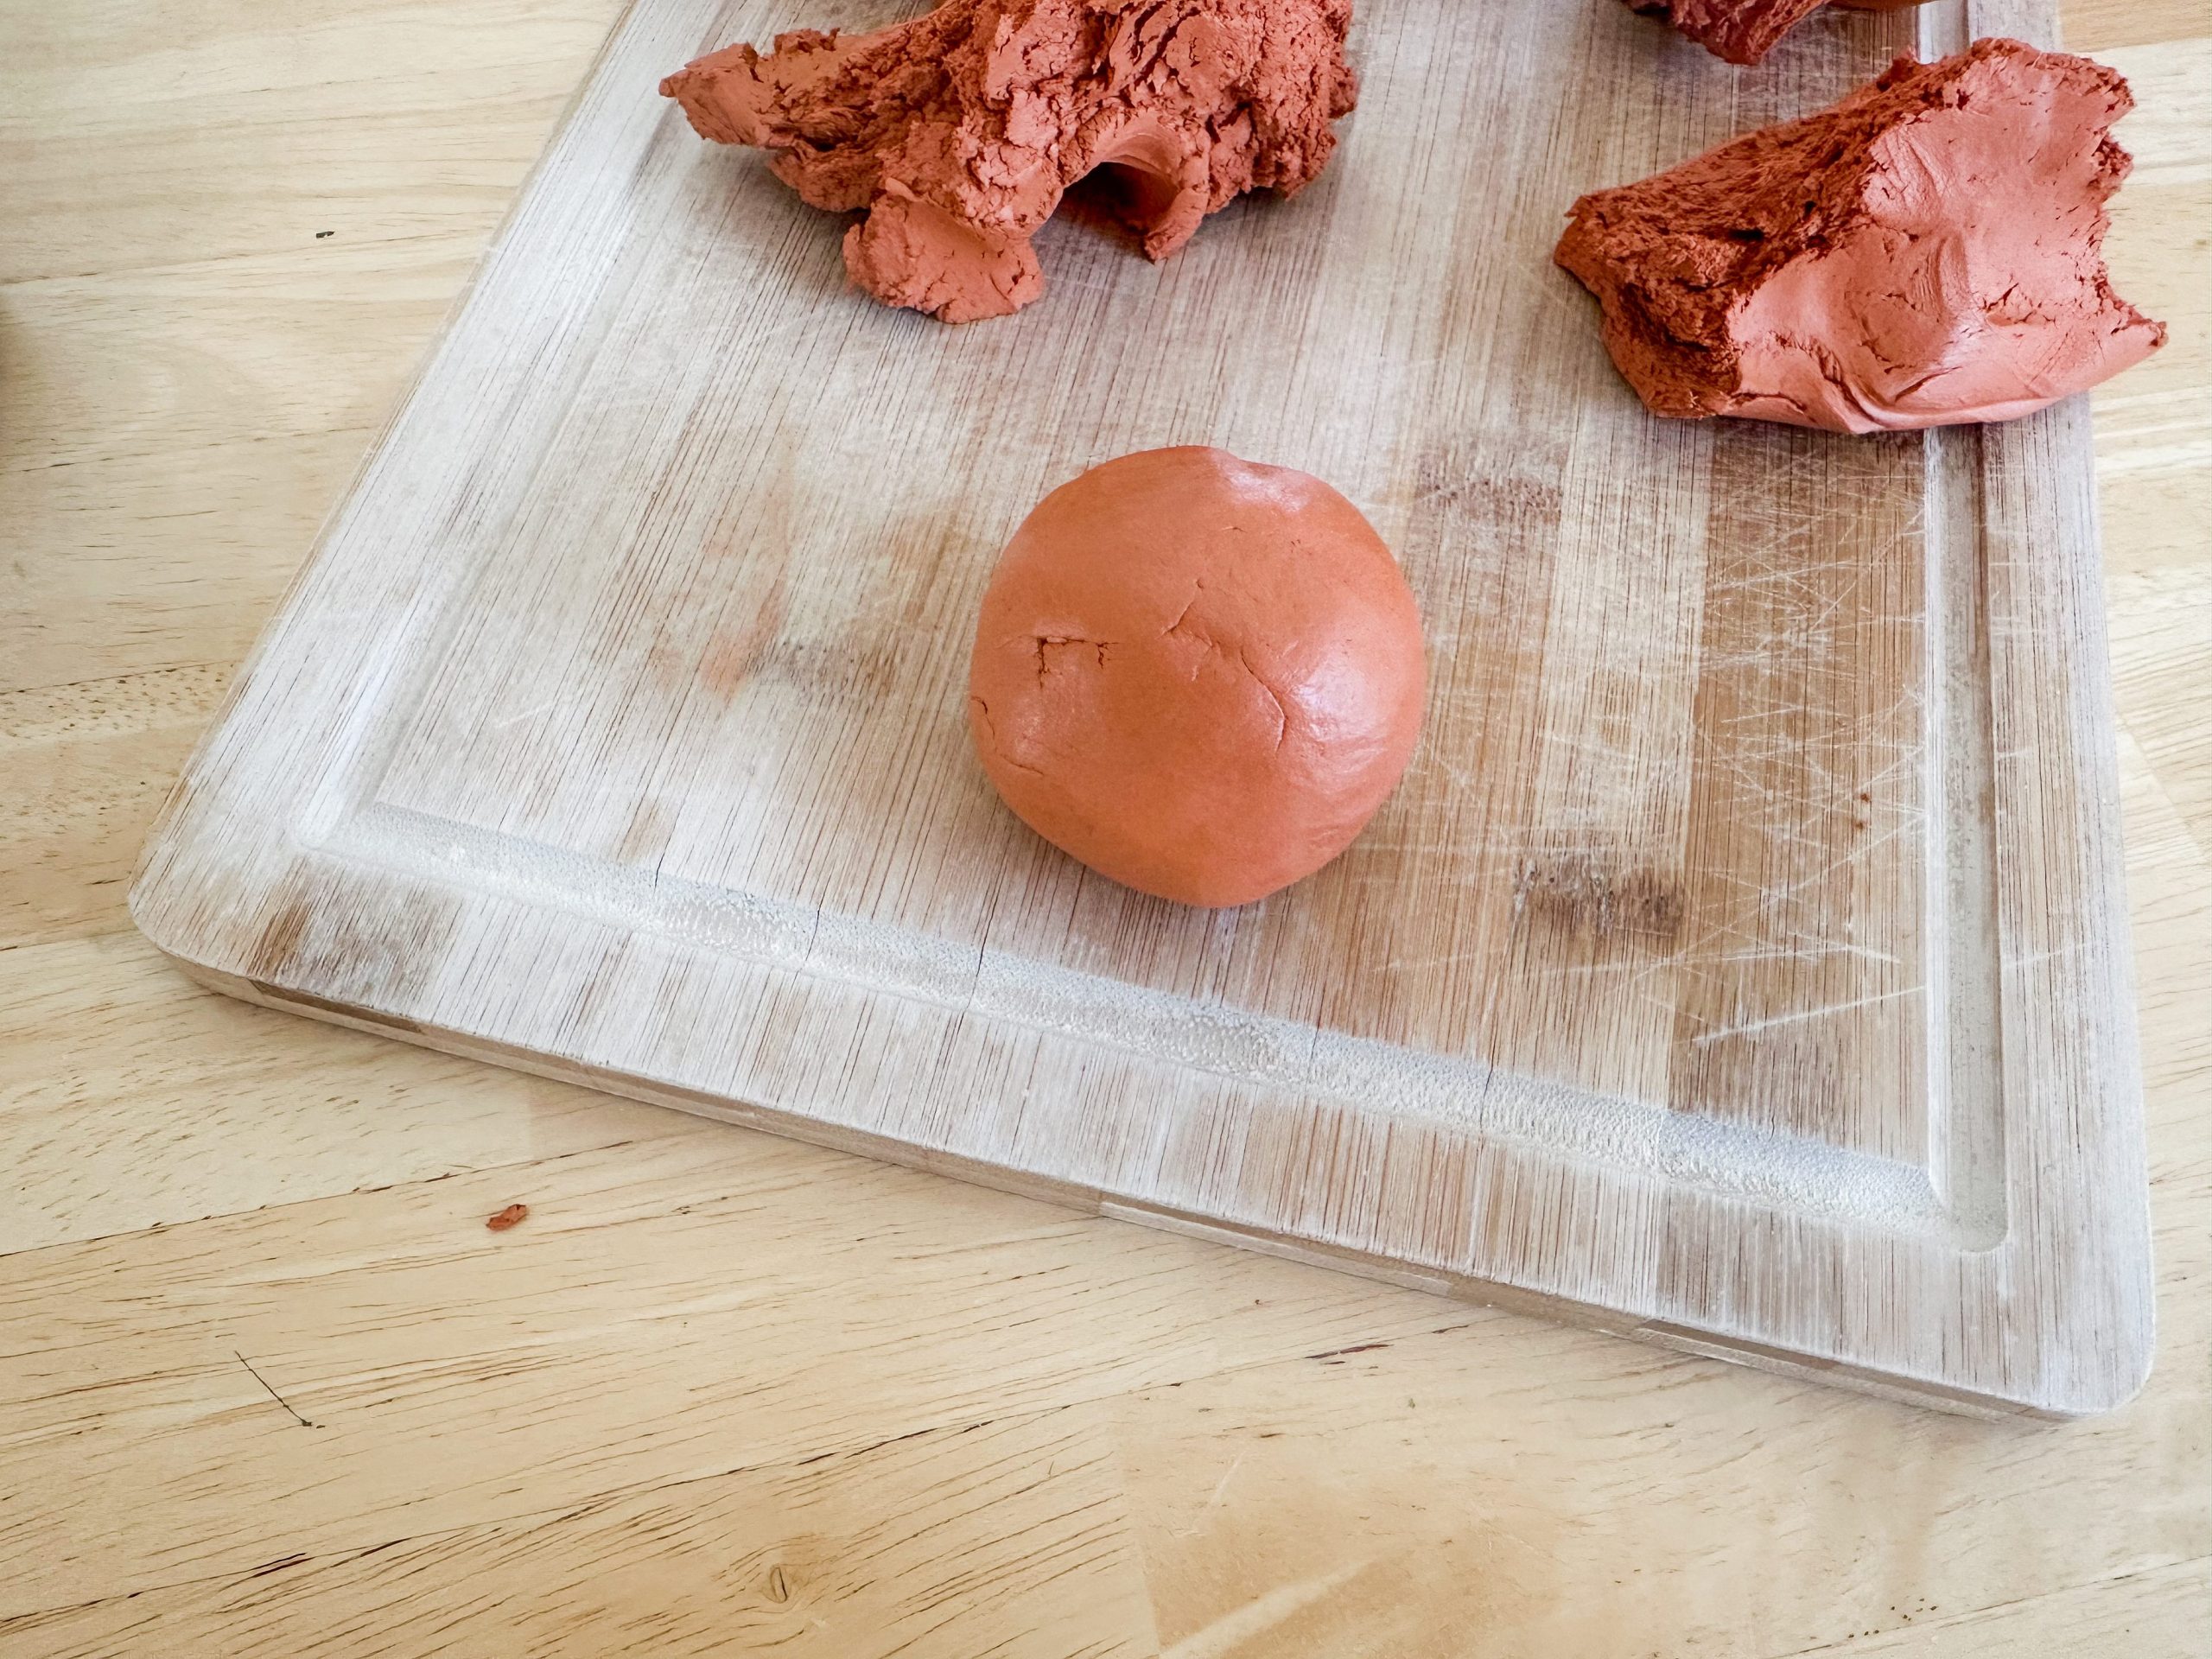
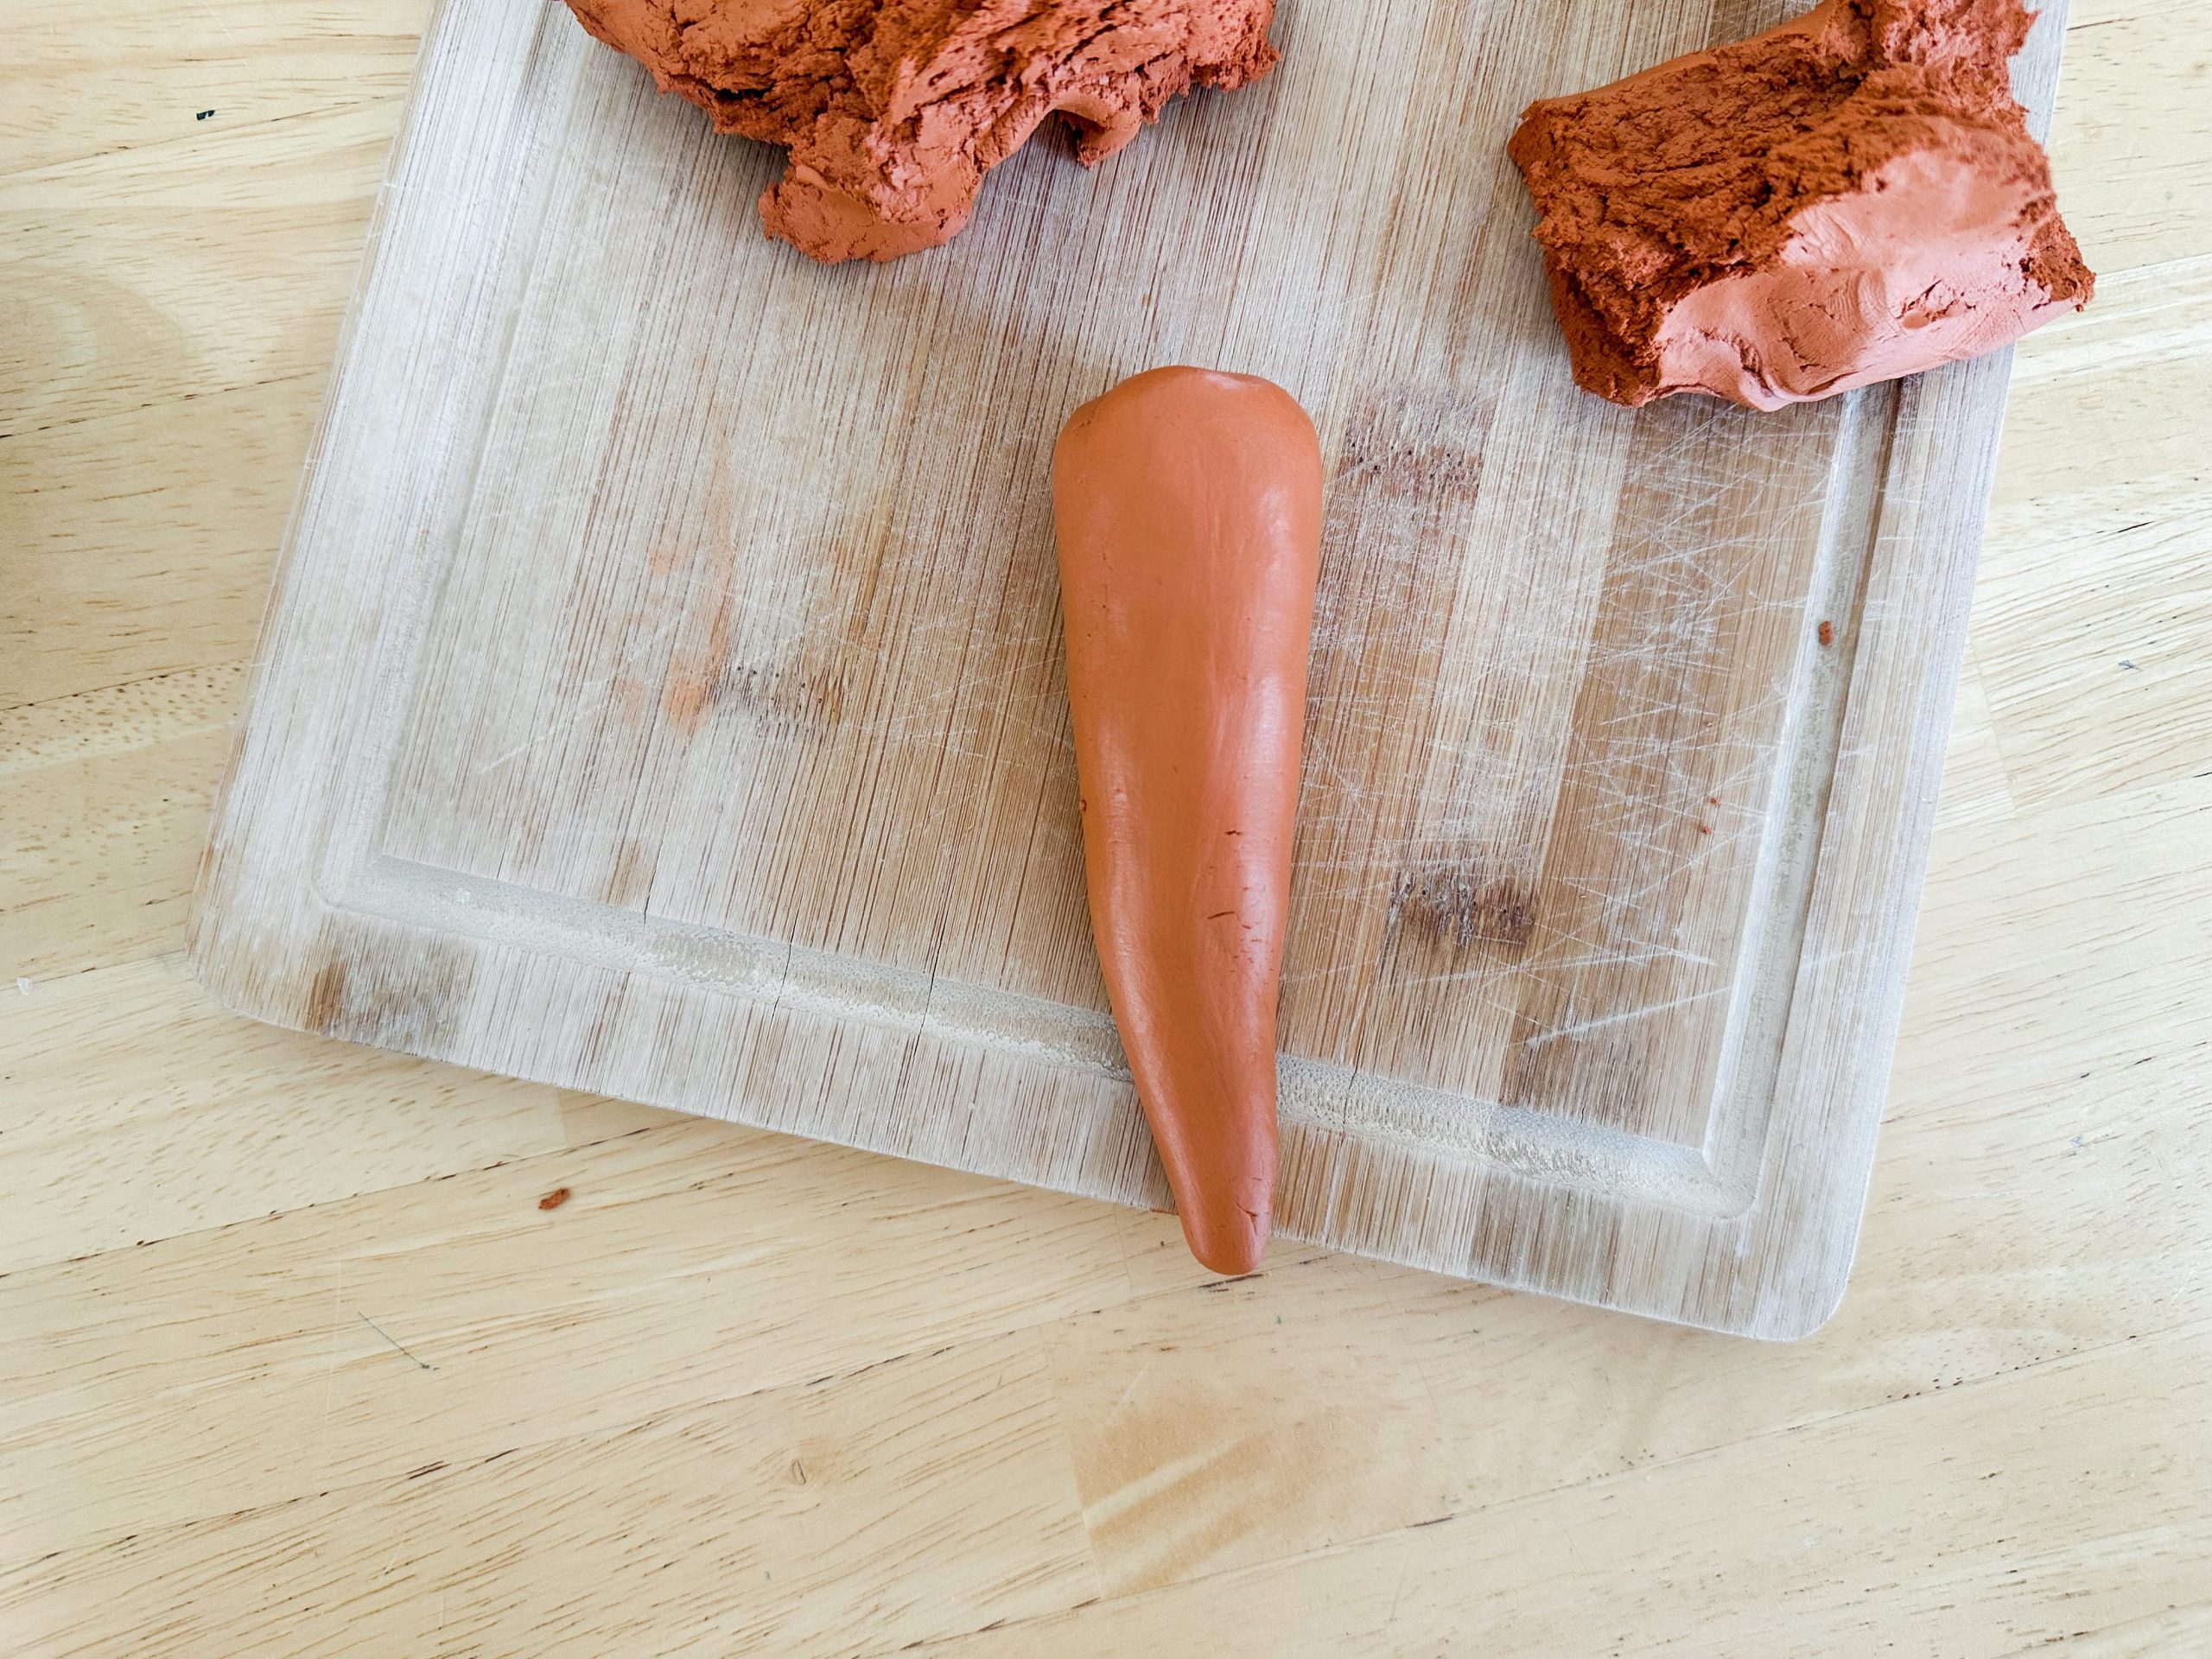
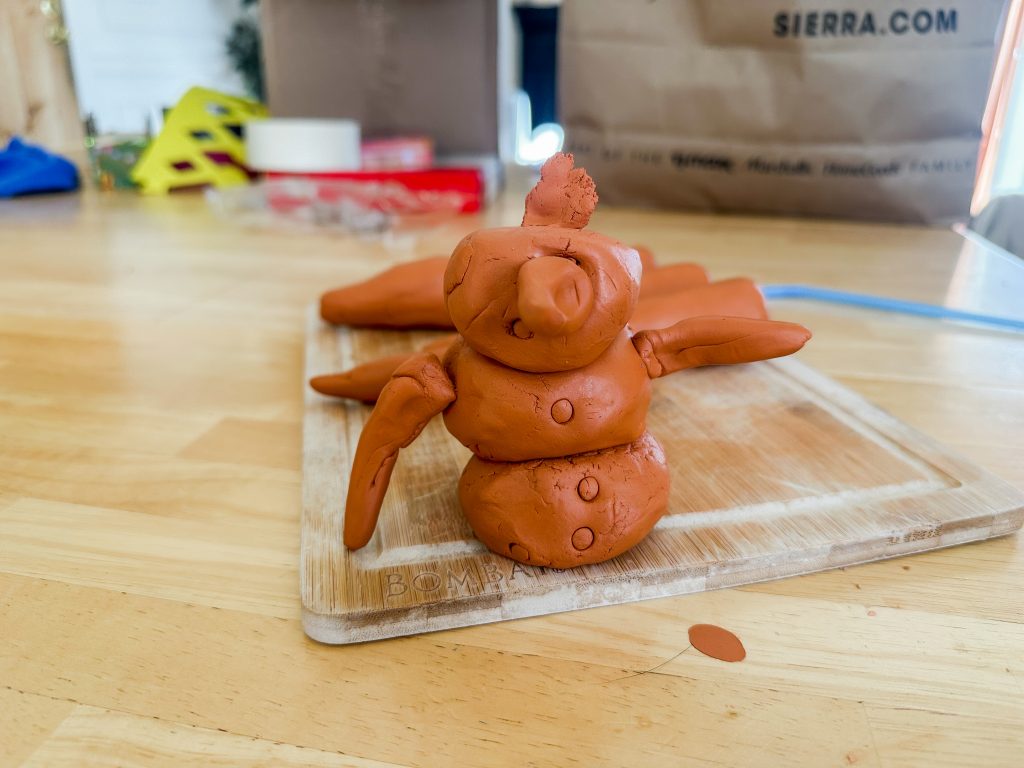
My helper decided she was more interested in making Olaf than carrots – so be it!
Step 2: Create a Hole for the Tops
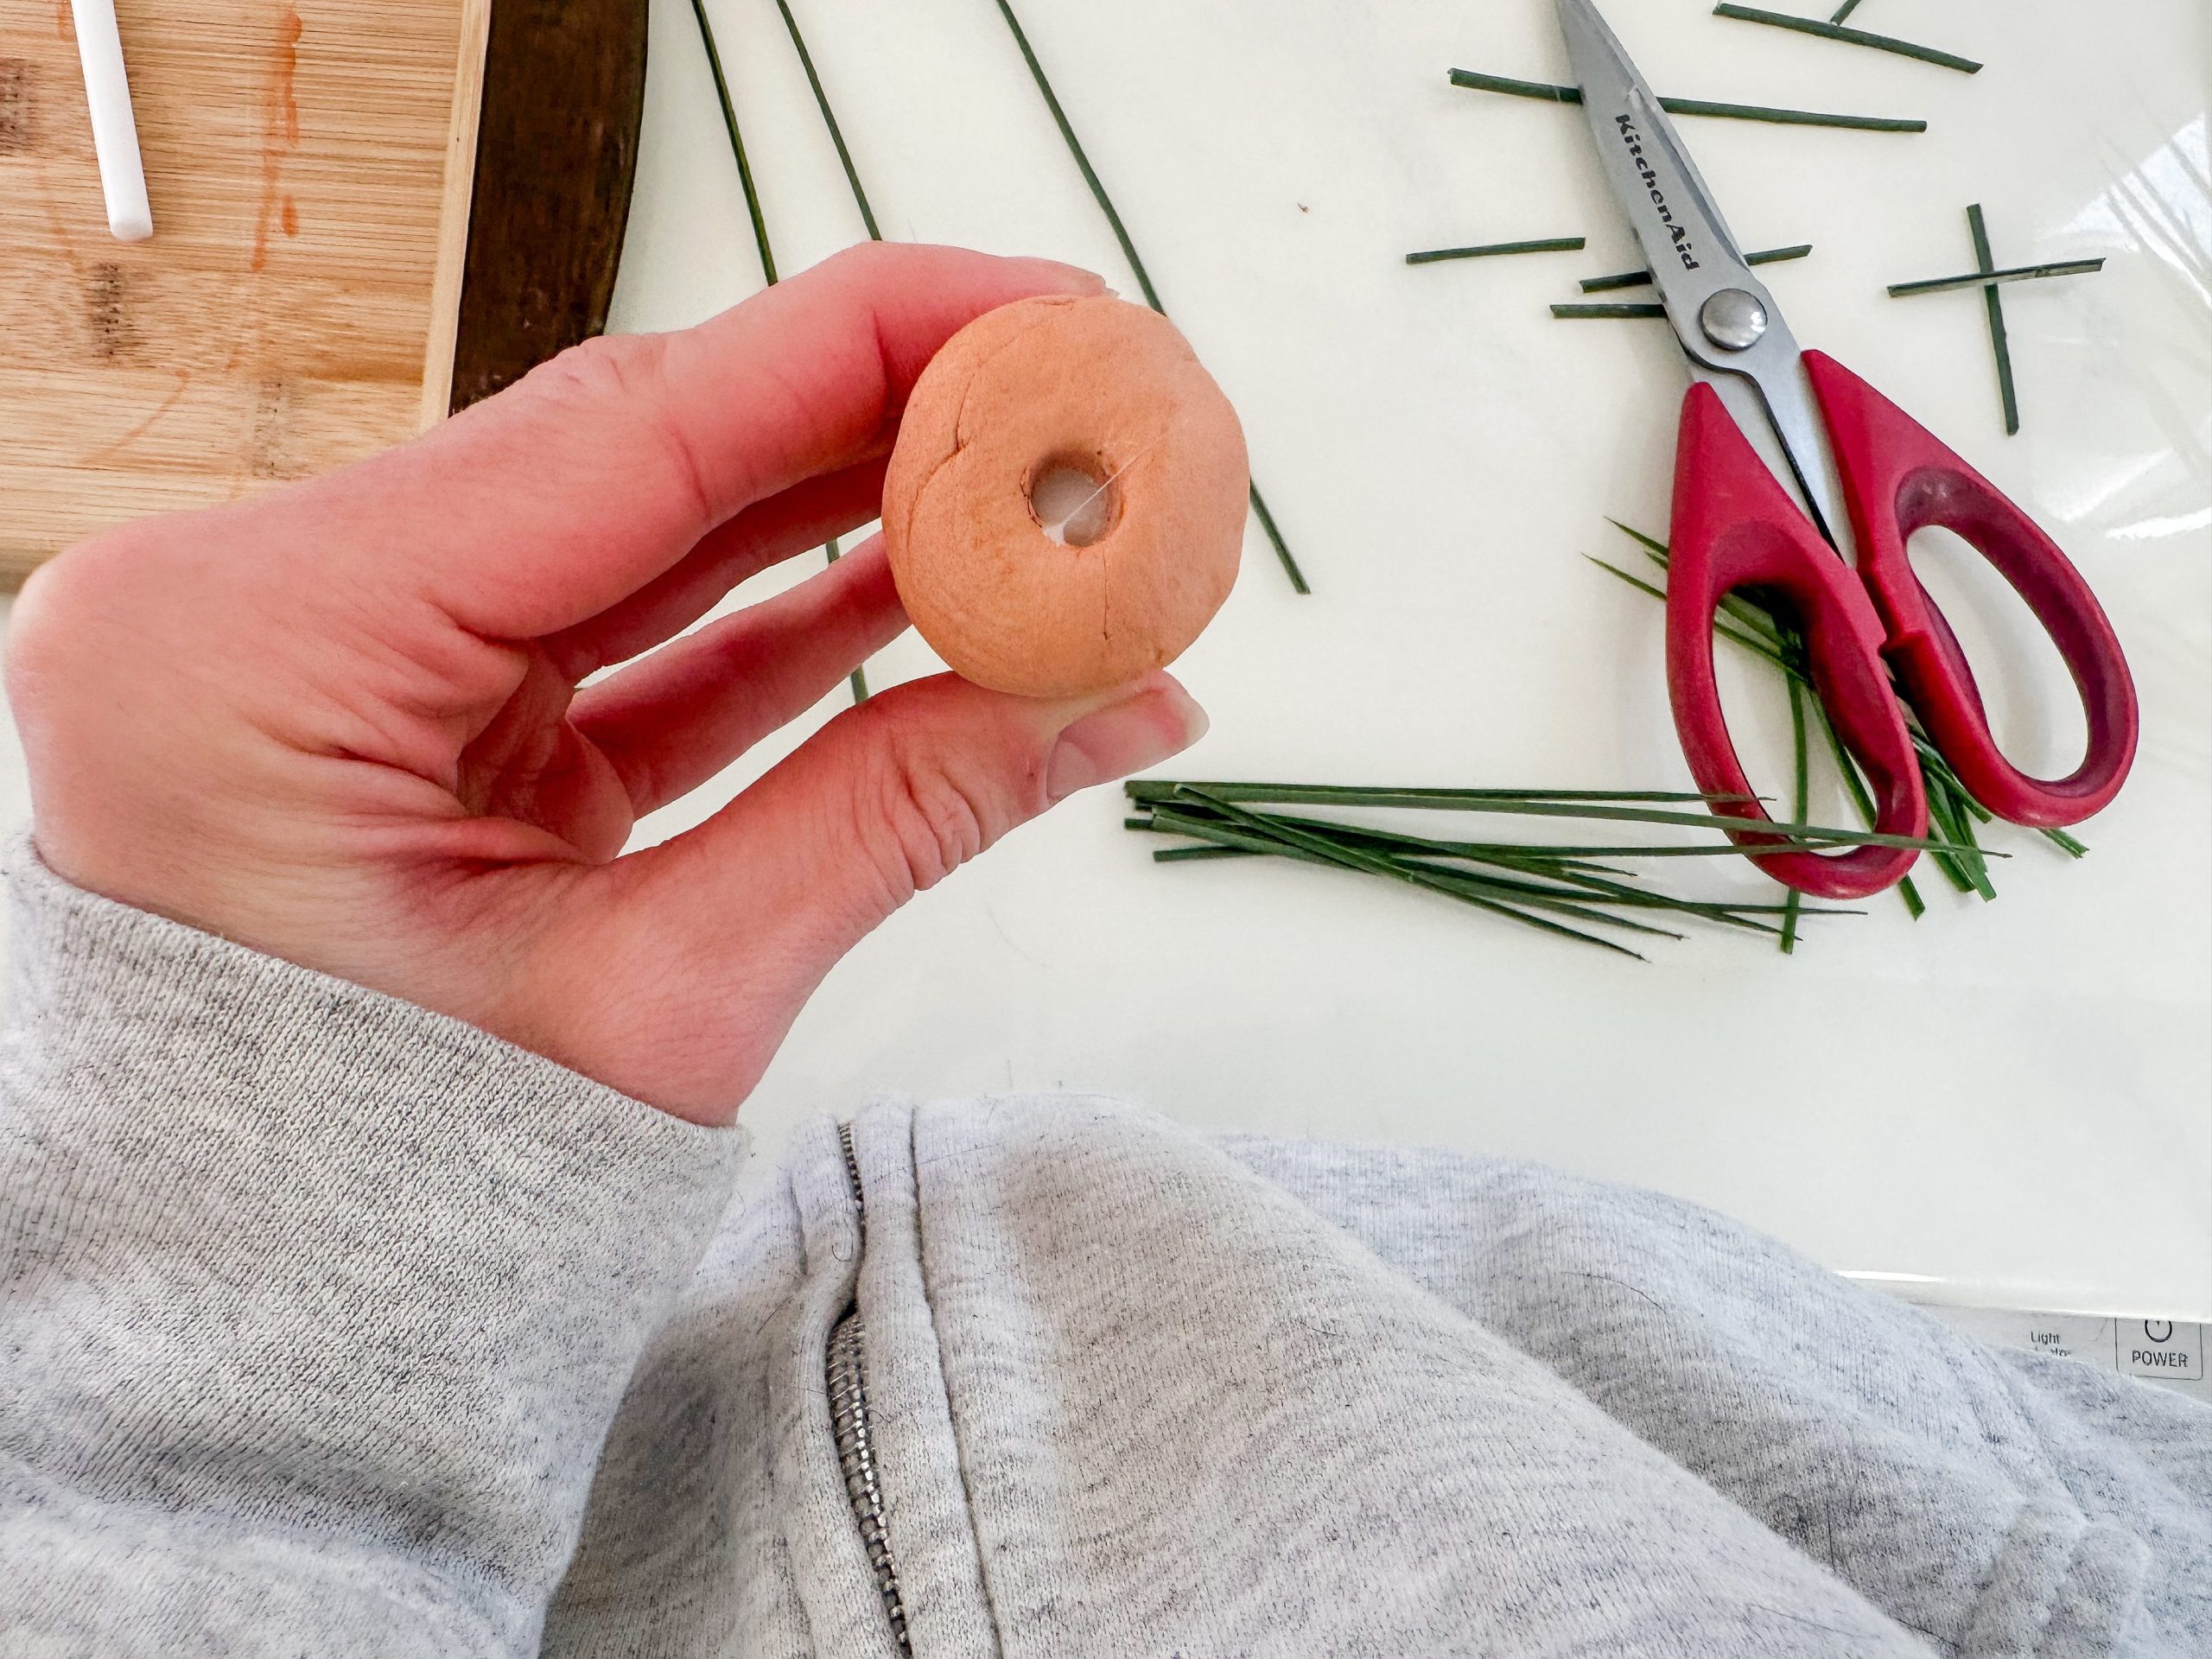
Use a straw and push it down into the top of the carrot. I pushed it down about an inch. Spin it in a circle to grab ahold of the clay and then pull it out. You could also use the end of a skewer or a toothpick to make the hole at the top of each carrot. This hole will hold the green fake grass once the clay has dried.
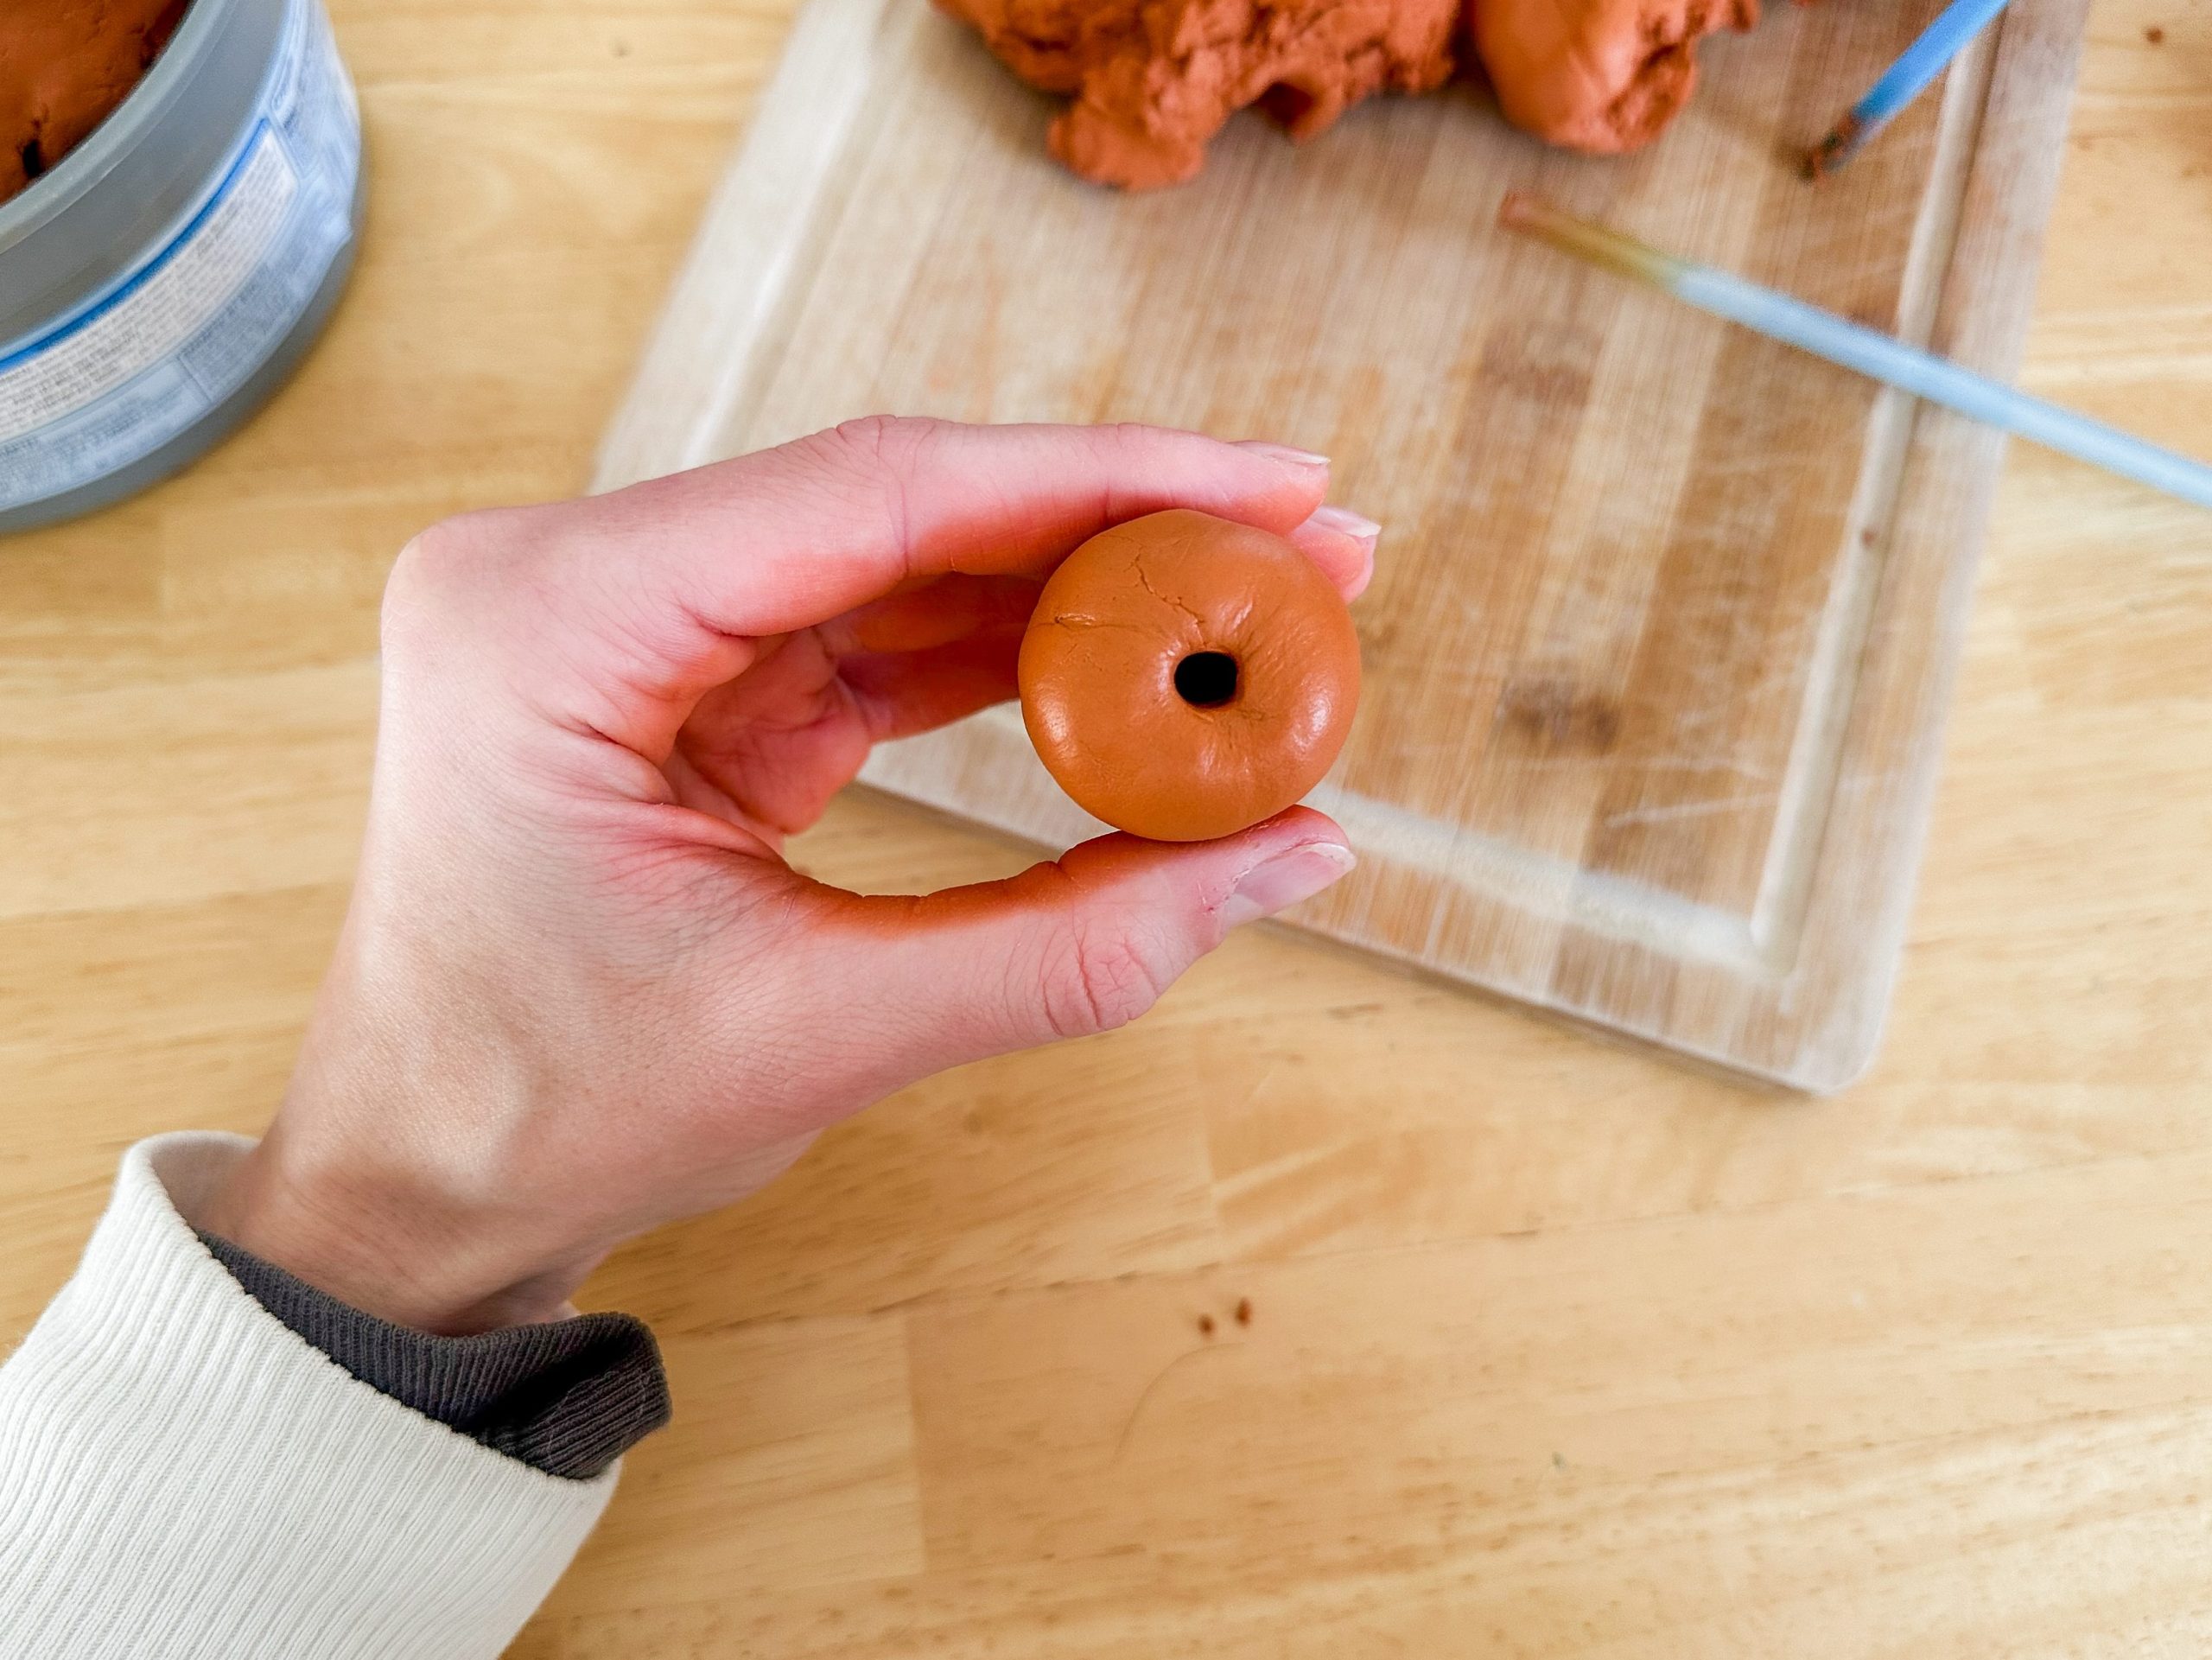
*Disclaimer – I wish I would have made the holes wider to hold more grass… mine ended up being a little sparse so keep that in mind!
Step 3: Add Texture
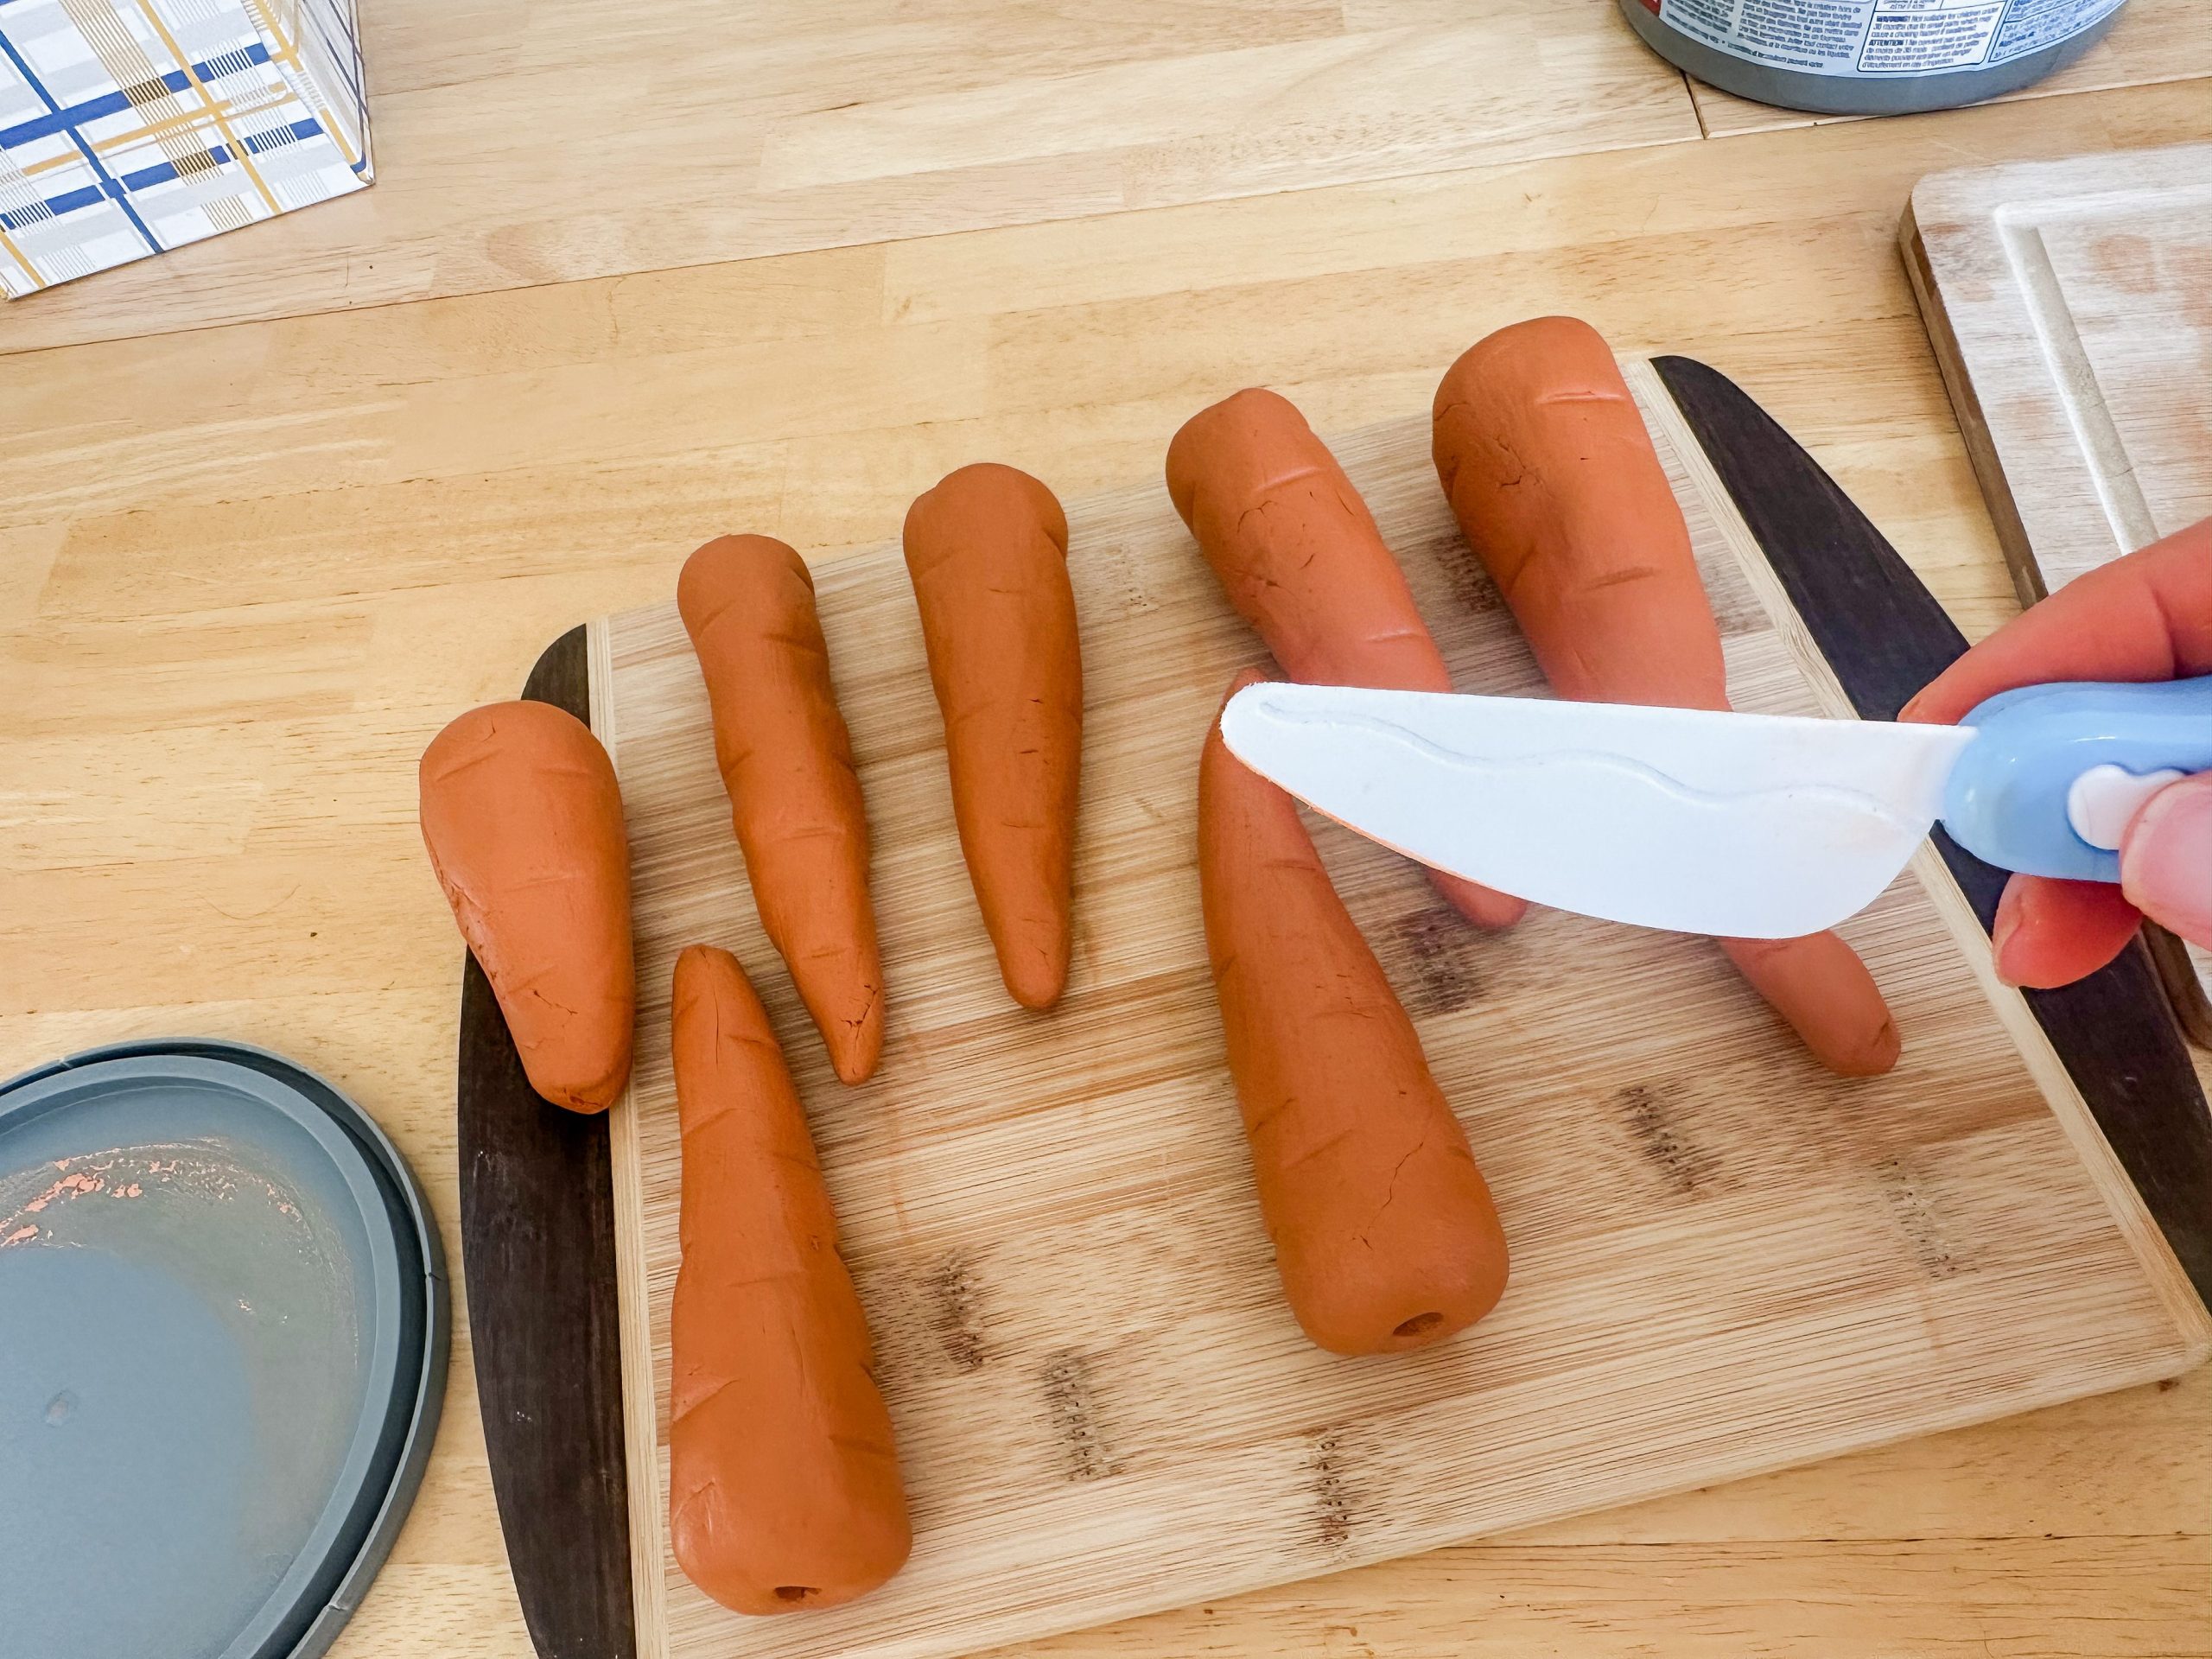
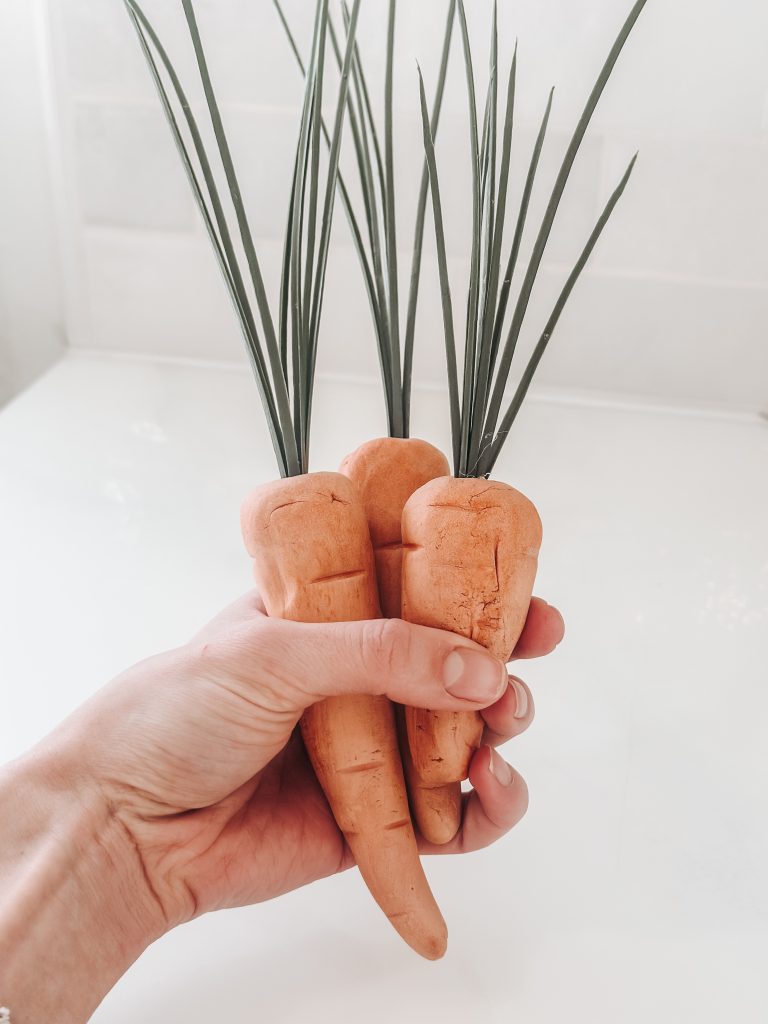
Using a toothpick, skewer, or sculpting tool – I used my daughter’s play kitchen knife, lol – gently carve lines down the sides of each carrot. This will mimic the natural ridges found on real carrots, making them look more realistic. For extra detail, press lightly on certain areas to create slight indentations.
Step 4: Let Them Dry
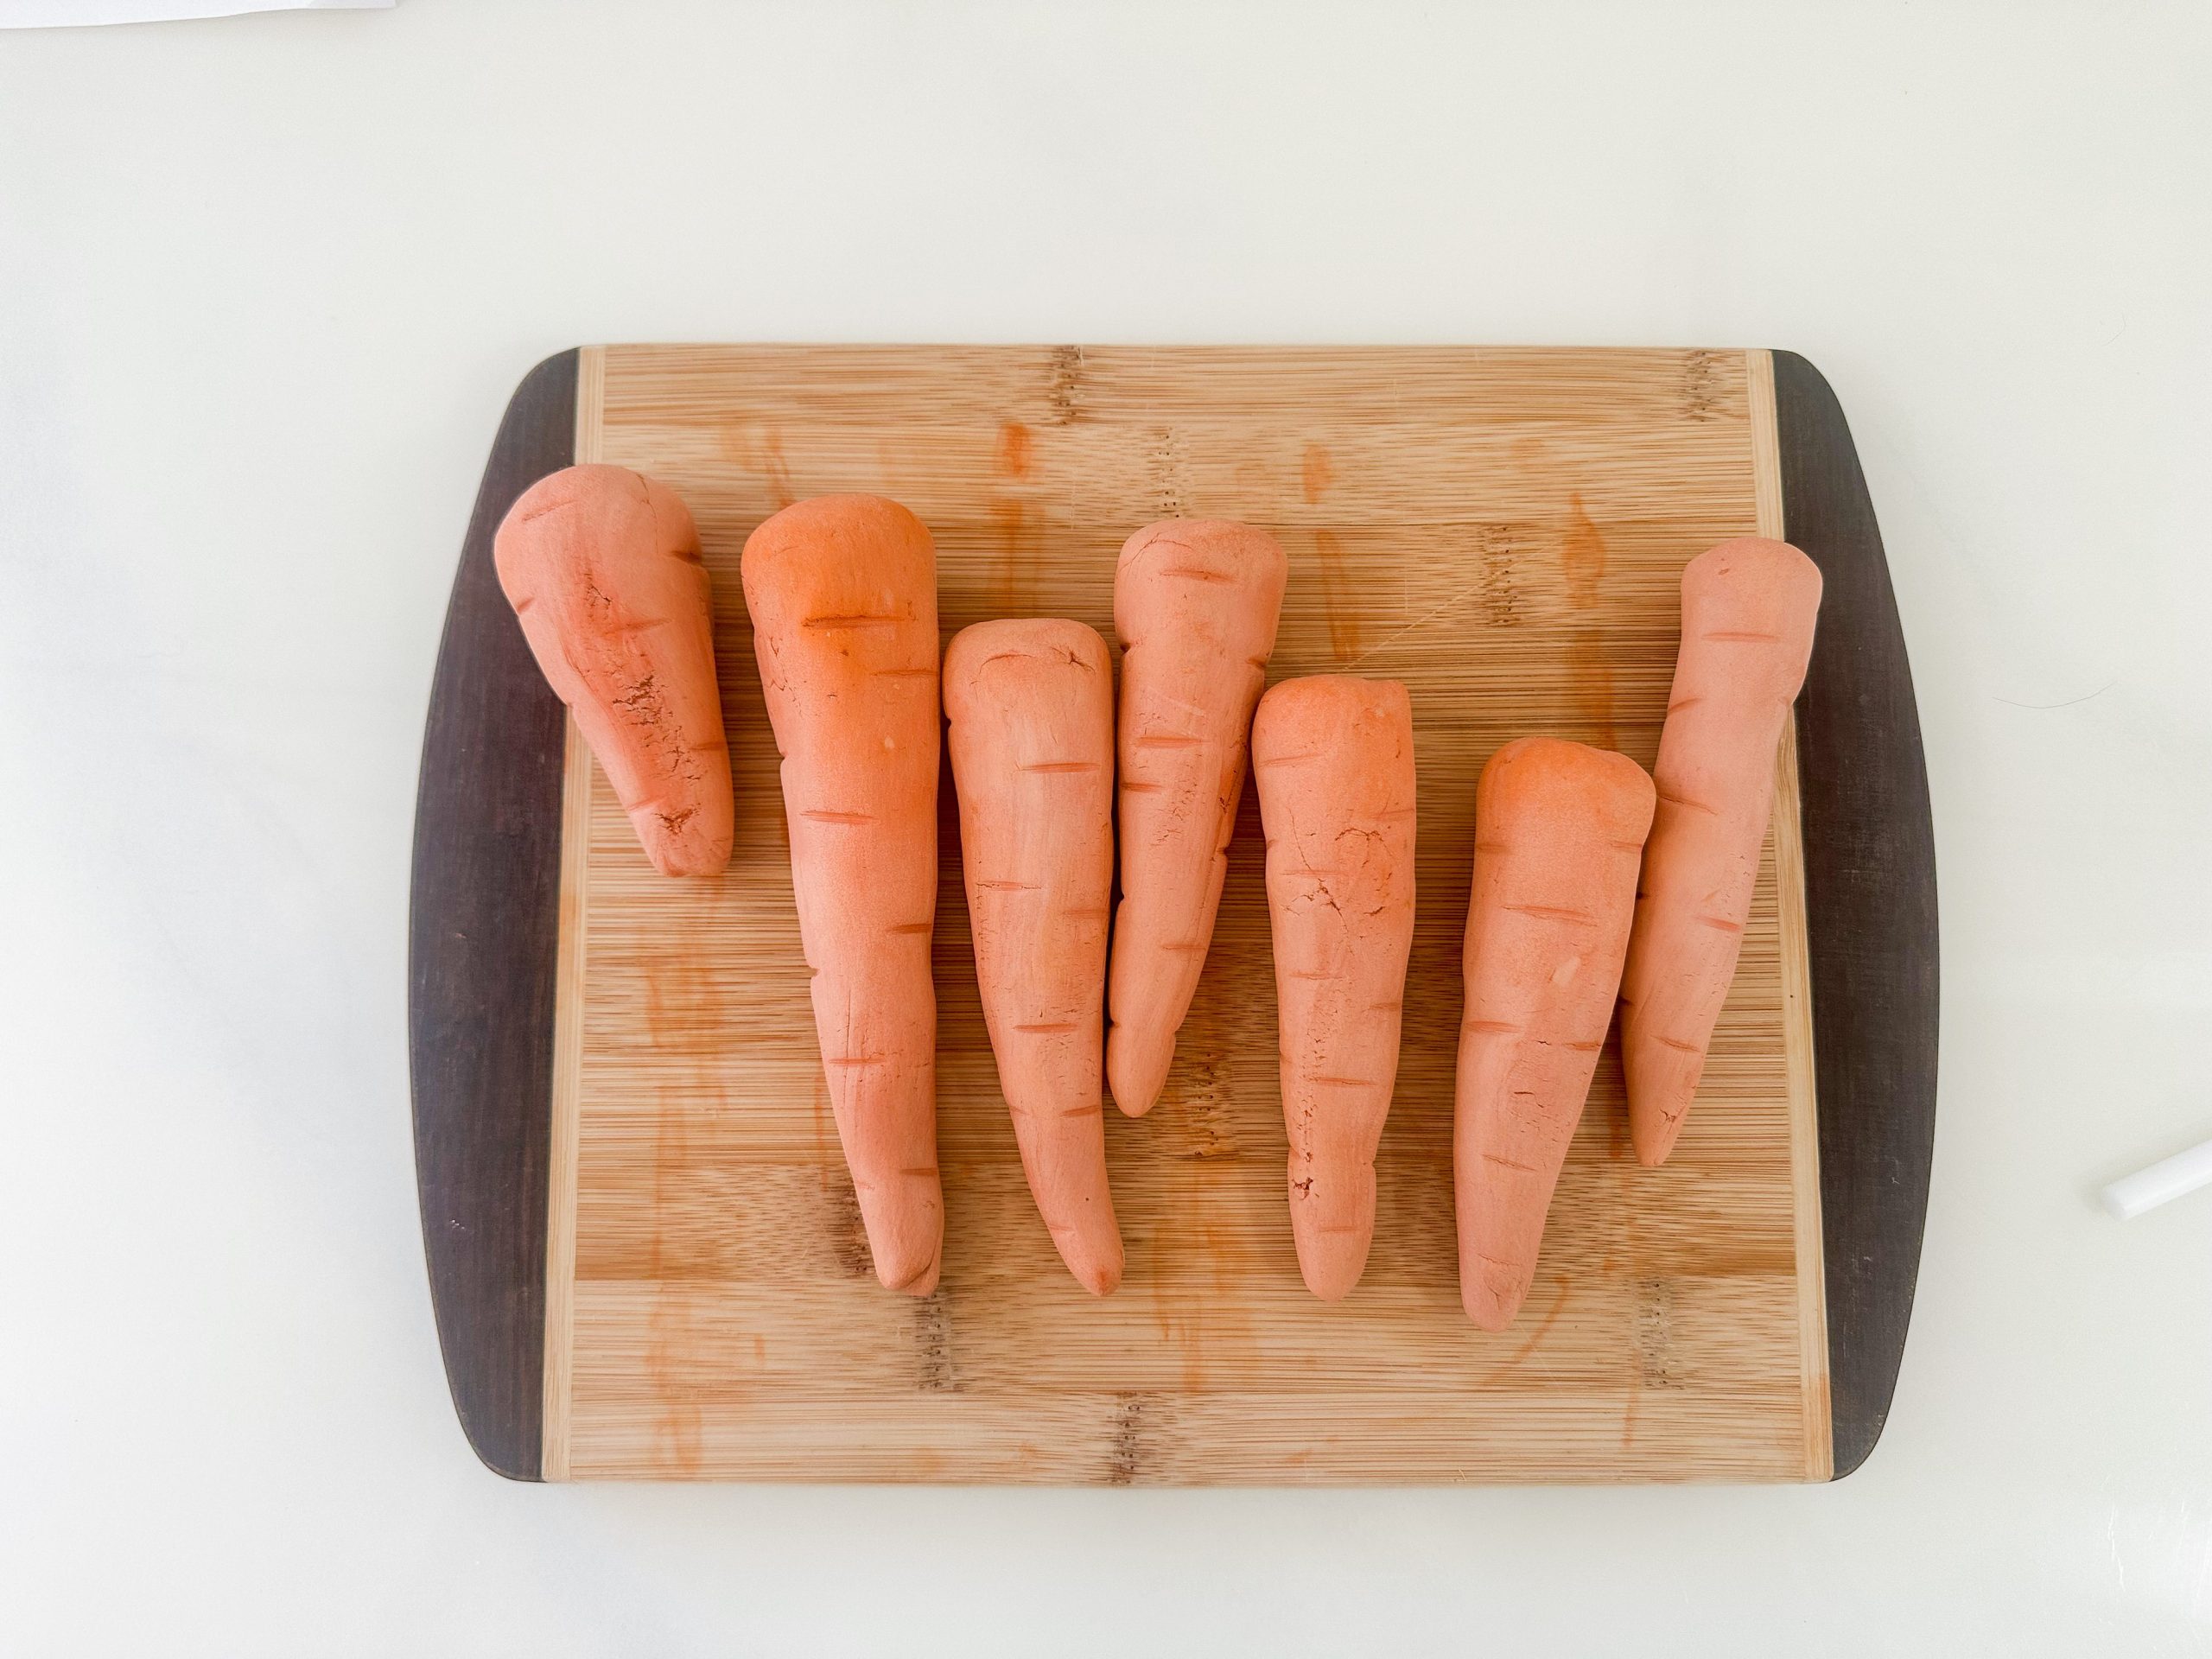
Place your carrots on a piece of wax paper or parchment paper and let them air dry completely. Depending on the thickness, this can take a while. It was several days before mine were fully dried.
Step 5: Attach the Green Tops
Take small strands of fake grass and bundle them together. Apply a dab of craft glue or use a hot glue gun to secure them inside the hole at the top of each carrot. Adjust and trim as needed to get your desired look.
Step 7: Style Your DIY Easter Decorations
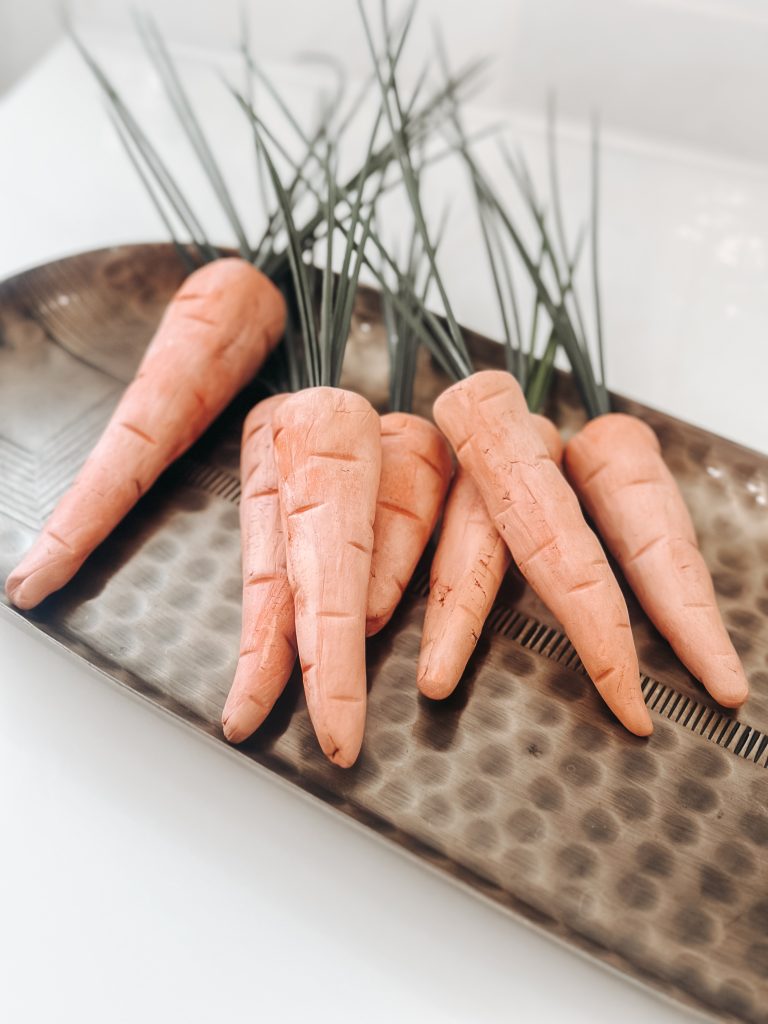
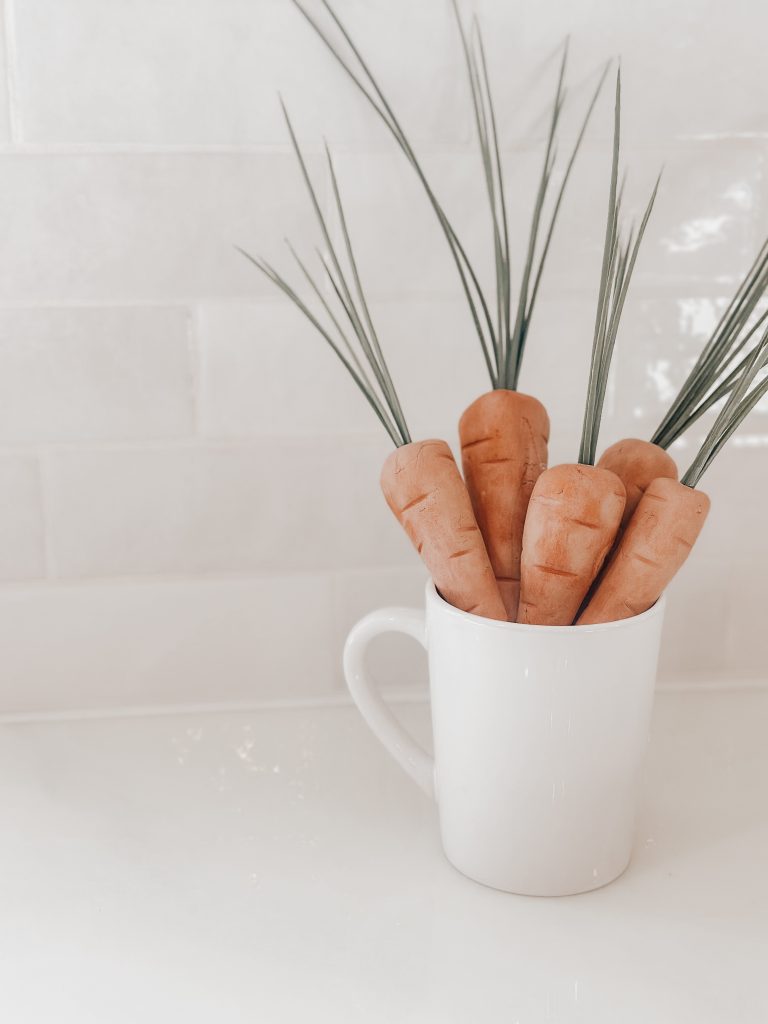
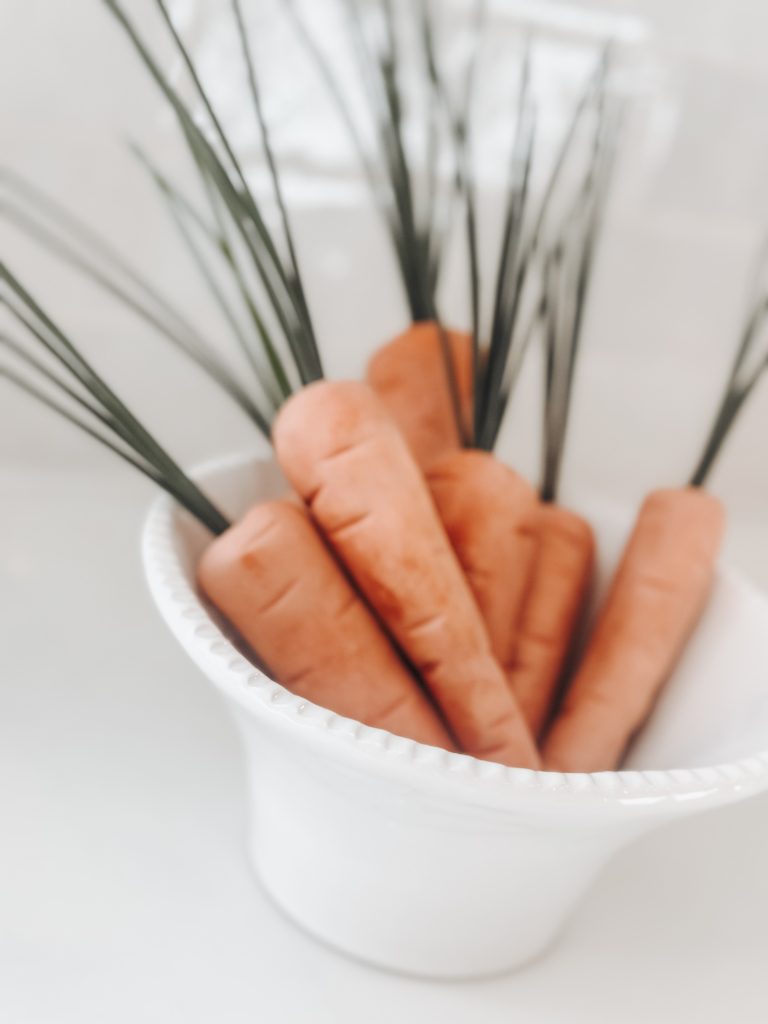
Now that your air-dry clay carrots are complete, it’s time to incorporate them into your Easter decorating ideas for the home! Here are a few creative ways to display them:
- Arrange them in a wooden bowl for modern Easter decor
- Use them as part of your Easter centerpieces by placing them in a wicker basket with faux eggs
- Scatter them on a tiered tray as part of your Easter house decorations
- Place them inside a decorative glass jar for an elegant yet rustic Easter decor idea
- Tie them together with twine and use them as a cute napkin accent for your Easter brunch table setting
More Easter Inspiration for Your Home
If you loved this project and are looking for more Easter projects, here are a few more ideas to try:
- Make matching mini clay bunnies for additional Easter craft decorations
- Paint wooden eggs to complement your easy Easter decorations
- Create a DIY Easter garland with felt or paper carrots
- Decorate a faux nest with mini clay carrots and moss for a unique Easter centerpiece
Final Thoughts
Making your own DIY Easter Decorations out of air dry clay is such a quick and easy way to add a little Easter charm to your home this spring! Whether you’re looking for simple Easter decor, Easter decorating ideas for the home, or unique Easter decor ideas, this project is a must-try.
Materials Need
- Air-dry clay (terracotta)
- A small knife or sculpting tool
- Green fake grass (or green twine, raffia, or faux greenery)
- Hot glue gun or craft glue
For more air-dry clay crafts, check out the posts below!


